Category Archives: Do it Yourself

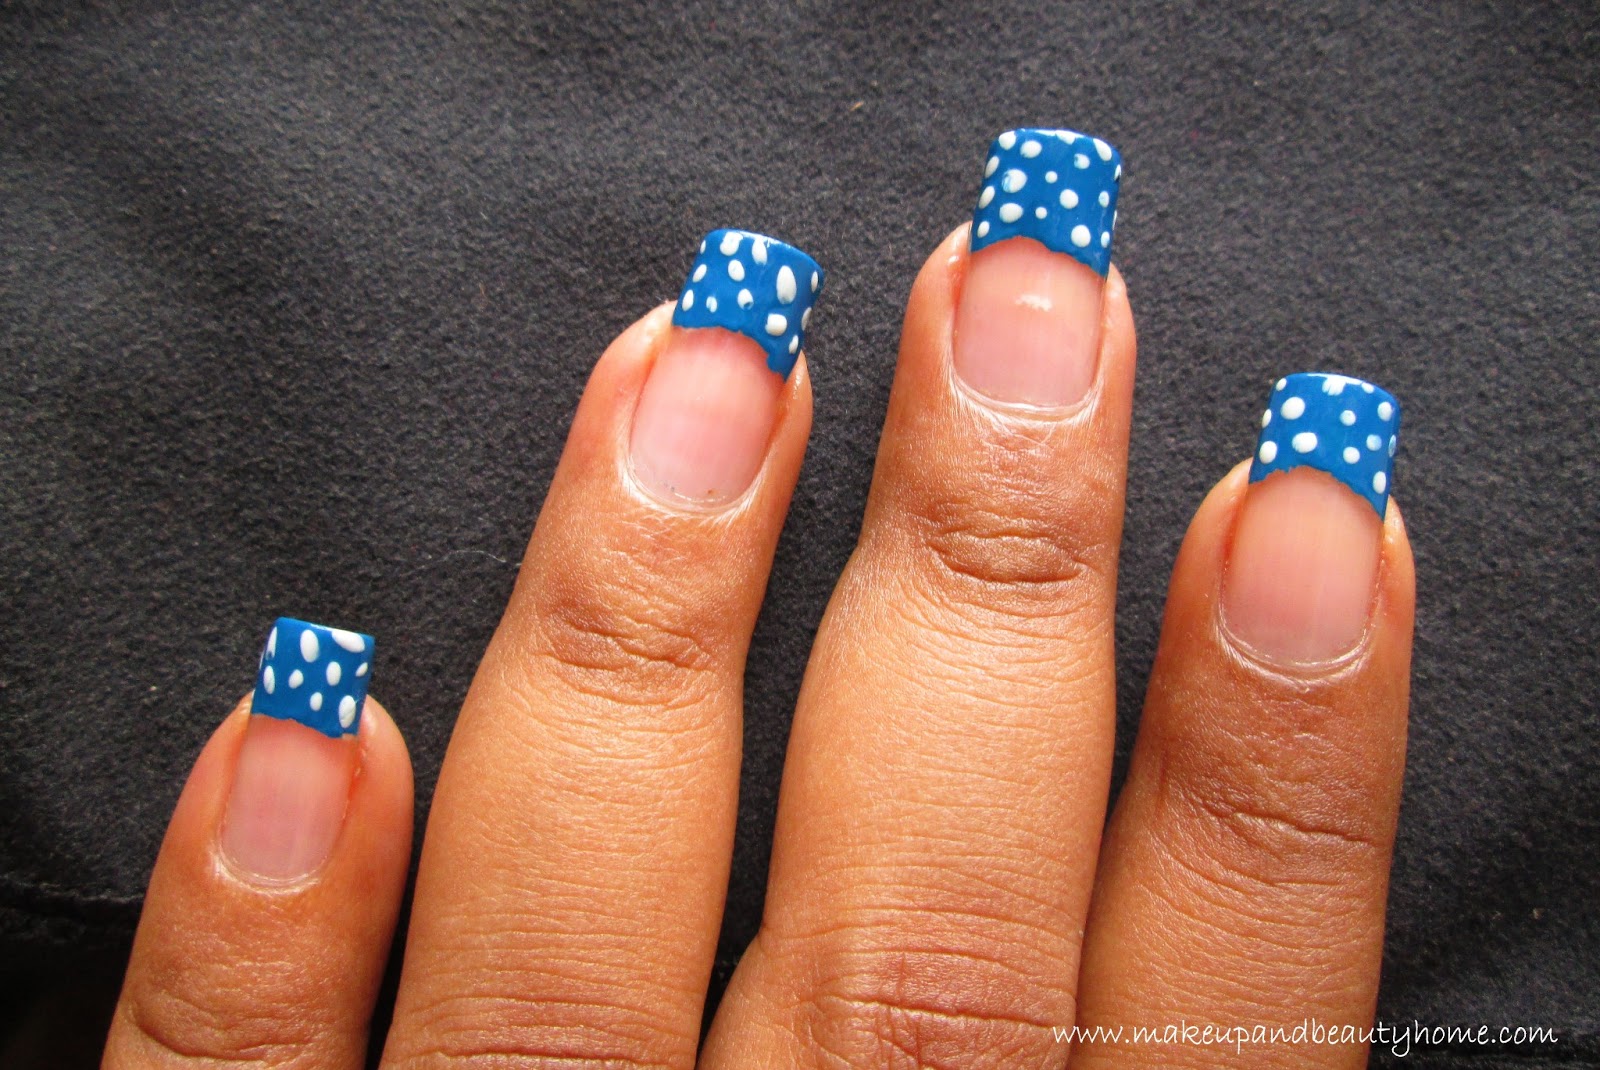
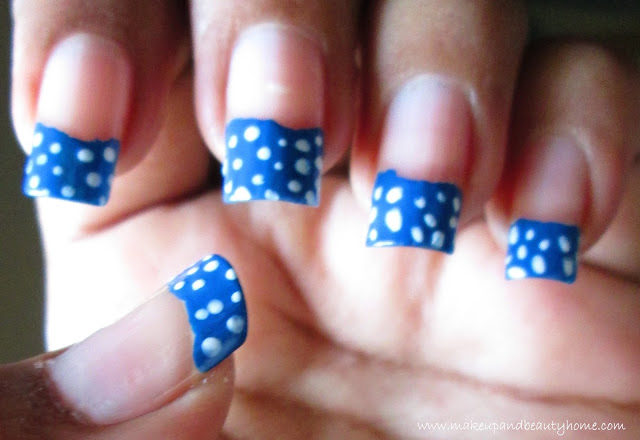
Polka Dots French Tip Nail Art Tutorial ~ Do It Yourself

Polka dots are ‘80s style which is a great hit all the time; I think everybody likes them at some point of time. I was watching the promos of the recent film, Ghanchakkar, and I saw Vidya Balan wearing ‘80s style clothes and hair accessories, you can see polka dots also. I have done polka dots nail art before also and I wanted to share it with you lovely ladies.

So, here is my tutorial. Of course it is easy to do and no you don’t have to have nail art brushes or dotting tool for this nail art. I hope you ladies find it useful.

Things you will need:

  • One white nail paint.
  • One bright color nail paint.
  • One top coat nail paint.
  • Dotting tool/ bobby pin/hair pin.
  • Nail paint brush/ regular (No. 0) paint brush (optional).
  • Nail paint remover and ear bud (for cleaning messy nail corners).

How to Do?:

Step 1: Clean up your nails and apply the top coat (It is my way to make nail arts extra glossy) once. Let it dry for 2 minutes.
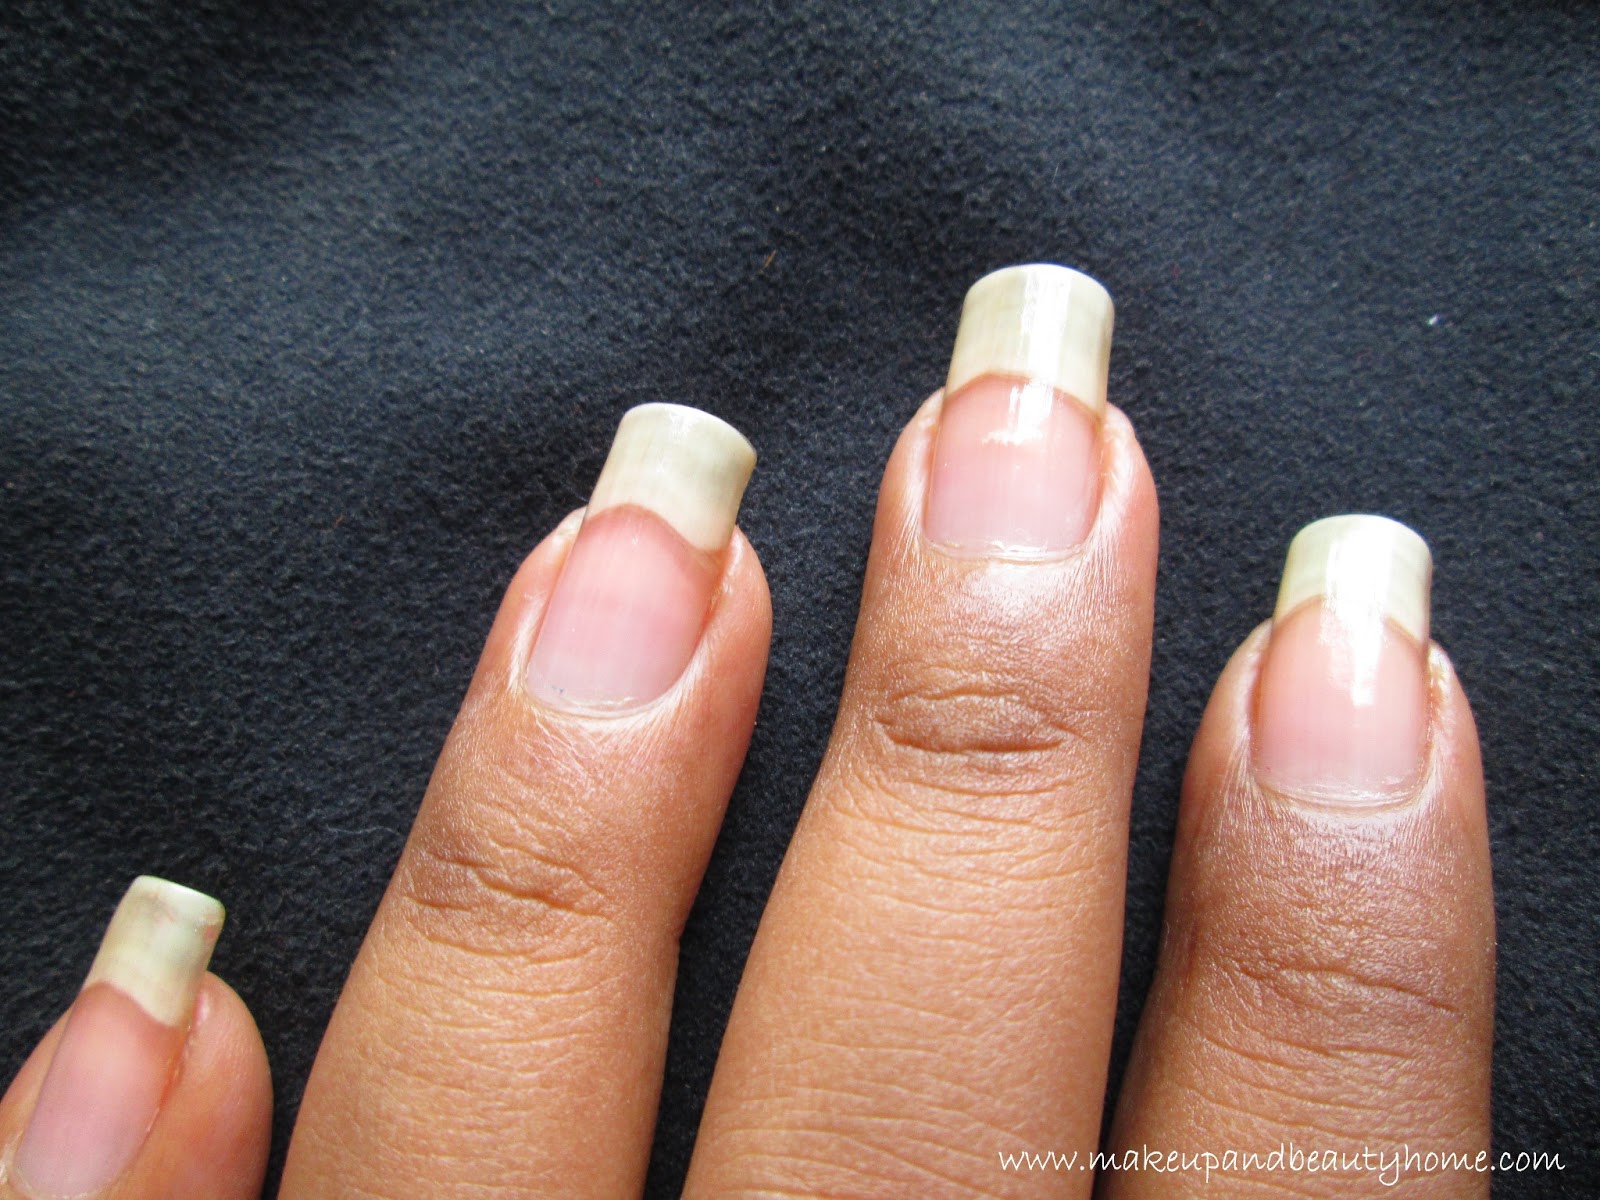
Step 2: Now, take the bright color nail paint (Blue nail paint in the picture) and apply it only on the nail tip carefully. If you find your nail-paint bottle applicator is too thick and clumsy, you can use nail paint brush / regular paint brush for a neat application. I have done with the bottle applicator.

Be sure to apply it carefully from corners to corners. Apply double coat and let it dry for 5 minutes.

Step 3: When the nail tips are dry, with the dotting tool/ bobby pin/ hair pin, draw random dots on the painted tips. Try to make small dots as they look nicer. I have done it with hair pin. Do it on all the nails and let it dry.

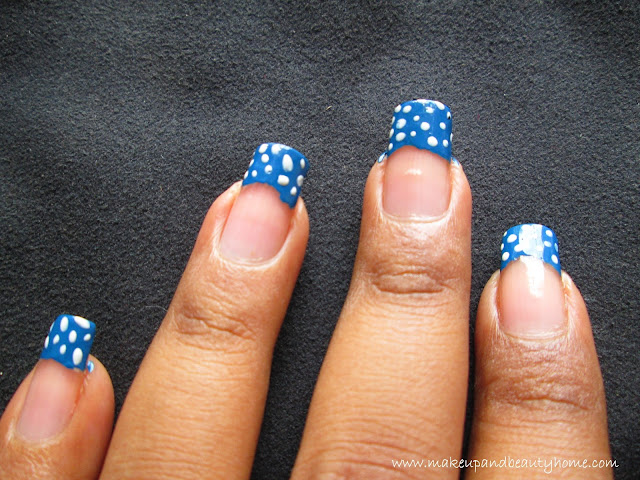
Step 4: While you wait for drying your nails, soak a side of ear bud in nail paint remover and clean the corners of the nails.

Step 5: Finally apply the top coat and dry it completely.
Tip: To dry a heavy coated nail paint quickly, dip your nails into a bowl of chilled water for 2 minutes.

I wish this nail art was easy enough to try and let me know how did your DIY Polka Dot French Tip nail art turn out. You can wear it with some of your polka dot dresses or scarf and look like a Diva. Have fun ladies.

Do It Yourself Nourishing Coconut Banana Hair Pack

Hello everyone,

I am so excited to write my first DIY post on MABH. Today I am sharing one of my most trusted hair pack. These days knowingly or unknowingly we expose our hair to lot of chemicals. So, once in a while its important to give our hair all the nourishment it requires. This pack repairs dry and damaged hair better than our costly conditioners.

The first time I heard about this, I  was skeptical about banana applied on hair. But after a bit of googling, I confidently tried it. And Voila!!! I was super satisfied with the outcome. Now, let’s get started.

About the ingredients:

Banana: Potassium, manganese and vitamins help’s in softening the hair and protects the hair’s natural elasticity. It also keeps hair hydrated and healthy.

Coconut: Coconut contains protein and iron that helps to strengthen hair. It also helps to repair damaged hair and treats dry flaky hair effectively.

Almond oil: Helps to nourish hair and skin, being rich in vitamins A, B1, B2, B6 and E. Also known to facilitate hair growth.


Ingredients Required:

  • Bananas – 2
  • Coconut grating – 1/2 cup
  • Almond oil – 2 spoon


Preparation Method:

Step 1: Make sure the bananas are fully ripe. Peel and cut them into pieces. Chop the coconut into small pieces. You can grate them either.

Step 2: Place them in a mixer jar and whip them couple of times. Now, grind them into a smooth paste adding little water.

Ste 3: Make sure there are no chunks or lumps. If found any, grind them again. And then transfer the paste to a clean bowl.

Step 4: Finally add two spoons of Almond oil. This step is optional but I highly recommend to do so. Along with the banana, almond oil makes your hair even more smoother.


Directions for use:

1. Make sure to comb your hair with a wide toothed comb before applying any hair pack.

2. Starting from scalp apply this pack all over your hair.

3. Let it dry for half an hour.

4. Wet hair and wash the pack thoroughly with plain water first.

5. Then apply shampoo and lather well. Rinse and repeat if required.

Things you need to make sure in this process:

1. Ingredients should be smoothly grind-ed. Otherwise, you will end up with bits of banana in your hair.

2. Always comb your hair before application of the pack. This is to ensure easy and even application of the product.

3. Don’t let the hair pack to dry completely. It becomes tedious to wash away the pack. Never exceed the 30 mins waiting time.

4. You can adjust the quantity according to your hair length.


Benefits:

As the name suggests, this pack gives all the nourishment your hair needs. This hair pack is tried and tested. You can feel the change in your hair texture after using it couple of times. You can try this on both damp and oiled hair. For best results use twice a week. I know it is messy job but it is definitely worth the result. Hope you found this article useful  🙂

Vintage Rose Print Nail Art Tutorial ~ Do It Yourself

Good day amigos!

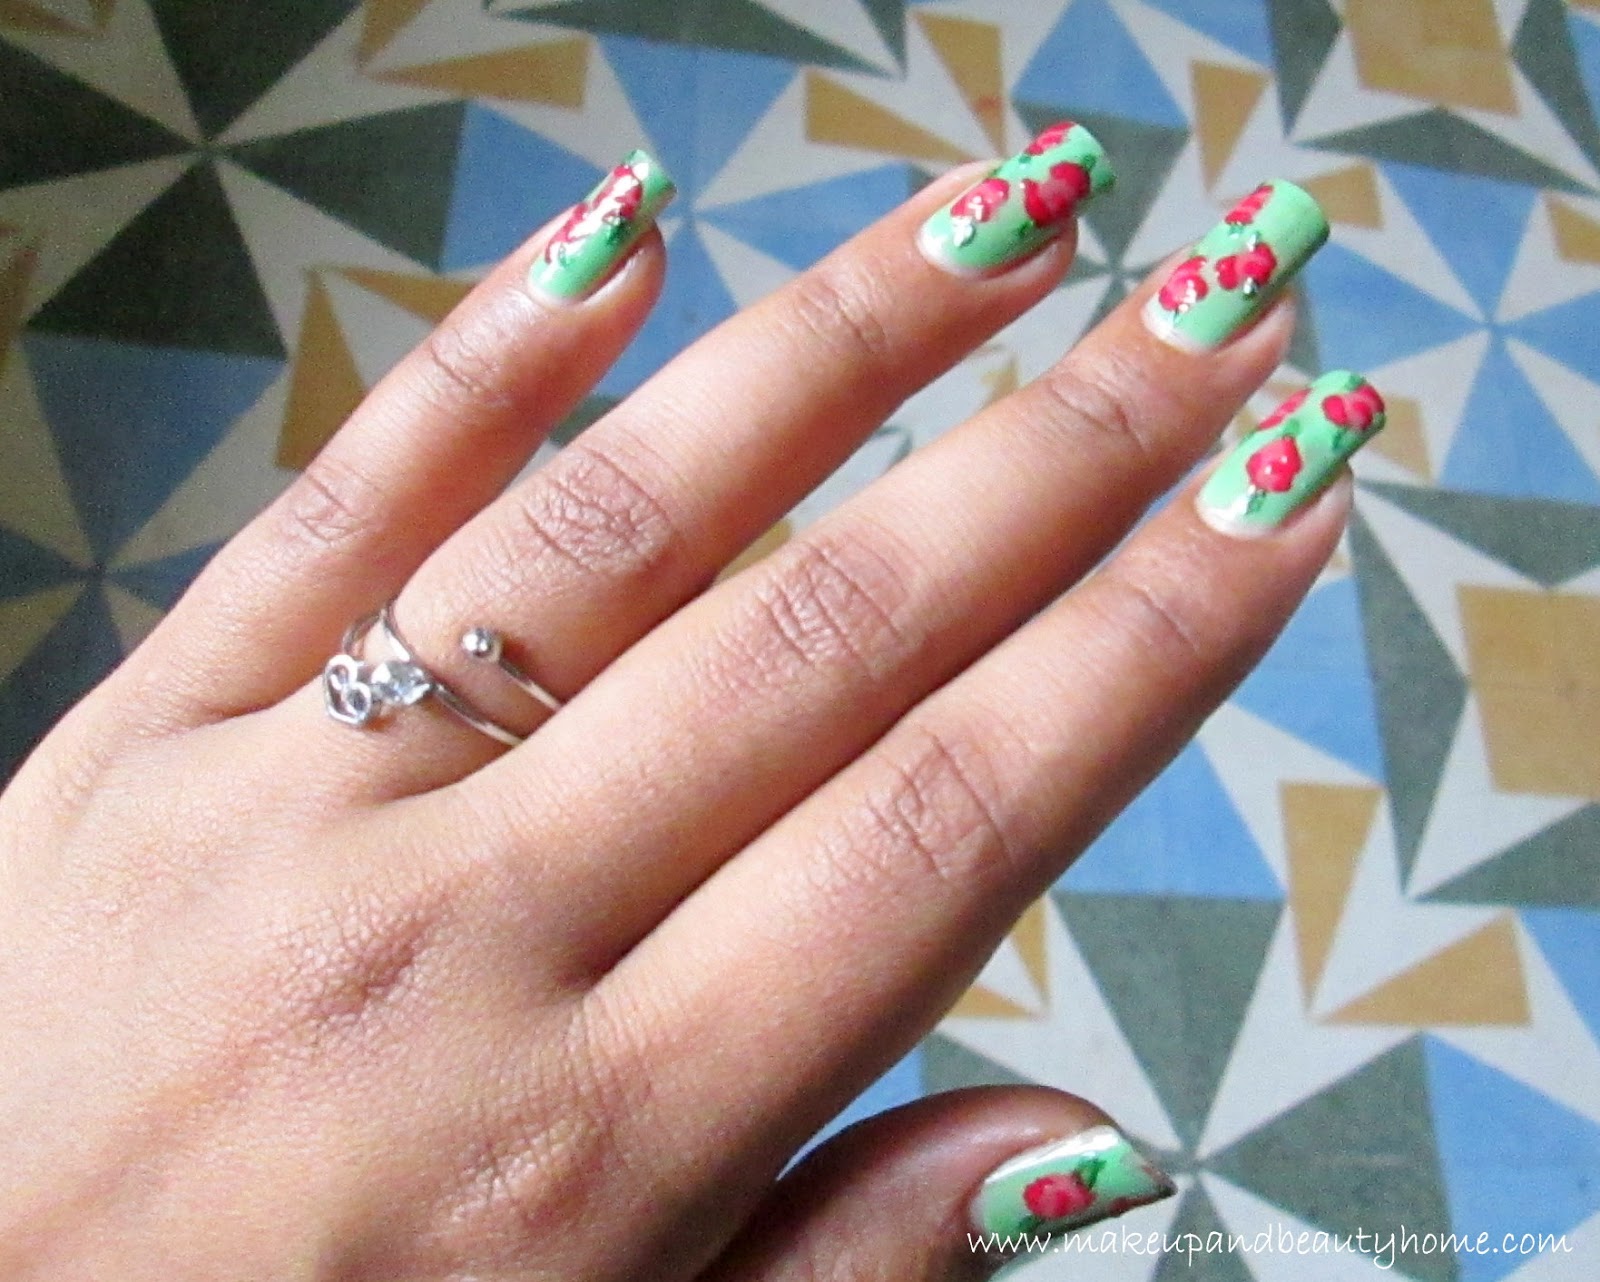
How are you all in this monsoon? Today I present to you one of my favorite nail art i.e. DIY Vintage Rose Print Nail Art. You can do this nail art on short nails also; the print itself is very appealing. Vintage prints are very popular these days, you can see them on scarves, bags, tops everywhere. Why not give an extra touch to your outfit or accessories with this pretty nail-art.

So, here goes the tutorial.

Things You Will Need:

  • One light color nail paint.
  • One red nail paint.
  • One nude color nail paint.
  • One green color nail paint.
  • One top coat nail paint.
  • Nail-art brush/ regular (No.0) paint brush/ bobby pin.


Step 1: Clean your nails and apply the light color nail paint on all the nails. Apply double coat and let it dry.

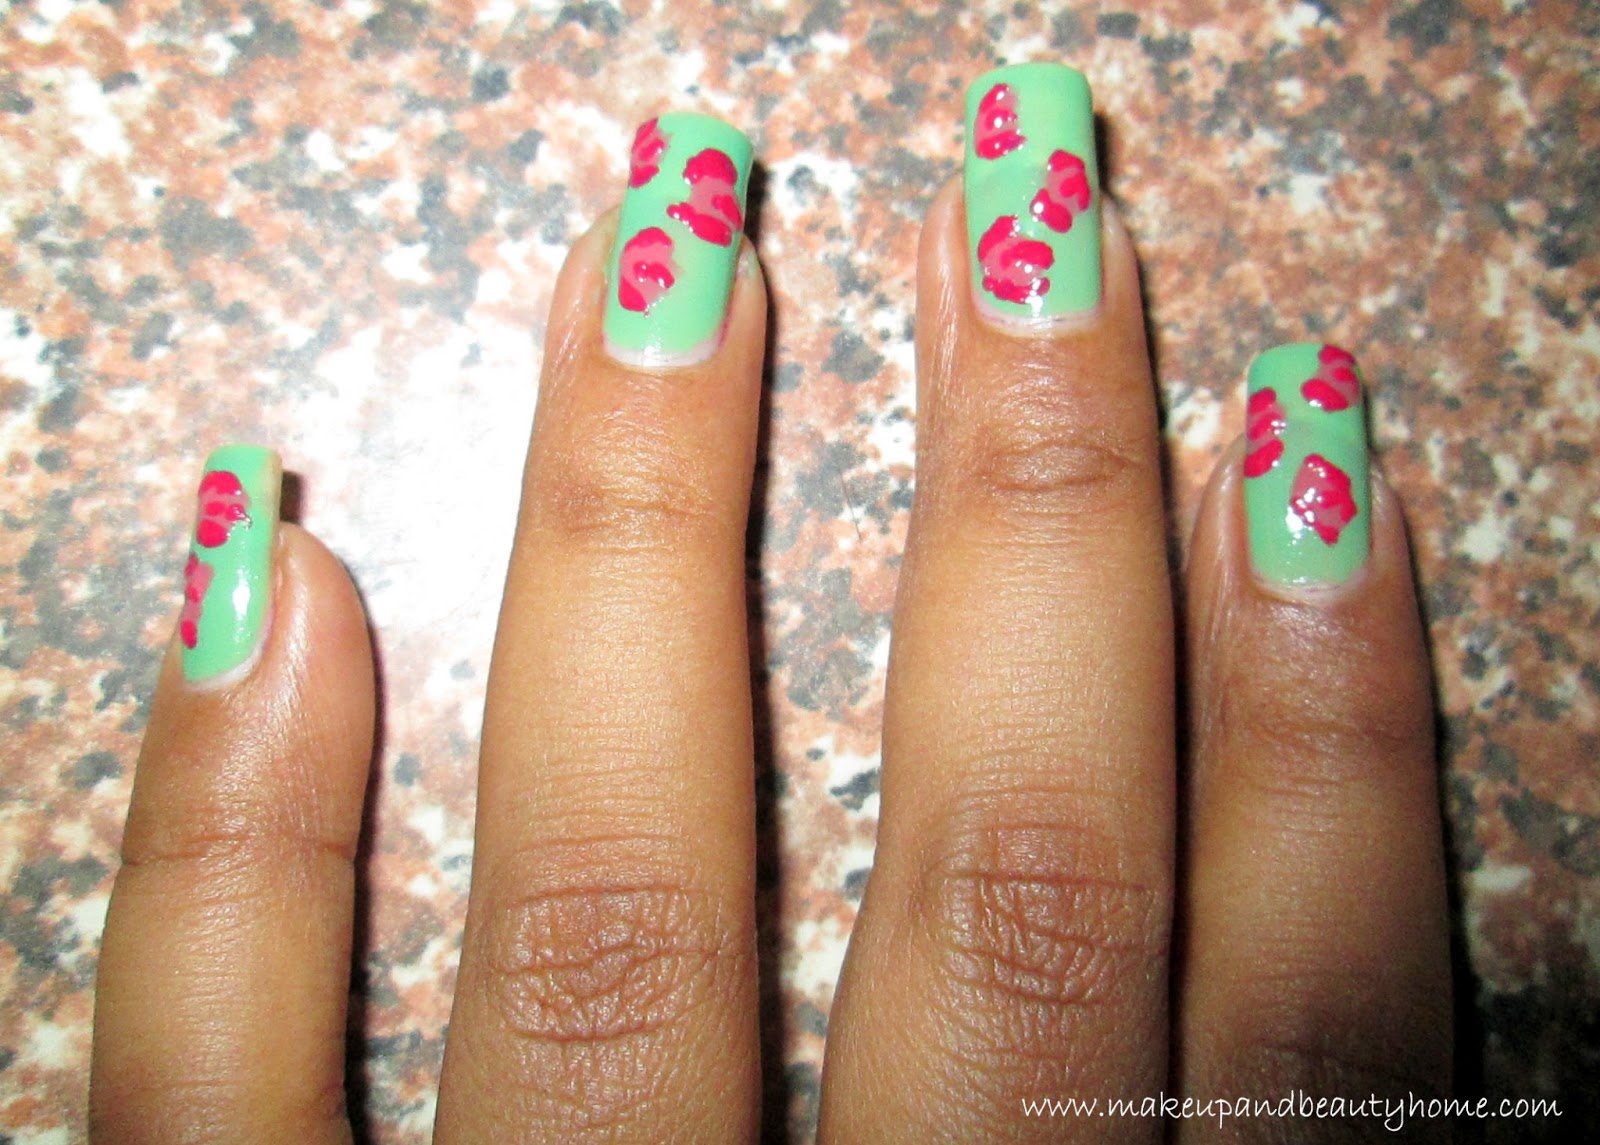
Step 2: Take the nude color nail-paint and place 3-4 blobs on the nails (don’t worry if it is uneven). Let it dry.

Step 3: Now, dip you nail art brush/regular paint brush or bobby pin into red nail paint and draw a semicircle in the middle of the blobs moving outwards(I have done with bobby pin).

Then, draw two uneven outlines on the blob; one on the top and one at the bottom. Here is your rose. Let it dry.

Step 4: Now, take the green color nail paint and draw a short line one on the top of the roses and one at the bottom (these are leaves). Let it dry.

Step 5: Finally, apply top coat and let it dry.

So, ladies, next time you are going for a birthday party or little house warming party or baby showers, don’t forget to do this nail art and catch all the attention.

As I said earlier, it can be done on short nails also, there might not be left any other excuses for you to not do it. 🙂 This Vintage Rose Nail Art is as classy as stylish, and it will look prettier on you beautiful ladies. Give an extra effort to look the best version of you. 😉 Good luck amigos and stay happy & healthy.