Category Archives: Do it Yourself

Cute Bow Nail Art Tutorial ~ Do It Yourself

Hey dear friends!

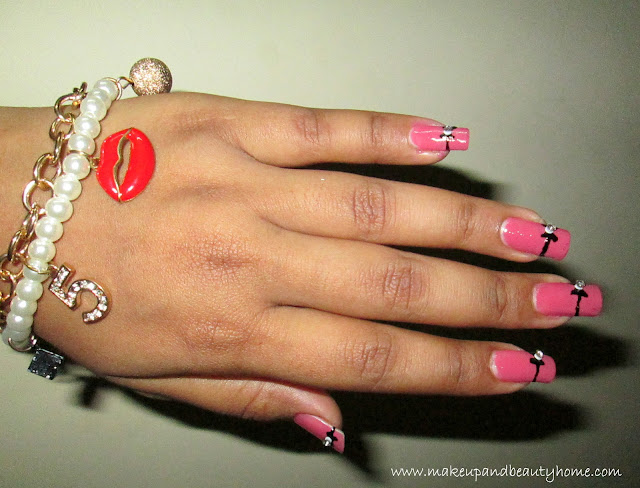
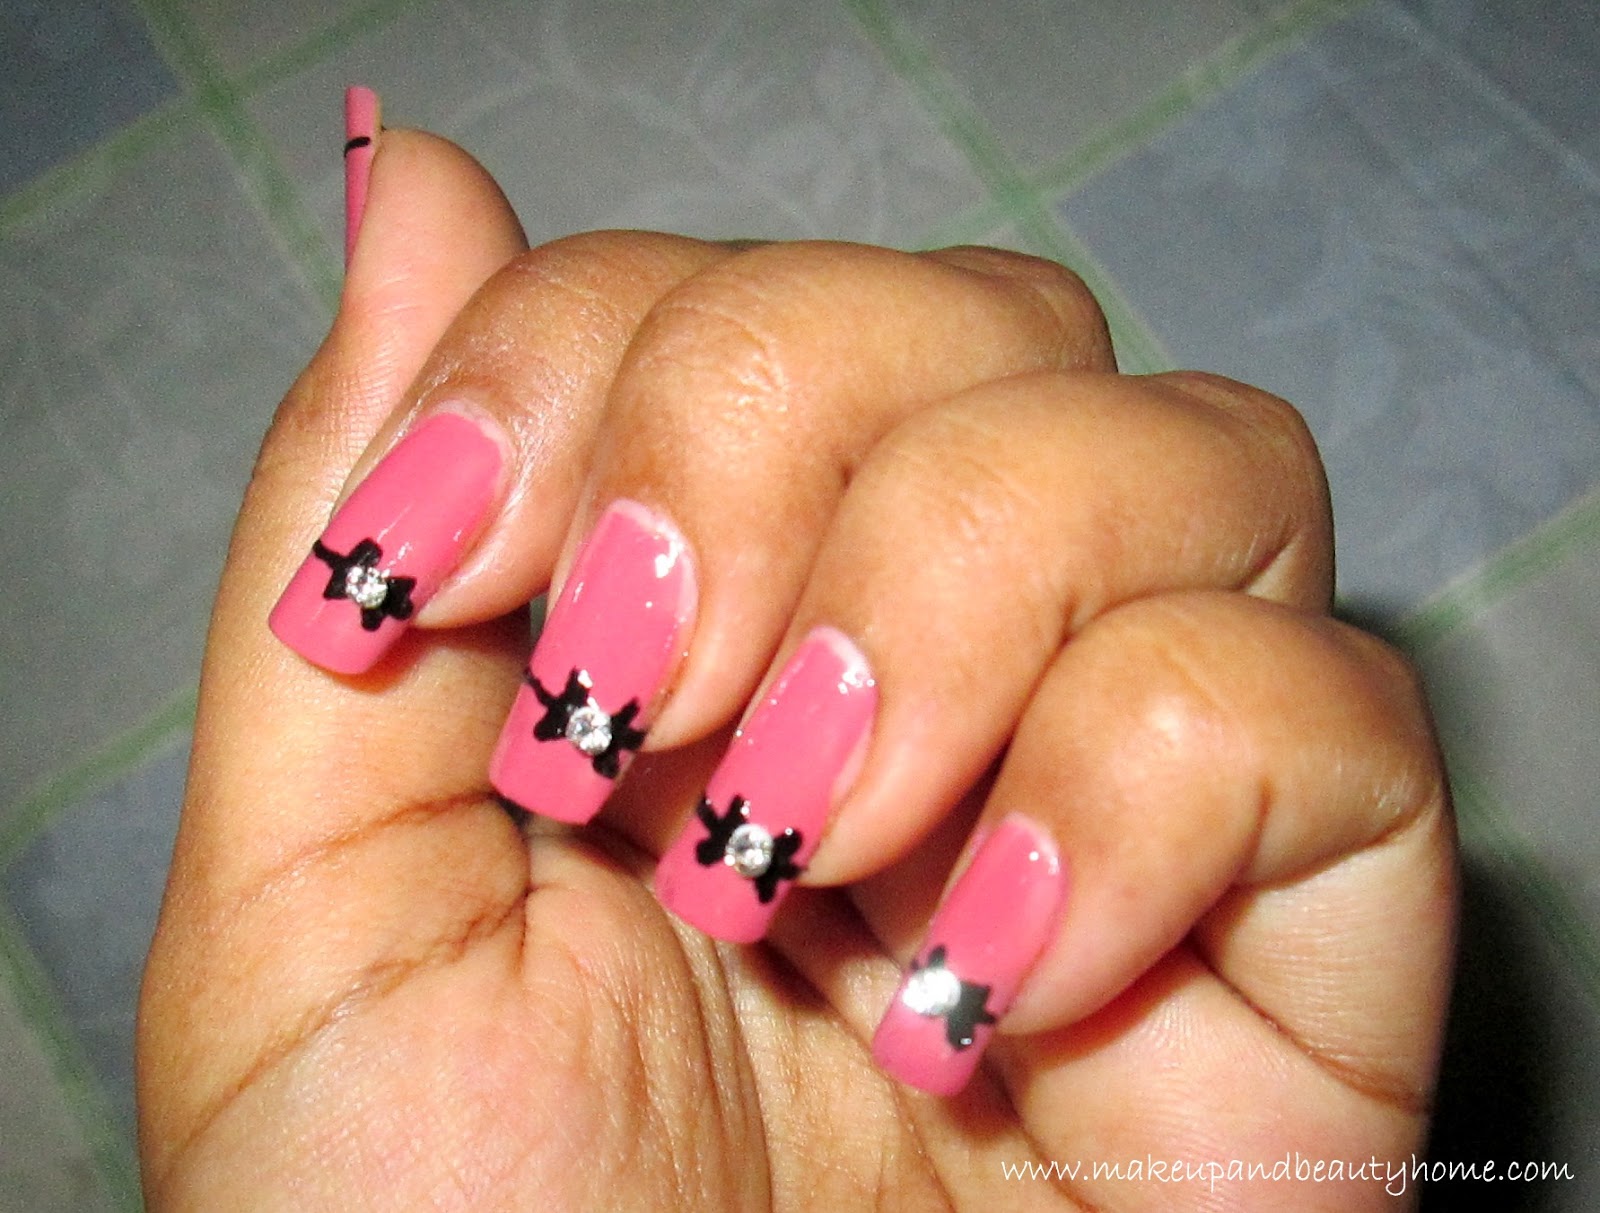
We girls love girly stuffs like cute teddy, bows right? I love bows so much that I keep making everything which must have bows like hair accessories, bracelets; this time I thought why nail art would lag behind. Bows are itself very cute at the same time trendy and stylish. The Hollywood singer Katy Perry had popularized Cute Bow Tuxedo nail Art. Bows are fun and very easy to do on nails.

You can buy ready made nail art bows also from leading online stores. But, I am no pro, and I like to do it myself, so, today I am going to show you my tutorial.
Things You Will Need:

  • One nude color nail paint.
  • One black color nail paint.
  • Nail paint brush/ regular paint brush (No.0)
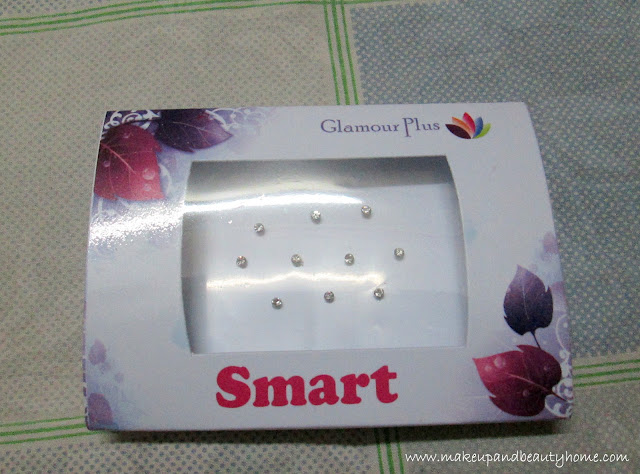
  • Rhinestones or Stone Bindis (optional).

How to Do?:

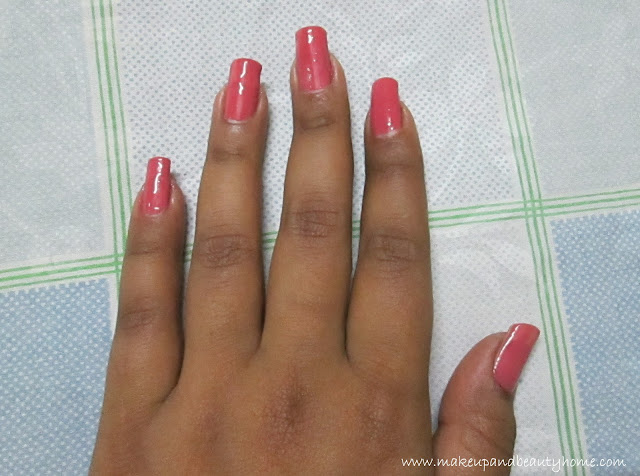
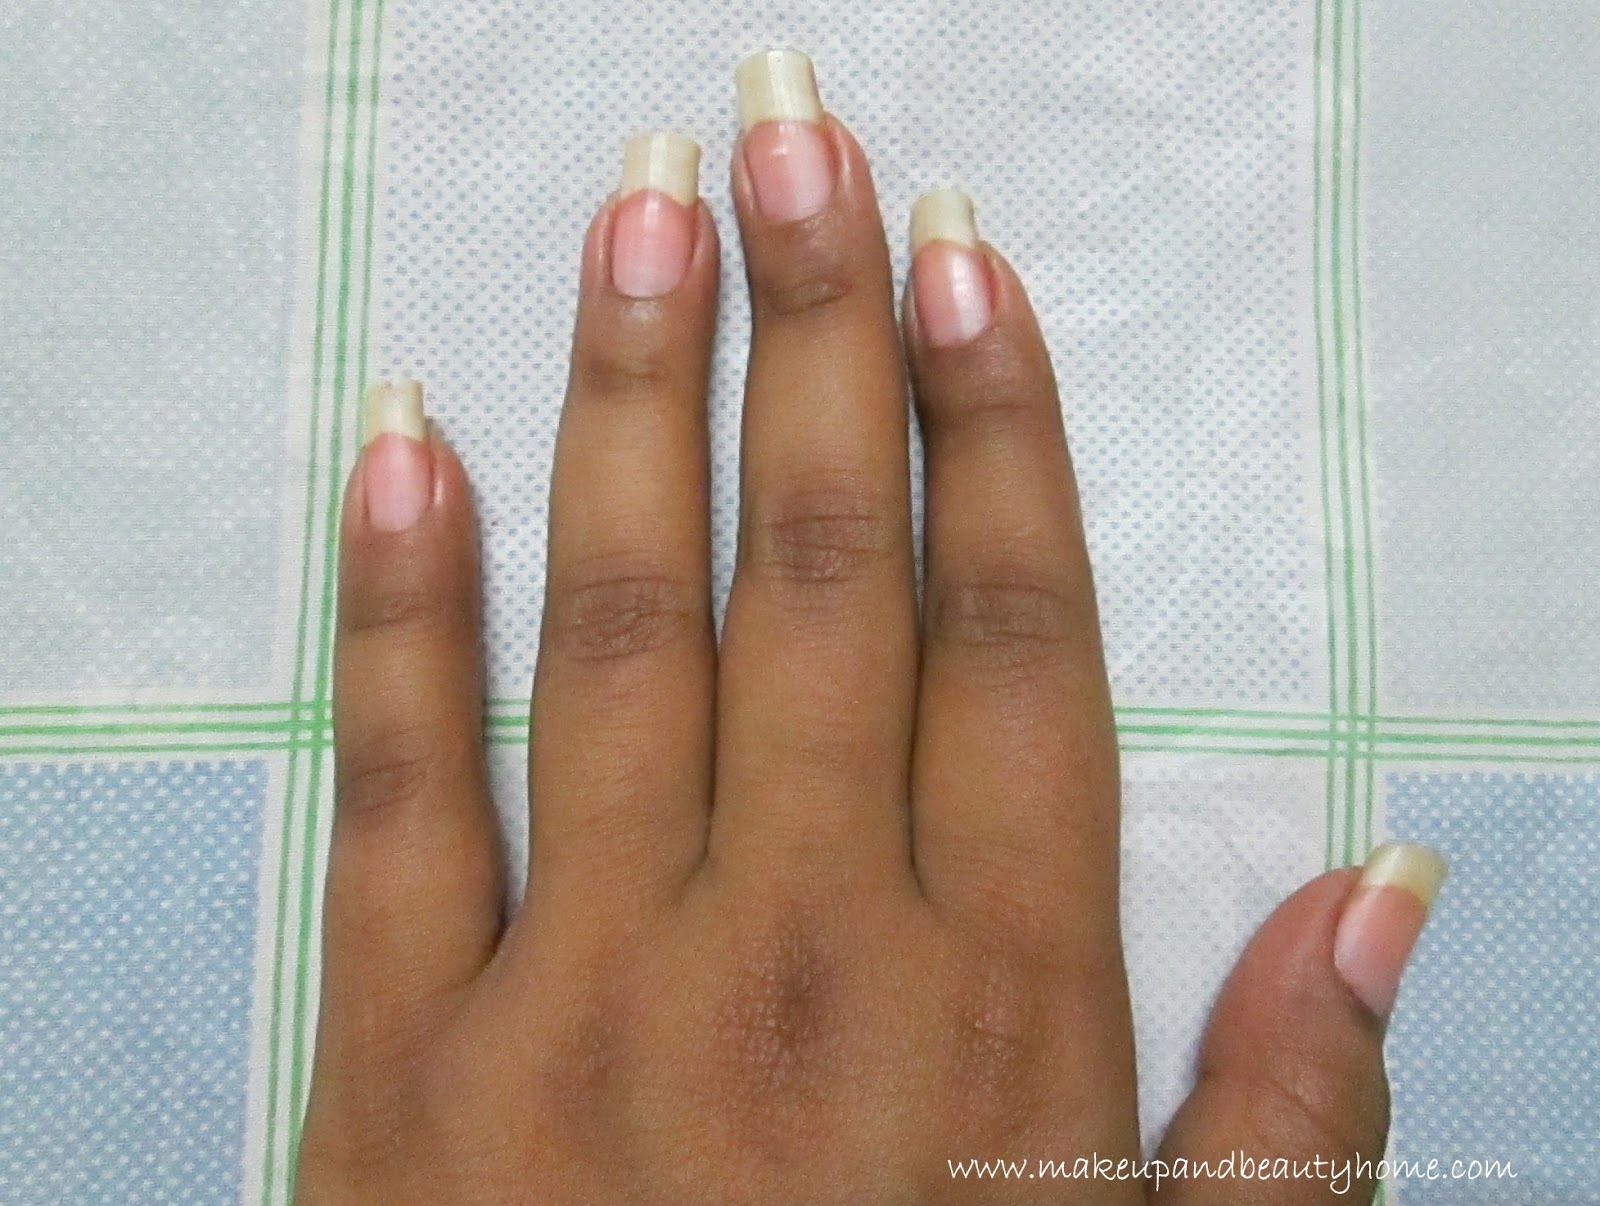
Step 1: Clean your nails and apply the nude color nail paint. Apply double coat and let dry. (If you want, you can use any color you want for the base nail paint.)
Step 2: Dip your brush into black color nail paint and draw a straight line across the nail tip starting from right to the middle of the nail tip. Then after leaving a space, now draw one small dot on the other end of the nail. This should look like one straight line with a space in between.

Step 3: Now, on the space in the line, draw a small bow. For the bow, in the empty space, draw two vertical lines (||)on the line facing each other.

Then, draw a cross (|X|) connecting the two vertical lines. You will have two triangles; fill them with the same nail-paint.

Step 4: After drying, apply the final top coat and let it dry for 5 minutes.

Step 5: Take your rhinestones or stone bindis and place it right on the middle of the bows. If you want to keep it simple, you can also skip this step.
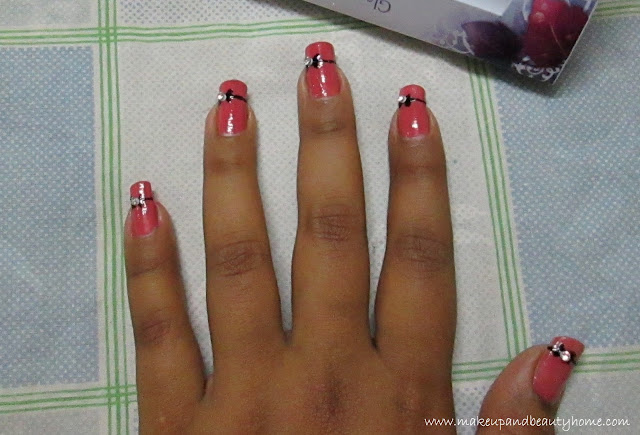
So, try out this simple yet fun and cute nail art; and wear it with your cute dresses. Stand out in a crowd and be a fashion diva yourself. Stay healthy and stay happy amigos.

Do It Yourself Easy Ribbon Rose Ring Tutorial

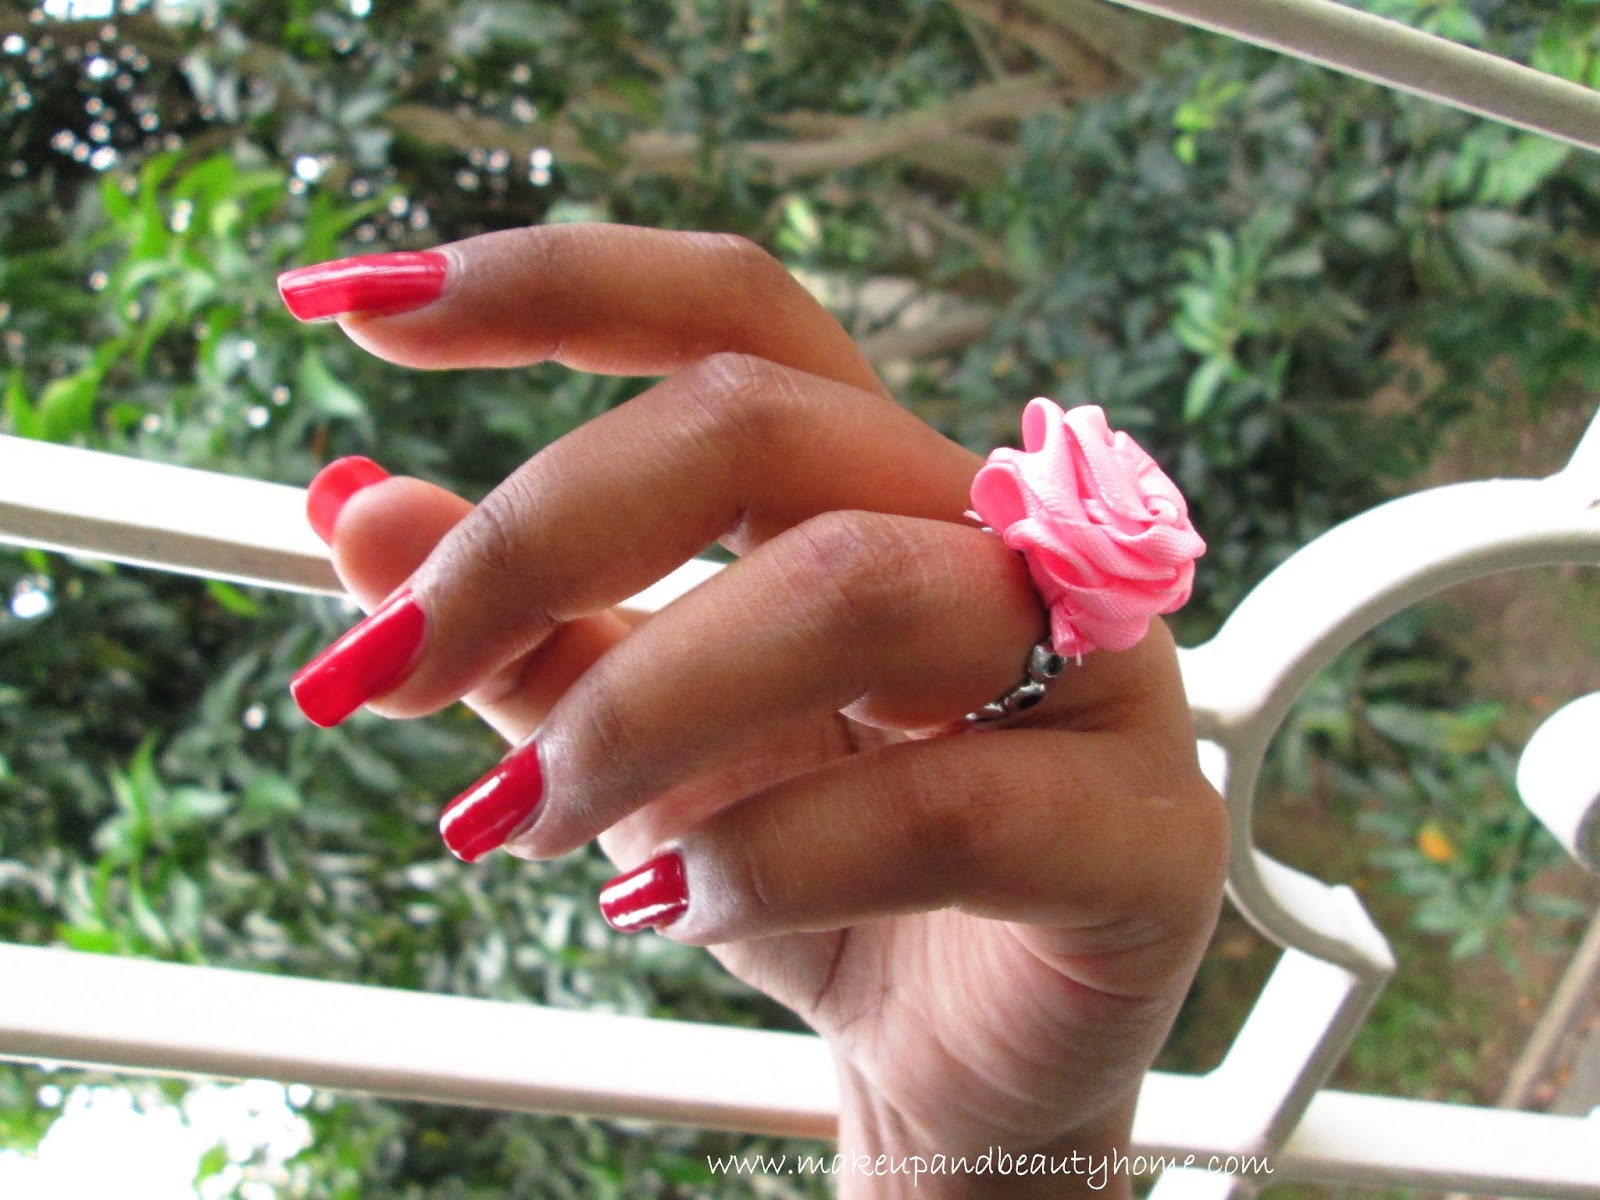
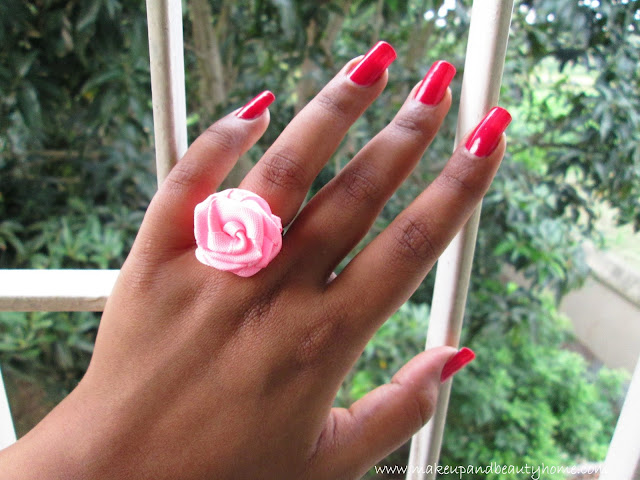
Do you like fashionable accessories? Of course you like, I like too; and how about doing beautiful fashion accessories on your own? In our childhood, we all made paper rose in our craft class, today I will show you the same technique to make a beautiful accessory. Here goes my tutorial.

Things you will need:

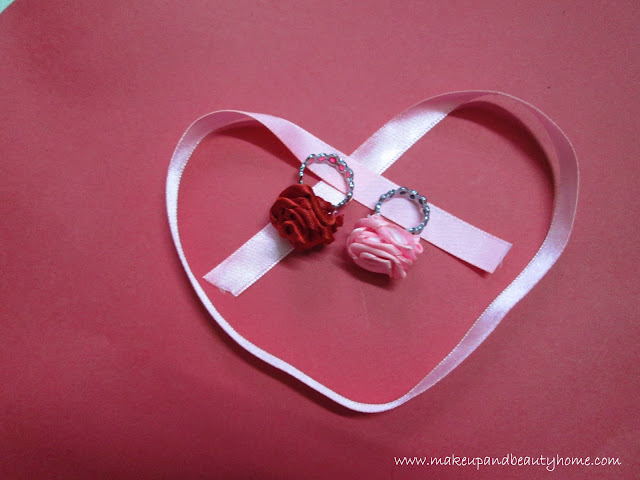
  • Your favorite color ribbon (minimum 20 inches long)
  • One simple ring
  • Scissors
  • Fevicol

Tutorial:

Step 1: Cut ribbon at least 20 inches, you can cut it longer if you want. Now, on the one end of the ribbon, place a knot and leave one inch space below the knot.

Step 2: Hold the knot in your left hand and with your right hand fold the ribbon to 45 degree. Then, twist the knot anti clockwise and keep folding the ribbon with right hand. After doing one round, put your thumb on the top of it so that the folds stay in place. It will produce layers of the folded ribbon. Keep doing it until it is reached your preferable size.

Step 3: Once you are done, turn it upside down and place another knot with the both ends of the ribbon. Cut the extra ribbon leaving one inch space. Now, place the rose on the ring and on the inside of the ring, place a tight knot with the both ends of the ribbon.

Step 4: Apply glue (fevicol) on the knot that you have placed on the ring, also on the layers of the flower.  Use glue liberally, this will only help your ribbon rose stay in place. Cut the extra ribbon ends carefully and let it dry.

Make it ladies and be a fashionista. This is the easiest way to add some statement to your appearance, wear it with a vintage dress or a western dress and flaunt it like a Fashion Diva. 🙂

How to Fix Your Broken Baked Blush? ~ 5 Step Photo Tutorial

Hi friends,

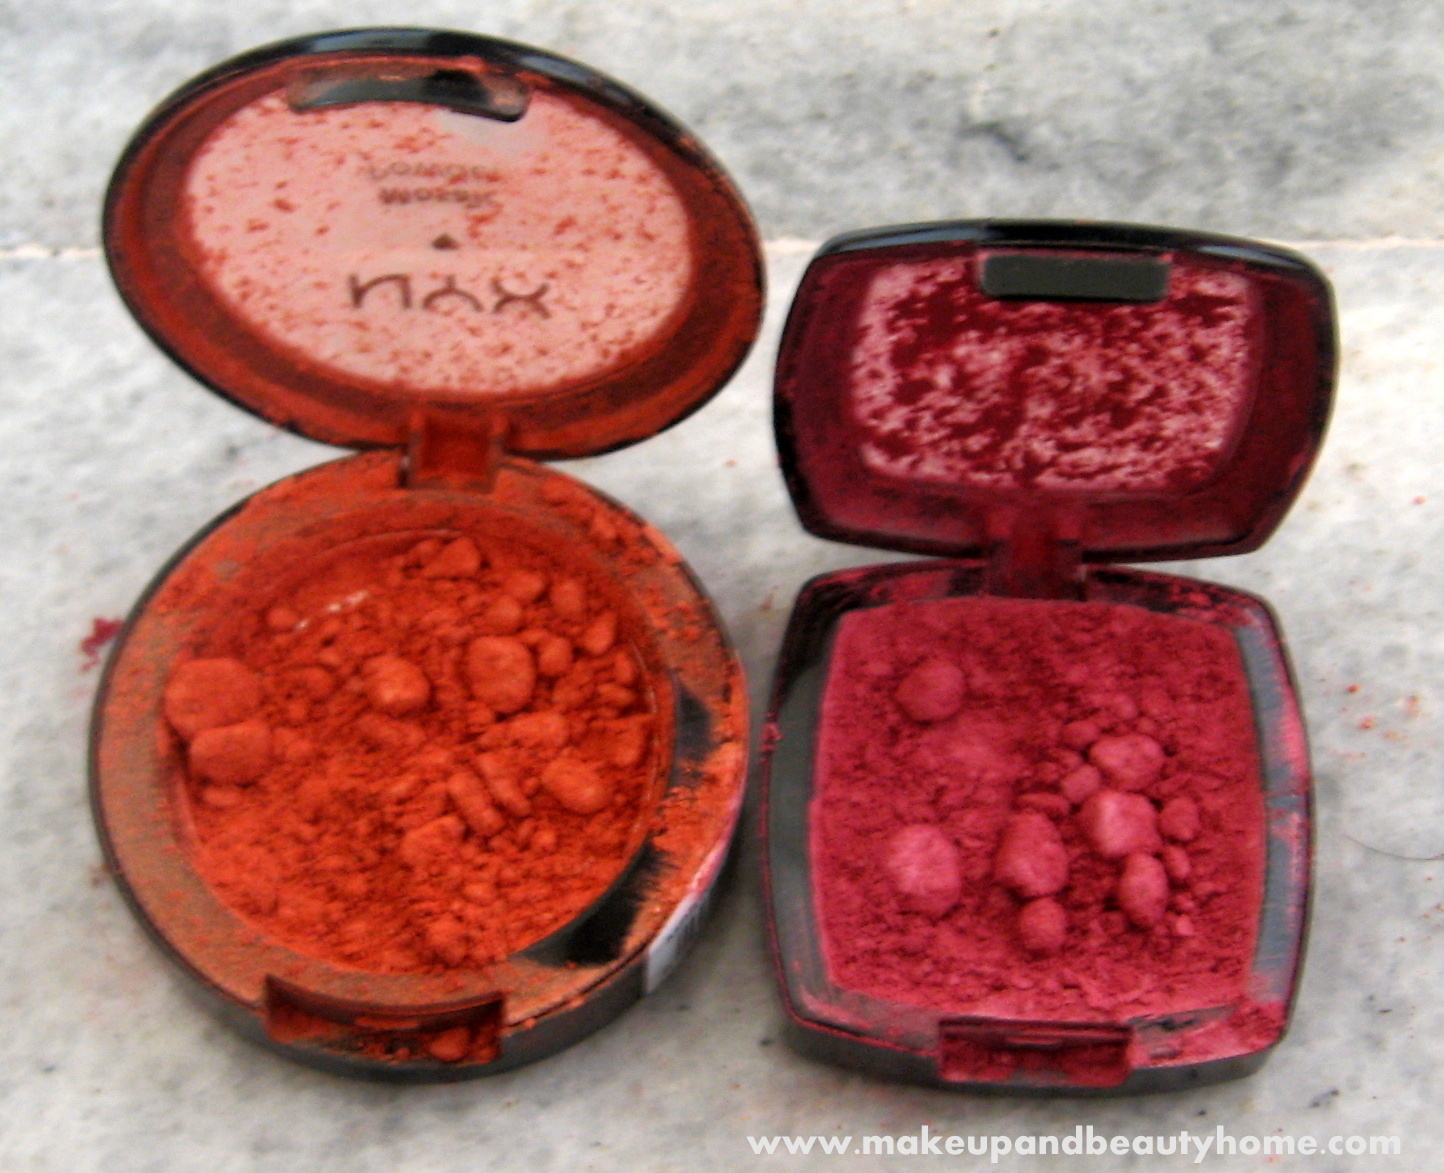
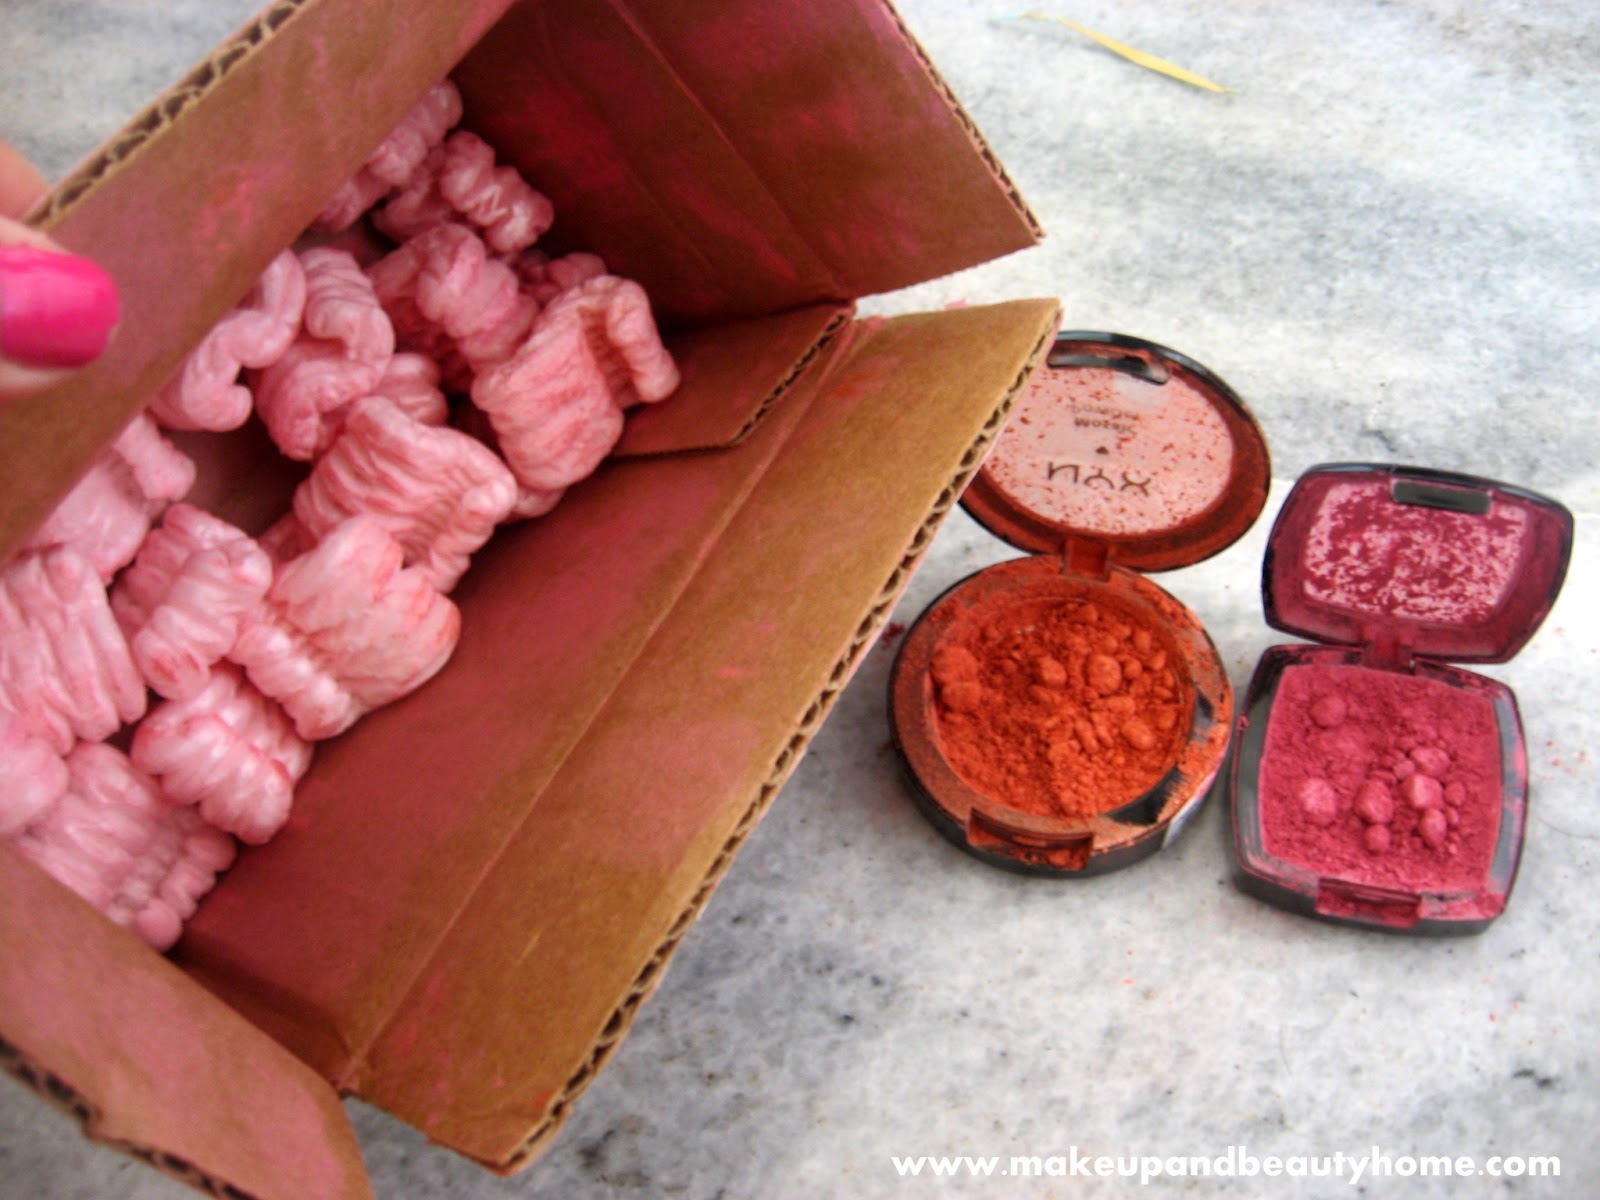
Today I am here with a totally different post but before starting I want to tell you something. Recently I brought two NYX blushes along with some NYX products from an international site Blanc to Noir. The box arrived pretty fast but with broken blushes. Seeing those blushes my heart broke into pieces. 🙁 Wondering what a wastage of my money and moreover I have to throw them in dustbin. Then I searched many you tube videos and what I came up? Well, let me share with you 😀 and I bet you will love it!

As you can see the entire box became colored due to broken blushes and here are the pictures of my broken blushes. So, first thing I did is I brought doctor’s spirit from medicinal store. Well, I used here doctor’s spirit but you can use any spirit containing 50-70% of isopropyl alcohol. As alcohol evaporates quickly.

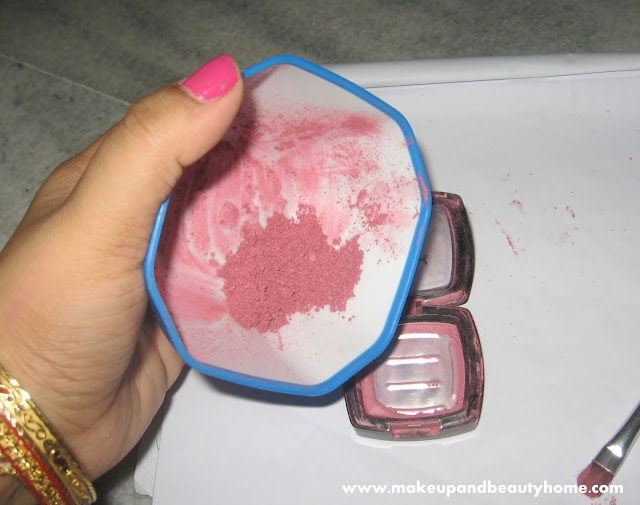
Step 1: I took an old eye shadow brush and some face wipes [just to clean al the mess] You can wash your hand or brush under water also after the whole process, and the bowl. And now, I transferred all the powder from the blush pan to the bowl.

Step 2: Next with the back tip of the eye shadow brush I crushed the entire giant particle of the blush into more fine powder. the more you crush the more fine will be the powder. This will help you to avoid formation of bubbles in the paste that you are going to make in the next step.

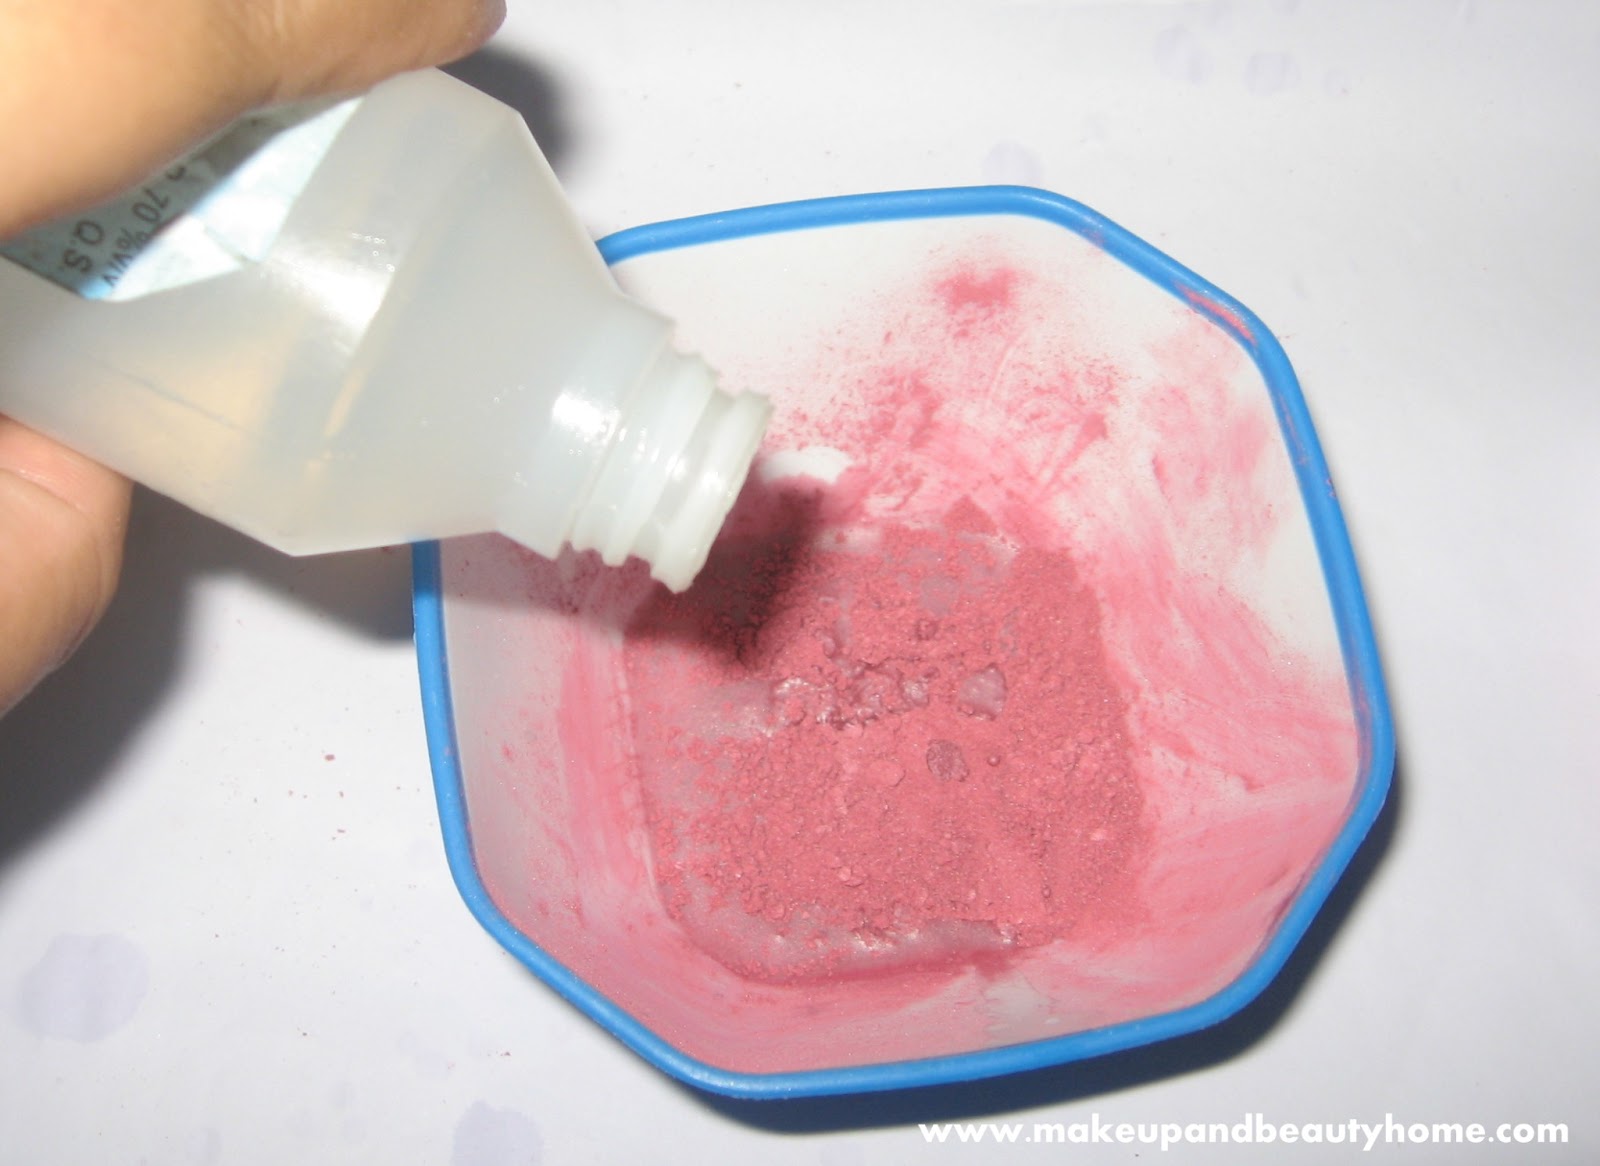
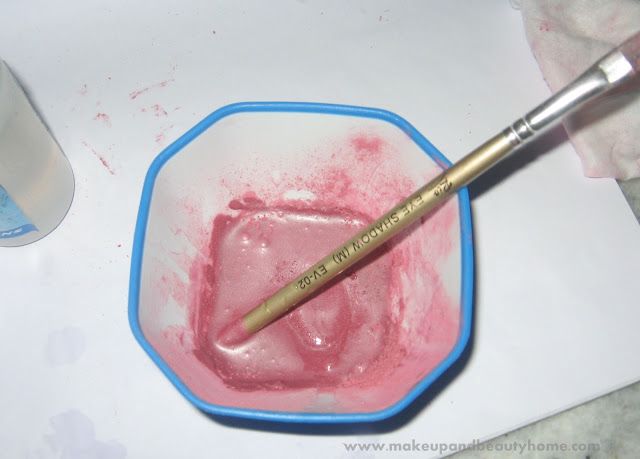
Step 3: Then I poured some amount of doctor’s spirit in to the bowl containing blush powder to make a thick paste with the help of that old brush back tip. As you see the paste is thick like mud.  Care should be taken while making the paste as the paste should not be too much runny or too thick, it will be thick like mud. As too much runny paste will let wastage of product and too much thick paste will prohibit you to spread smoothly on pan. My advice is to pour drop wise first then add more if required.

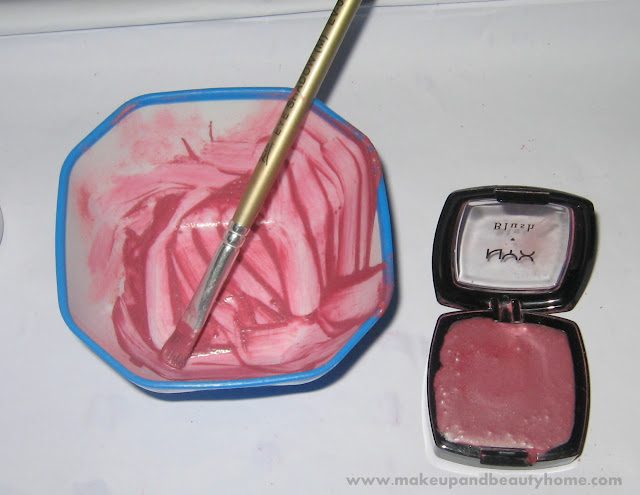
Step 4: Now after mixing the paste transfer it to the blush pan again. Well, may be sometime you will find some paste left over after filling the entire content in the pan. Consider that is a wastage of the paste or you can pour the rest of the paste in a small empty pan and let it dry.

Step 5: Now let the blush pan open for next 24 hours to let the paste dry. My advice is to keep the blush first 12 hours in sunlight so that to avoid any formation of bacteria in it and next 12 hours in air just to let the paste dry and retain to powder form again.

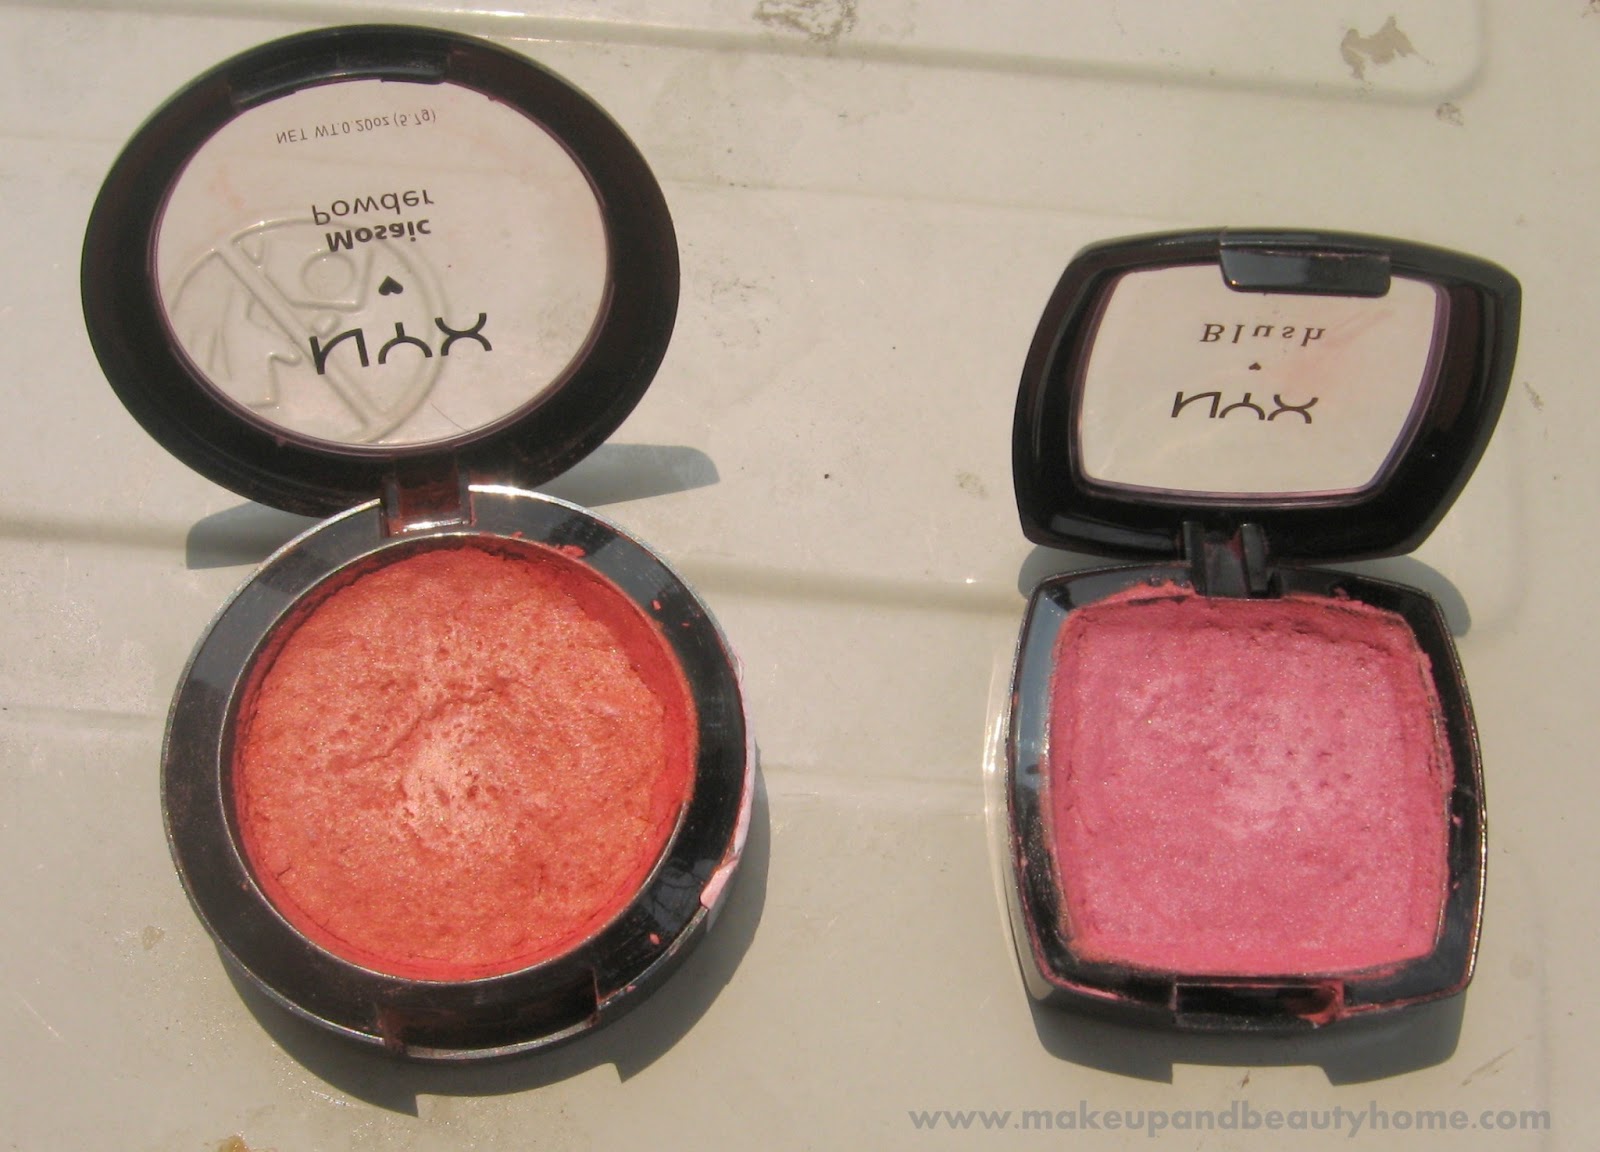
After 24 hours you will found the alcohol evaporates leaving the entire content stick to pan and it became powdery again with same pigmentation, same texture and same color.

It’s true that the NYX mosaic blush comes in a nice mosaic design and NYX powder blush comes with a nice geometric shape which you can’t achieve once it broke by this fixing process but at least you can now fix your broken blush or eye shadows by grinding into powder by this process without throwing it to the dustbin.  In this way your money will also save. So next time if you broke any blush or eye shadow, don’t throw. Try this process like me.