Category Archives: Do it Yourself

How I Cured My Acne Scars in 2 Weeks with My Homemade Facial Kit?

Hello Everone!
How many of you here suffer from acne? Raise your hands! Well facing acne is not only a temporary problem. Acne bumps are painful to touch and handle, moreover they leave ugly dark spots behind. These spots may be dark brown or red in colour depending on the skin tone of a person. Women around the world undergo several parlor laser treatments to fade away these acne spots but they never realize that some amount of baking soda and an orange fruit can cure the scars naturally.

Of course yes, it is not a quick or magical process but this treatment processes speed up the natural spot fading. Let us check the step by step home facial method today which we can follow once in a week at home to fade acne scars in a natural and faster way. I tried it on myself for 2 weeks and it gave me amazing results – check the image below.

Method:

Step 1 – Cleanse: Cleanse your face with a mild cleanser before starting this home facial treatment for acne scars. A gentle oil clearing cleanser would do much better than cream based cleansers. After cleansing your facial skin, softly wipe it off with a soft cotton pad.

Step 2 – Steam: Steaming opens up the skin pores and removes the dirt and inner impurities. Fill up a wide bowl with water and few drops essential oils (optional). Bring it to boil and switch off the stove. Exposure your facial skin to the steam and cover your head with a thick towel to prevent the steam spreading to air. Take this facial steam for 2-3 minutes.

Step 3 – Exfoliate with Baking Soda: Mix baking soda with required rose water to make a thick paste. Apply this exfoliator over your steamed facial skin and scrub with gentle circular motions. This encourages the removal of dead cells and other waste particles from the skin. After scrubbing for 2-3 minutes, splash fresh water and wash away the baking soda without leaving any residue.

Step 4 – Orange Bleach: The citrus extracts of the orange juice naturally bleaches the skin and lightens the acne scars. After the steaming and exfoliating processes got done, your skin would be more fresh and apt for the absorption of citrus extracts. Dilute the orange juice in 1/2 parts of water and dip a cotton pad into this mixture. Gently apply this cotton pad over your facial skin and leave on for 10-15 minutes before washing it off.

After washing off, don’t forget to pat dry and moisturize skin. That’s it. You’re now done with your orange & baking soda acne scar clearing treatment home facial.

Important Things to Remember:

1. Steps 1 and 4, that are cleansing and bleaching should be done everyday to notice fast results.

2. The steaming process should only be done once in a week. And the exfoliating process (with baking soda) should be done twice a week.

3. Whatever your skin type may be, you MUST moisturize your skin after you are done with this facial.

4. Do this facial only at evening or night. If you are going to perform this in day time, make sure you wear a sunscreen with a SPF after doing it.

5. In this two weeks of time, you should not expose your skin to the sunlight. If you do so, your skin will become more darker than before. (Due to the sensitivity caused by orange bleach)

6. You should wash your face 2-3 times a day with a mild cleanser.

7. Drink at least 3 liters of water a day while performing this treatment.

8. If your skin is allergic to citrus fruits or baking soda, do not try this facial.

9. This treatment should only be followed to cure acne scars and improve complexion. If you have live acne bumps, do not try it at all.

10. This facial may not work on everyone as it worked for me. So I cannot guarantee you the removal of acne scars. If it causes any irritation, wash your face with cold water and apply aloe gel. However, mild irrigation is normal during the process.

Try try this facial at home and let me know the results! 🙂

Coffee: A Wonder Kitchen Product for Happy Skin

Hello Everyone!

Coffee is one substance, I can go on and on about. Most of us limit ourselves to using coffee as a beverage and are unaware of the health and beauty benefits of this wonder kitchen ingredient. In this write up, I would talk about why coffee is good for skincare and how can it be utilized in beauty treatments 🙂 Read on to know more.

How coffee is great for skin?:

1. Coffee is an excellent anti-oxidant. The role of an anti oxidant is crucial in our bodies. There are a number of biochemical reactions and metabolic processes going on in our bodies. These processes produce a whole lot of free radicals. These free radicals have often been described as an important culprit behind skin aging and skin cancers. Coffee is believed to help control both these by destroying free radicals and revitalizing skin cells.Though; the actual effects can only be seen after long term use.

2. Aroma therapy is something very much in fashion these days. Nobody can deny that coffee has an amazing aroma. Sipping a cup of coffee relaxes and relieves our senses so much. Did it ever make you wonder what a Coffee face pack would do! 😉

3. Exfoliating once or twice a week is an essential part of skincare routine due to increasing levels of dirt and pollution in cities. Scrubbing helps get rid of dead skin cells and deeply cleanses pores of skin. Clean skin allows moisturizers and other skin nourishing products to seep in better. Coffee works great as a mild scrub!! Towards the end of this article, I have provided some simple Ideas to use coffee as a scrub at home.

4. Coffee is also a known anti-cellulite agent. Remember how our gym trainers tell us do drink herbal tea and black coffee. The reason being, coffee helps cut down fat and tone down flab. Coffee wraps are being used in various spas as an anti-cellulite treatment.

5. It is an anti-Inflammatory substance too 🙂 So it works well in reducing local redness on skin.

6. It also helps in reducing puffiness around eyes.

Here are certain, easy tips to use coffee in your skincare regimens.


Coffee as a Mild Scrub:

Mix ground coffee (which is easily available in supermarkets) or instant coffee with Johnson’s baby oil or olive oil and use it on your face and neck, using gentle circular strokes. Massage face for 3 to 4 minutes and rinse off with Luke warm water. If you happen to have an oily skin and want to skip the oil, you can substitute it with Lemon juice or Aloe Vera gel. If you want to enjoy the fragrance, you can even leave it in as a face pack, afterwards.

Scrub for Knees, Elbows and Feet:

This is an absolutely simple one. Mix sugar and coffee powder. Use water or milk or Aloe Vera as a medium for wetting. This is a coarser scrub so, do not use it on your face.

Coffee as a Face Pack:

Use finely ground coffee or even instant coffee for this recipe. Mix equal proportions of coffee powder and milk powder. Use water/rose water/aloe gel as an agent to mix the ingredients together. Alternatively,You can take 1 table spoon coffee and mix it with  few drops of milk. To make the consistency fluffy, beat the coffee well before applying onto the face. Apply in a thick layer on face. Let it stay for 20 minutes and wash off with luke warm water. This face pack has dual advantage of soothing your skin and relaxing you with it’s rich aroma 🙂

I really hope, you liked this write up and would start exploring the goodness of Coffee to make your skin Happy 🙂

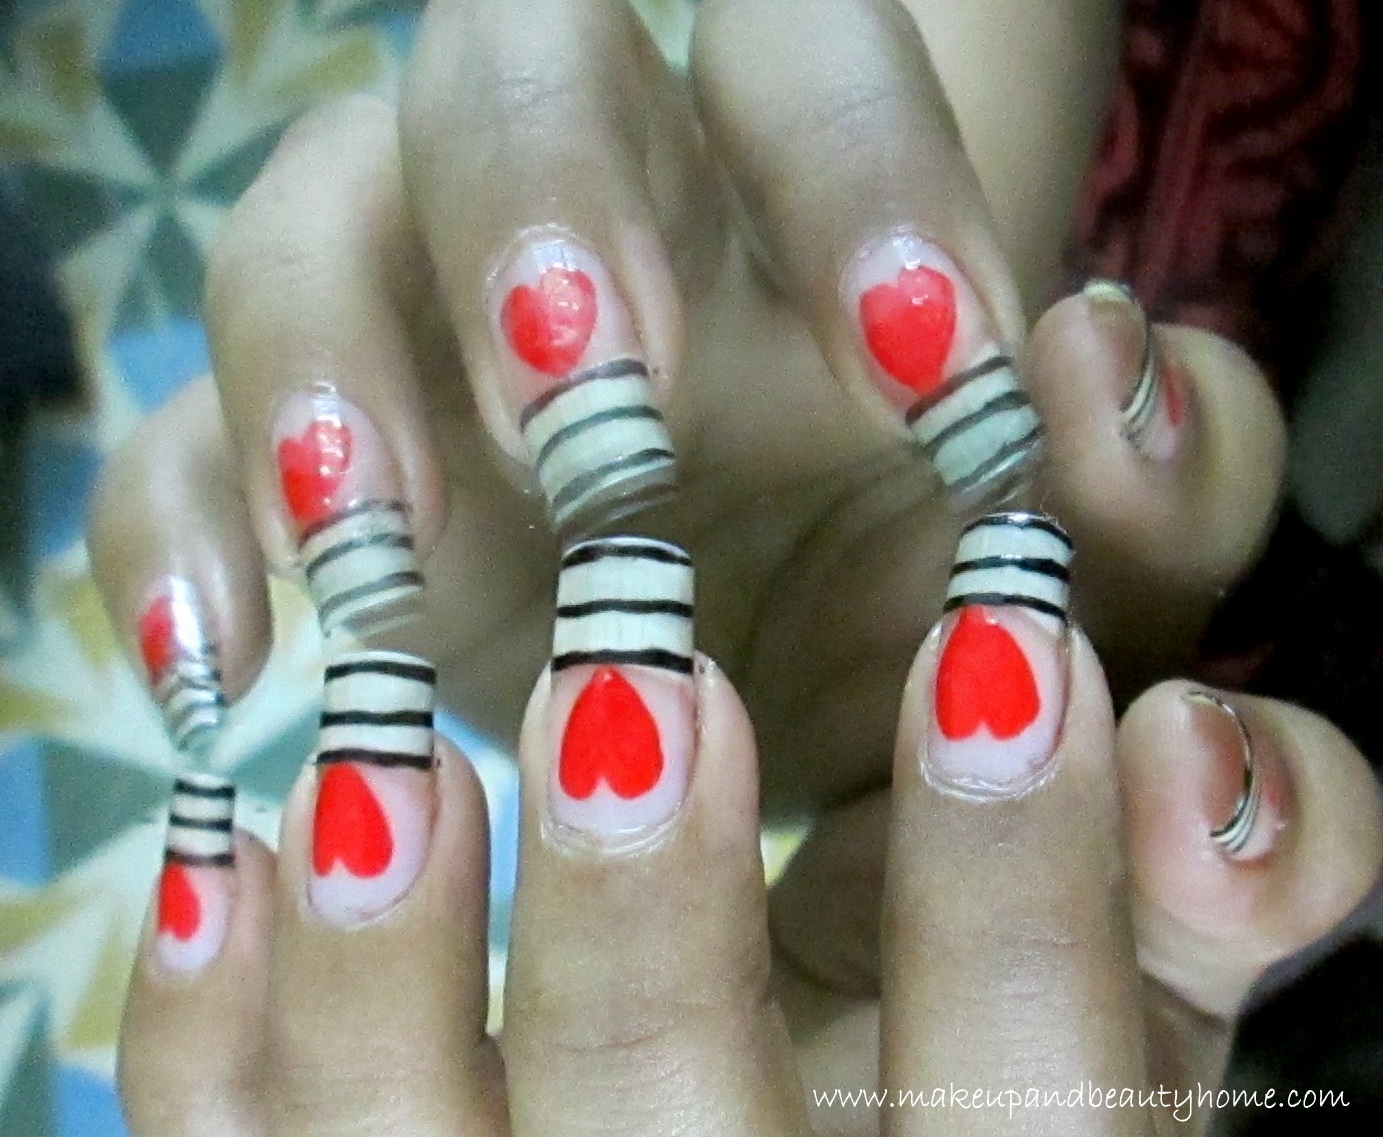
Easy Stripes and Heart Nail Art Tutorial ~ Do It Yourself

Hello friends!

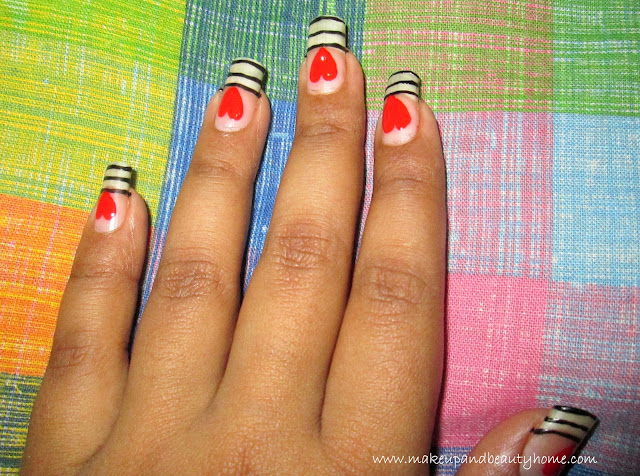
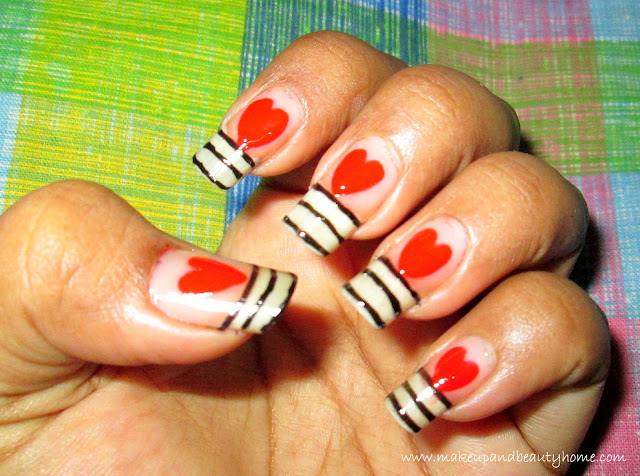
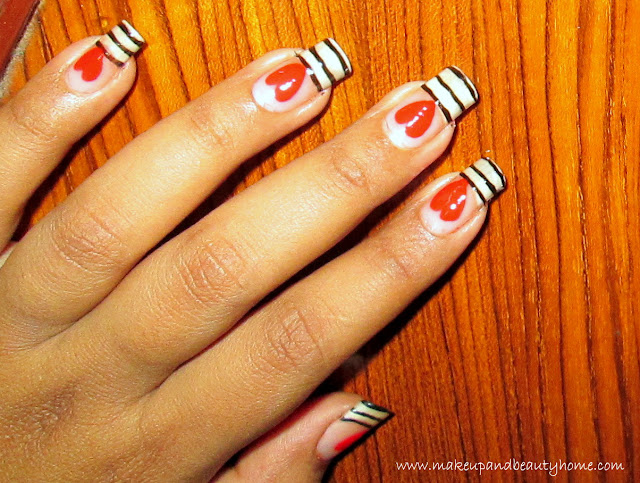
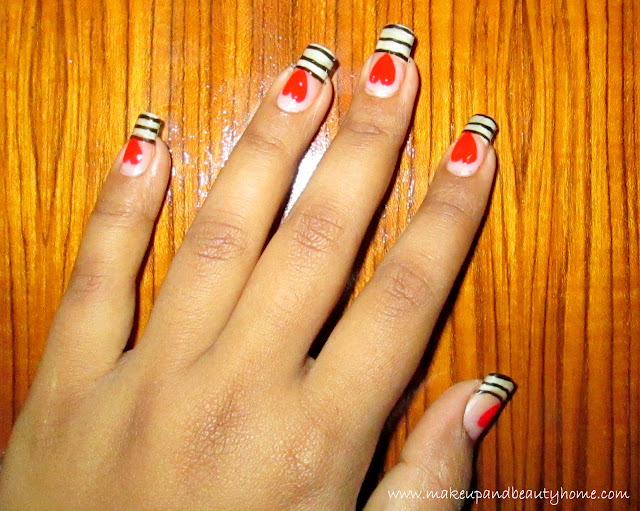
Today, I am going to show you the most simple and yet very modern nail art. I know, Valentine’s Day has been and gone, but there is no season for love, right? So, how about reflecting this idea onto your nails? I have come up with this idea after a lot of experiment. So, here goes my tutorial.

Things You Will Need:

  • One Black nail paint.
  • One Red nail paint.
  • One top coat nail paint.
  • One nail-paint brush/ regular brush (No.0) / bobby pin.
Tutorial:
 
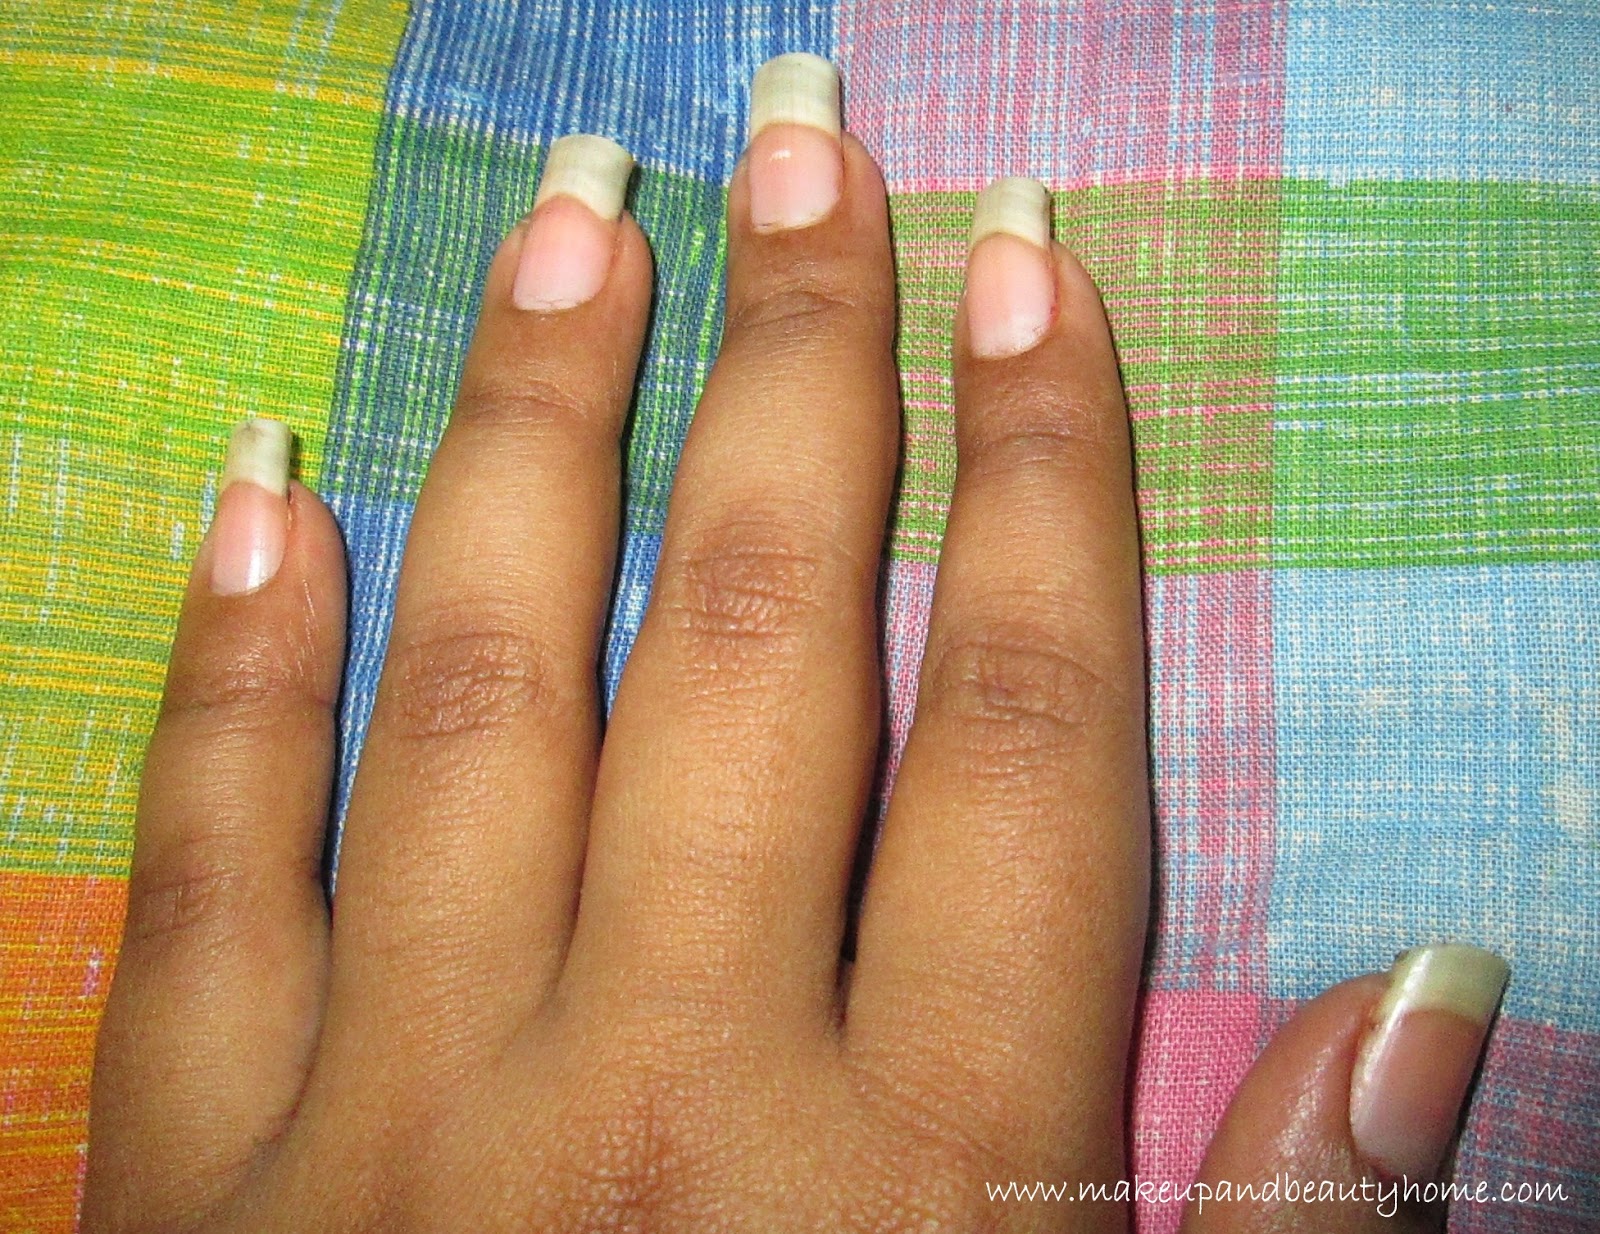
Step 1: Clean your nails. (If you don’t have any nail paints left on your nails, still clean it with remover to get the perfect clean and white nails)

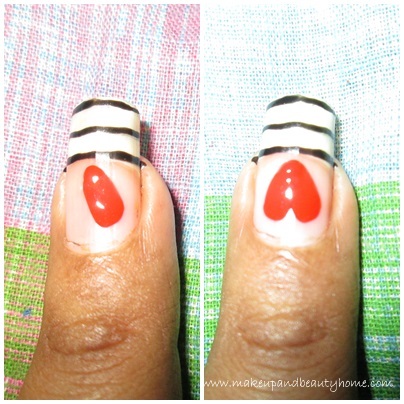
Step 2: Dip your brush/bobby pin in the black nail paint and draw one horizontal line on the edge of your nails. Then draw two more horizontal lines below it, leaving a moderate space in between the lines. Be very careful while doing this. I have done with regular paint brush.

[Note: If you have short nails, leave smaller space in between and draw only two lines on the nail tips.]

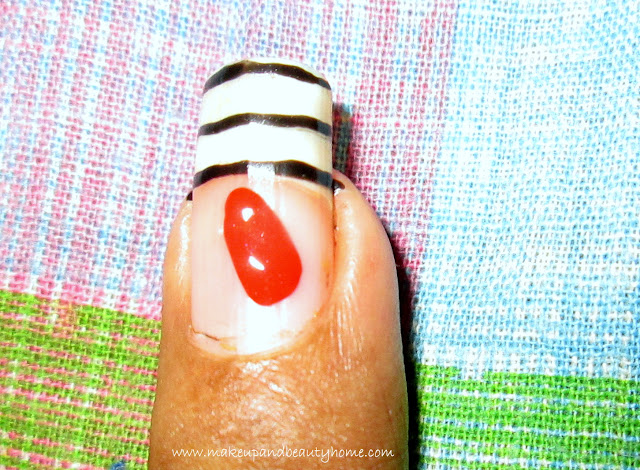
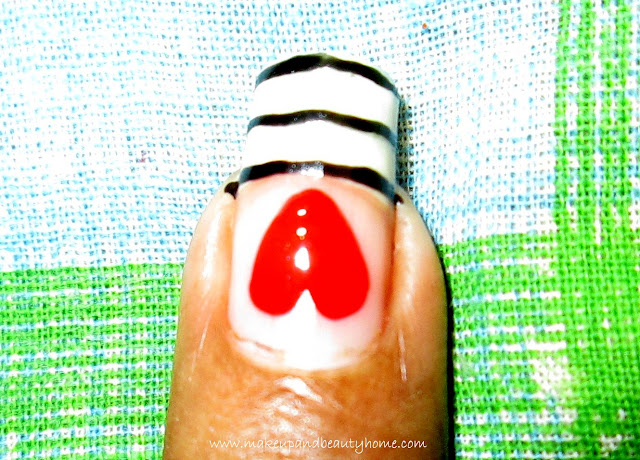
Step 3: Now, for the heart, you don’t need any tool; normal nail paint bottle applicator will do it. Take the red nail paint and draw on the middle of your nail one line in the angle 45 degree tilted to the left. The shape of the line should be like Carrot (thicker on the top and narrow on the bottom). Then, draw one more similar shape line and in similar angle but on the right.

[Note: Before doing it on your nails, do practice it on a piece of paper.]


Step 4: After drying, apply the top coat on all nails.

So, ladies try this simple nail art and pull it off with any type of attire be it your western attire or some casual attire. It is as easy as cute and trendy also. Be the most fashionable person among your peeps. Stay healthy ladies and do not forget to let me know how you like it.