How to Do Proper French Manicure At Home? – Photo Tutorial

Hello dear friends!

French manicure is the most popular and demanded all over the world. I myself do not get normal manicure anymore, now my manicurist knows what I want exactly. But, I do not always get two hours in the saloon plus the extra journey time in my hand just to get my nails done. Thus, I do it on my own with my own products.

So, today I am going to share my very own version of french manicure at home with very simple and affordable way.

French-Manicure-at-Home

Things Used in French Manicure:

  • Hot water.
  • Mild soap.
  • Foaming cleanser.
  • Scrub.
  • Mud pack.
  • Massage cream.
  • Nails and cuticle crème (optional).
  • Nail buffer/emery boards/nail file.
  • Towel.
  • Duct tape.
  • Neutral color nail enamel.
  • White nail enamel.
  • Top coat enamel.
  • One big flat bucket to soak hands.


Tutorial:

Step 1: First, remove the leftover nail paint from your nails and in the mean time boil half a bucket water.

French-Manicure-Before

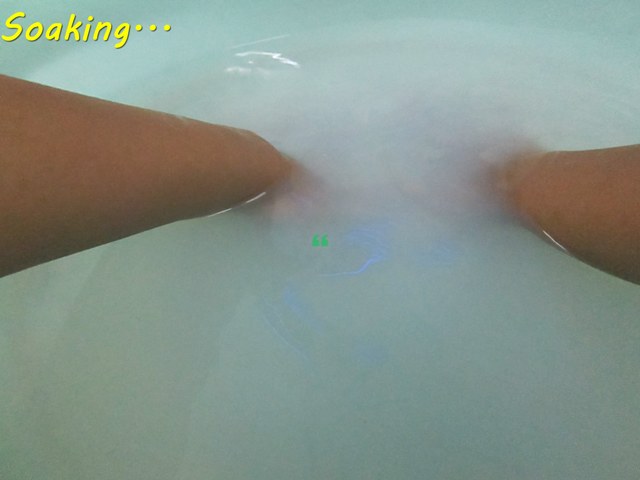
Step 2: When the water is boiling, bring it down and pour it in a flat bucket and mix it with room temperature water. Then add mild liquid soap or your favorite hand wash in the water and mix well. Now, soak your whole hands (up to your biceps area) in to it for 10 minutes.
French-Manicure-Step-1

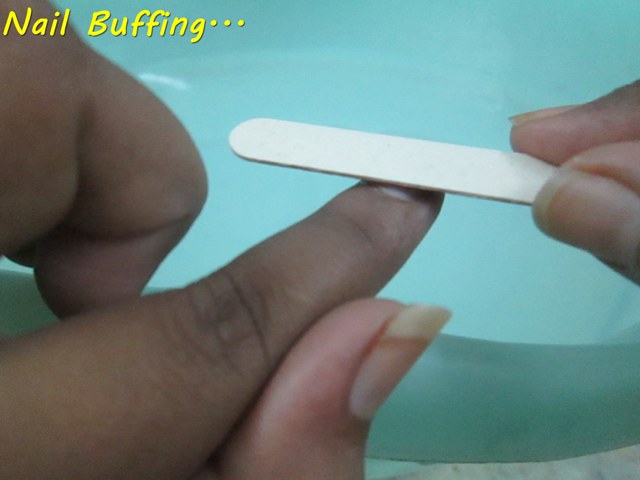
Step 3: Take out your hands and wipe it with the towel. Now, with your nail file or buffer shape your nails. You can do any shape you want, like square tip or oval tip. I am fond of square tip. Buff your nails all over to bring the fresh white color of your nails.
French-Manicure-Step-2

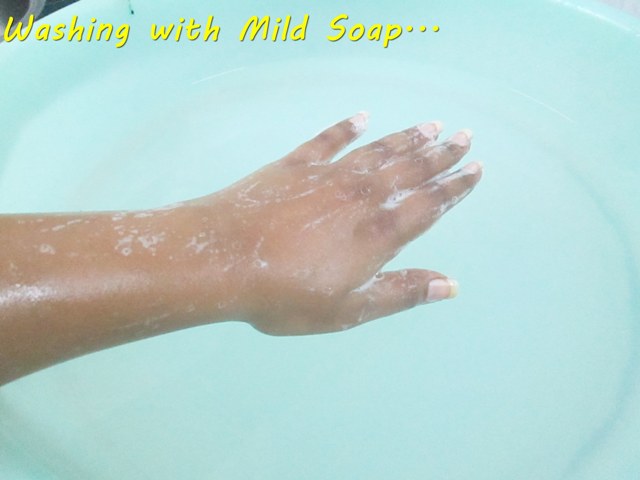
Step 4: Now, wash your hands with the mild soap to get it ready for manicure.
French-Manicure-Step-5

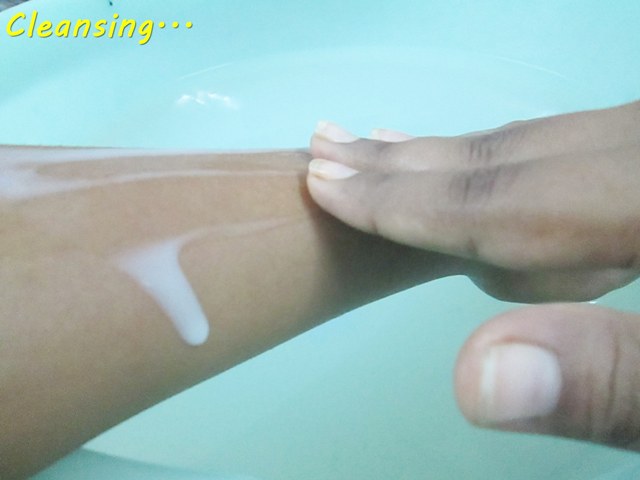
Step 5: Take a good amount of your foaming cleanser and apply it on to your hands and gently massage. Do this for 5 minutes on both of the hands. Then to remove it, you can use cotton balls or just wash it with water.
French-Manicure-Step-6

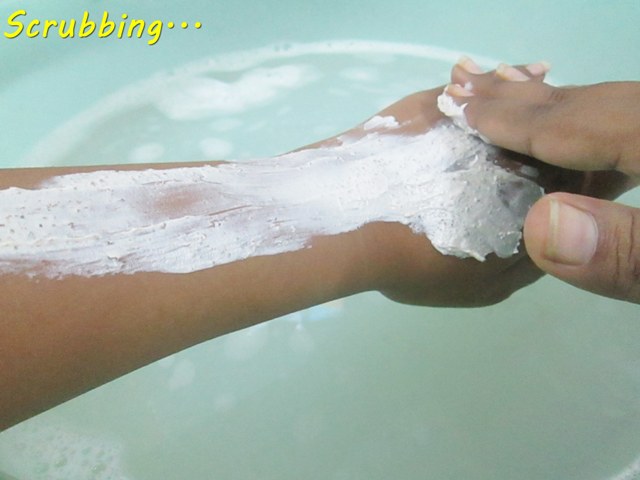
Step 6: Now, apply scrub and start scrubbing your hands one by one. Take a lot of time to scrub as the dead cells need a swipe off. Add a sprinkle of water while scrubbing to do it smoothly. And do not forget to work on the elbow and the fingers with special attention. After 15-20 minutes of scrubbing, wash off your hands.
French-Manicure-Step-7

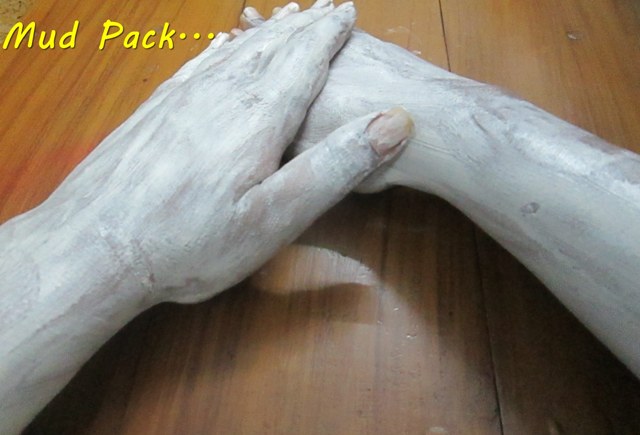
Step 7: After towel dry your hands, apply mud pack on all over the hands evenly. Then, sit back and relax for another 20 minutes. After drying it completely, wash off very carefully.
French-Manicure-Step-8

Step 8: Now, apply a massage cream and start massaging your hands one by one. First massage your upper hands, gently working down the elbow and then fore arm. Also massage the palm and the fingers. For your nails, you can use a good nails and cuticle creme to make them strengthen and healthy. Make sure you massage each of your hands no less than 15 minutes.
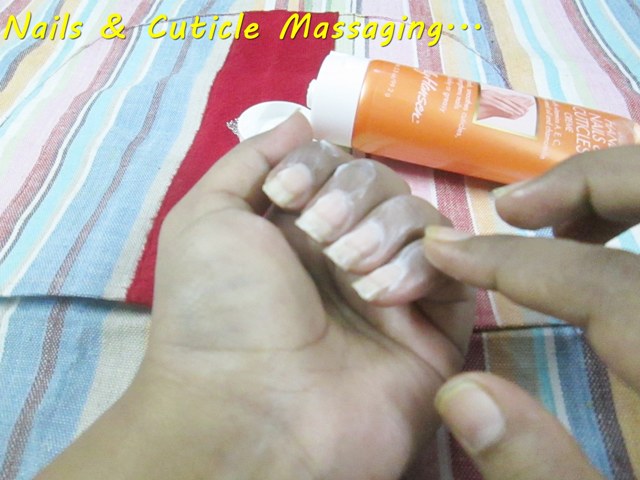
French-Manicure-Step-10

Step 9: Now, for the main attraction of French manicure i.e. the nail art, cut ten strips of duct tape and place it on the tip of your nails. Now, apply the neutral color nail paint on the nails. I have used Elle 18 Color Pops Nail Enamel 07.

Then, remove the duct tape and apply the white nail enamel on the tip (where the tape was placed). Finally apply the top coat and you are done.
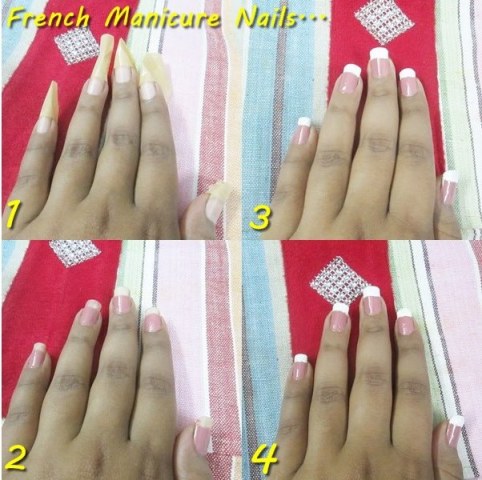
page

Step 10: Glam up your freshly done French manicure with a nice ring and you ready to rock!
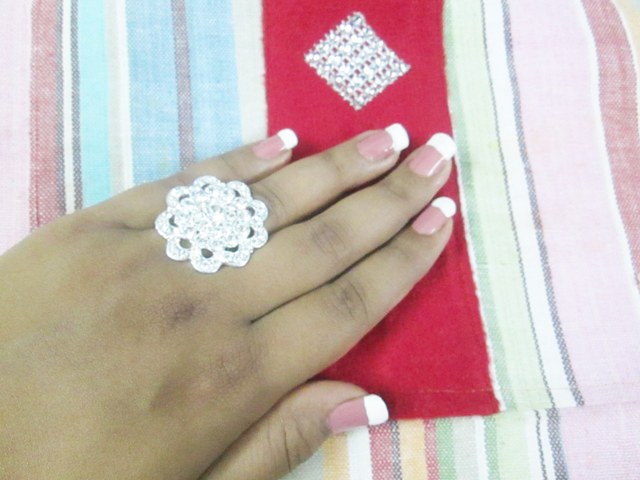
How-to-Do-French-Manicure

This process may need your energy and time but the result will worth it. You can do it yourself or you can also take someone’s help for the massage. The one great thing about doing it yourself is that you can use your own products instead of saloon’s cheap quality cleansers, scrubs and massage creams. So, in my opinion, take out one afternoon from your schedule and do it yourself.

I hope you guys find it helpful and do share your valuable comments below.  🙂
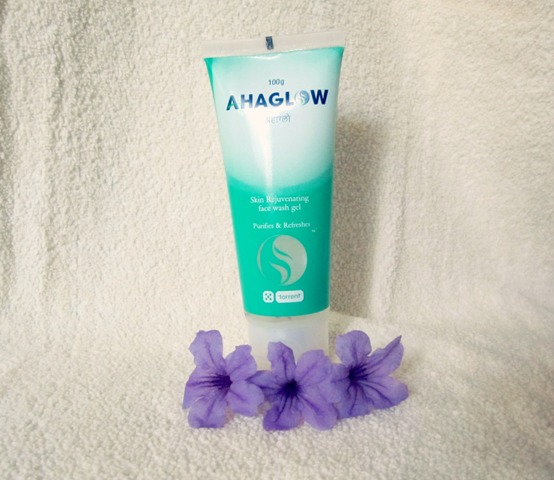
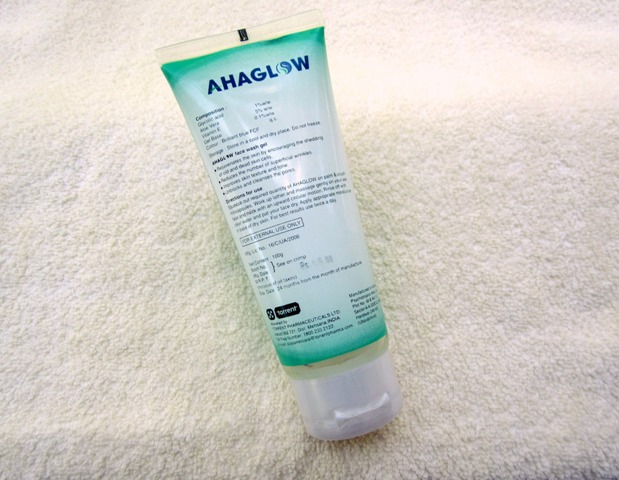
AHAGlow Skin Rejuvenating Face Wash Gel Review

Hi my friends,

I missed writing on MABH all along. But now I am here with the review of an amazing product which will be a saving grace for people with pimple prone skin. My dermatologist prescribed me this when I consulted her for my acne issues. It worked like magic on me!

Let me give you a little insight about AHAs. They are naturally occurring or synthetic acids that are widely used for cosmetic purposes to improve the skin texture and appearance.They hydrate the skin and improve collagen production.

Aha-Glow-Face-Wash

Product Description:

AHA glow face wash gel

  • Rejuvenates the skin by encouraging the shedding of old and dead skin cells
  • Reduces the number of superficial wrinkles
  • Improves skin texture and tone
  • Unblocks and cleanses the pores


Composition:

Glycolic acid 1%, Aloe vera 5%, Vitamin E 0.1%, Gel base.


Price and Quanity:

Rs. 195 for 100g

AHAGlow+Skin+Rejuvenating+Face+Wash+Gel

My Take on AHA Glow Face Wash Gel:

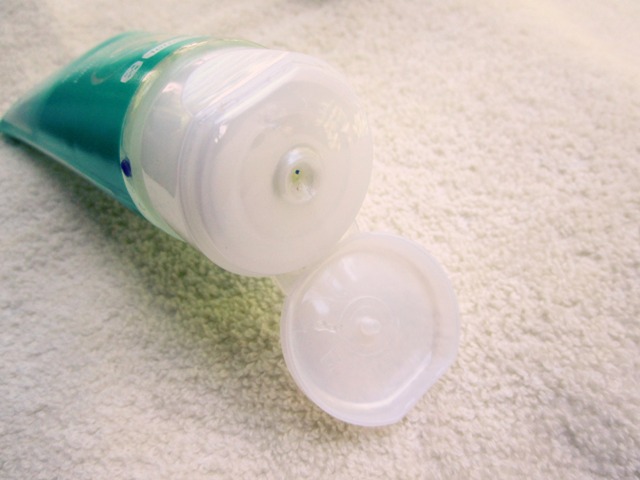
The product comes in a bluish green plastic tube with small see through portions; makes it easy to know when you need to purchase another one. The white plastic cap shuts tight and prevents any leakage. The packing is not very exciting though.

Acne-Prone-Skin-Face-Wash

The face wash is a wobbly transparent gel that has mini multi colored capsules in it. You are supposed to crush them gently and then apply on face. It is fun doing this and I feel happy that I am doing something extra for my skin. The capsules won’t come out as soon as you start using it the first time. You will get only the gel for the first few washes so don’t waste the product in search of these colored fun pops 😛

Face-Wash-Swatch

The fragrance of this face wash is good and slightly on the medicated side. It lathers pretty well and upon washing the skin does not feel stretchy or dry which is great as opposed to a lot of other oil control products which simply make your skin like parched land. The skin is squeaky clean. It will also remove mild makeup off your face. It controls oil secretion only for an hour or so.

The product controls acne effectively within a few days of usage. Even severe breakouts can be controlled with this. Aloe vera extracts reduced the redness. This product is supposed to enhance skin shedding and cell renewal. This way it will not allow the pimple or acne to develop. This gives mild chemical exfoliation that is good enough for everyday use. If you don’t like scrubs you can definitely try this. My skin looks polished and smoother now after a few weeks of use. What more would one want?!


What I like about this Face Wash?:

  • Cleans out all impurities
  • Does not dry out the skin
  • Controls acne
  • Good exfoliation
  • Fun millicapsules to work with
  • Leakage proof packing
  • Skin polishing
  • Best for combination to oily skin


What I don’t like about this Face Wash?:

  • Not a rich foaming formula
  • Availability might be an issue
  • Does not control oil


MABH Rating: 4.5/5


Do I recommend?:

Yes, this will control your acne in a jiffy and will make your skin glowing upon continuous usage


Would I Repurchase?:

Yes, occasionally.

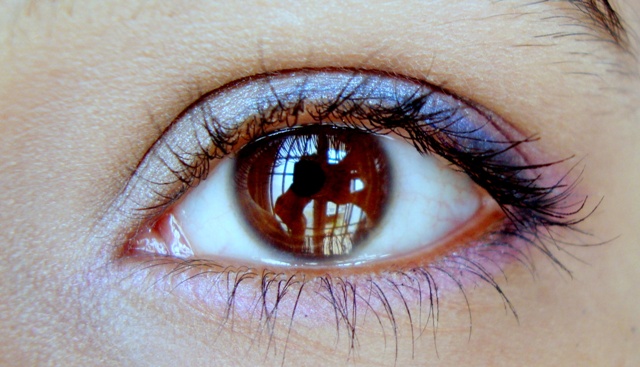
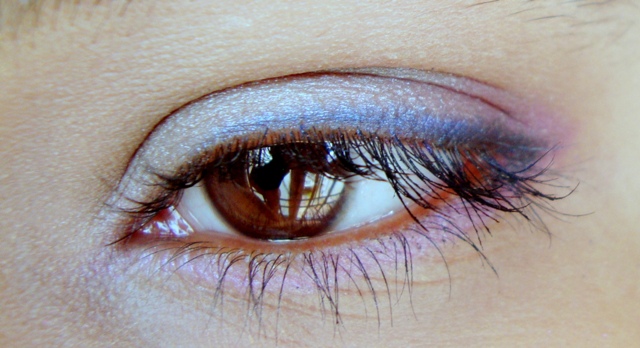
Every Day Office Wear Blue Eye Makeup Look

I know many of us always are in a big dilemma while doing makeup for office. What colour lipstick? Should I do a soft brown look or just eyeliner? Should I go for a purple or blue eye makeup? Yes there are some things you need to follow on a formal attire and environment but I say make yourself a bit colourful with simple yet sophisticated looks in makeup. But then what if I have a party to attend later?

Chill girls. Everything has solutions. I hated doing only a soft blue eye makeup look tutorial. As I didn’t want to waste an entire post on a simple look so I have given two different coloured soft looks (Blue eye makeup and purple eye makeup) since both the procedures are same and to save another wasted post just to give another colour. I have given extras to convert them into party wear. You know me always with two looks.

Also Read:

Office-Blue-Eye-Makeup-Converted-Look-2

Here is the procedure:

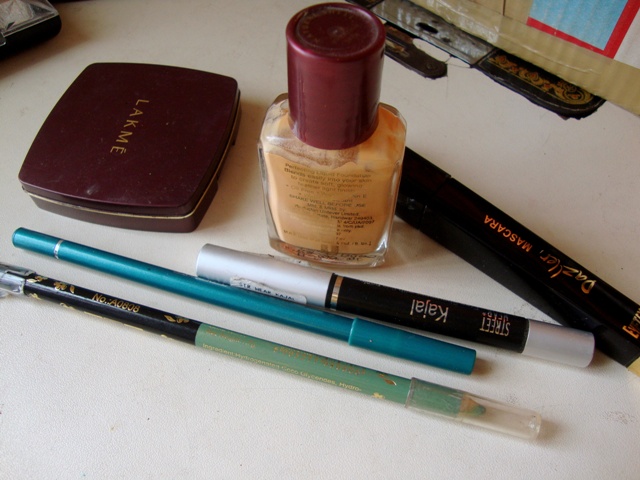
Products used:

  • Lakme perfecting foundation
  • Lakme radiance compact
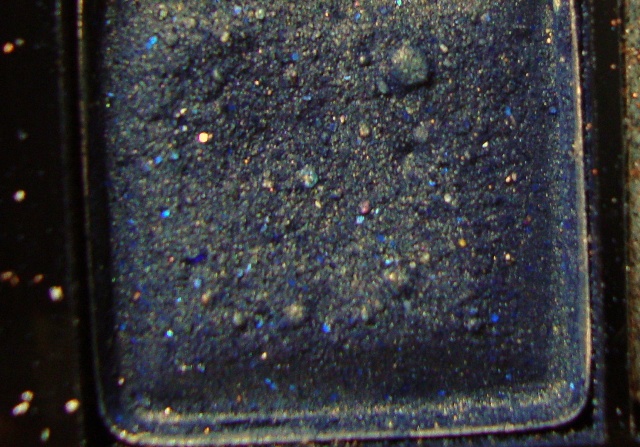
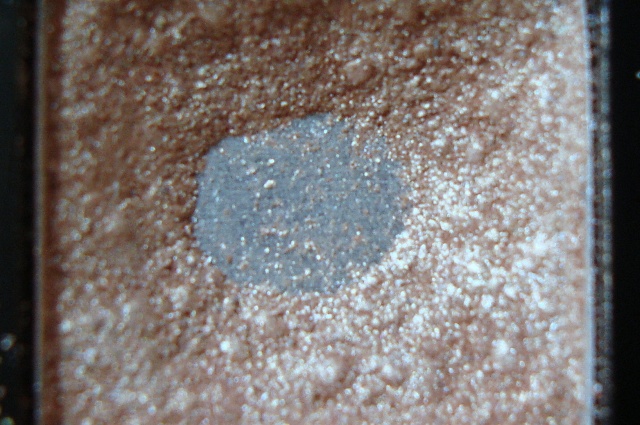
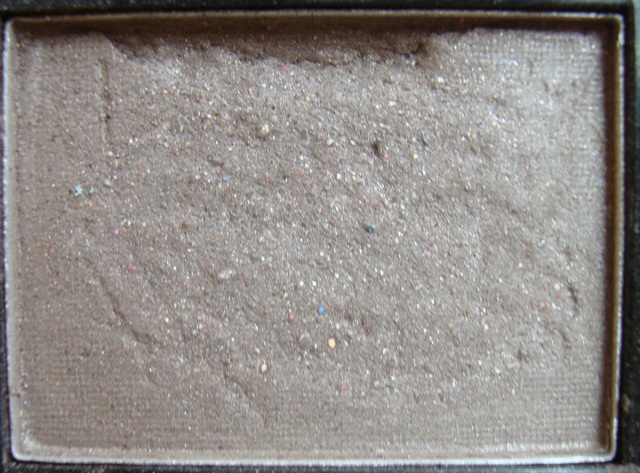
  • Eye shadows from random palettes
  • Vov colour crayon crème eye pencil in green
  • Vov colour crayon crème eye pencil in metallic blue
  • ADS eye pencil in black
  • Dazzler mascara
  • Street wear kajal

Products-Used-Blue-Eye-Makeup

Products-Used-Outer-Corner

Products-Used-Entire-Lid

Products-Used-Crease

Steps:

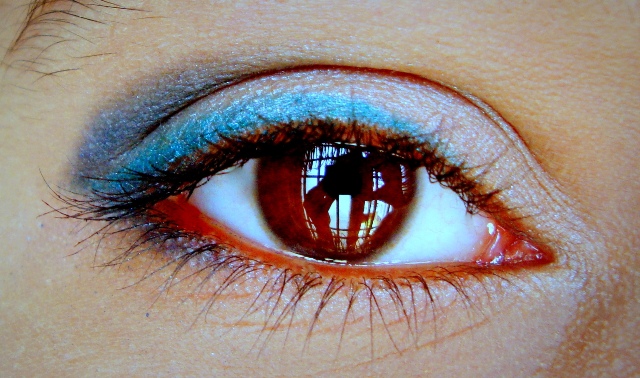
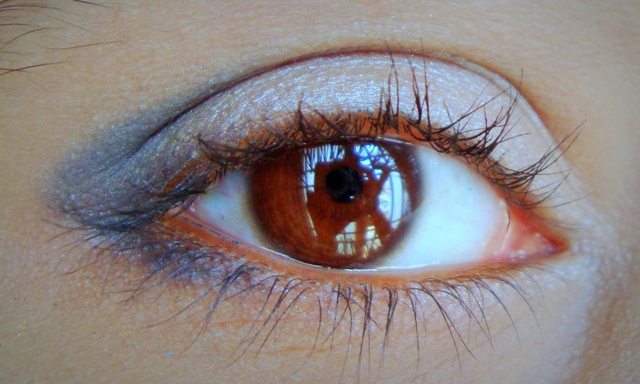
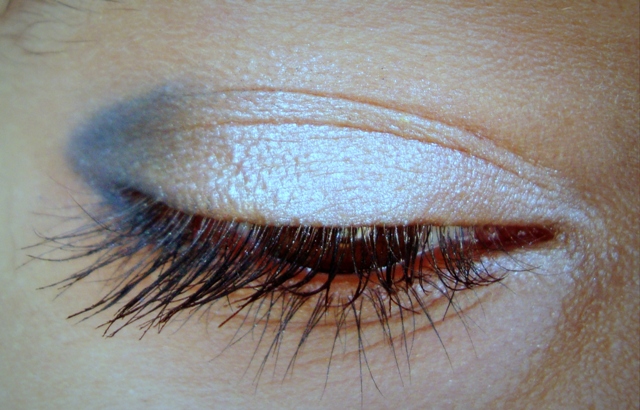
1. Prime and prep your eyes. Fill in your brows with brown for the blue eye makeup look or black for the lavender one. Apply a nude colour (either shimmery or matte) all over your eye lid.

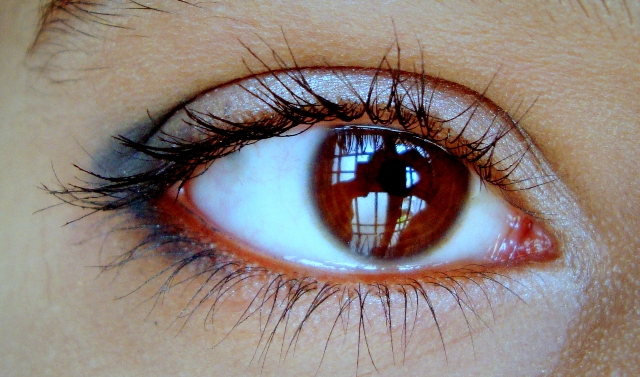
2. Apply a navy blue eye shadow in the outer corner. Blend well. Add if you feel it’s too light. Now using a nude brown, blend the blue into you crease.

3. Add loads of mascara. Since you don’t use kajal much for office, mascara can pop your eyes out. Use black since the look is soft. Brown can be opted as well.

4. If you wish to line your water line with white. It will literally make your eyes huge. Use sparingly as too white will only get more attention. You are done with your blue eye makeup for office!.

Blue-Eyemakeup-Main-Look-1

Blue-Eyemakeup-Main-Look-2

Blue-Eyemakeup-Main-Look-3

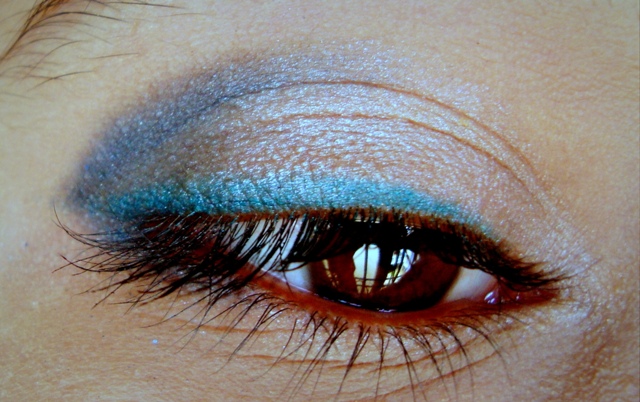
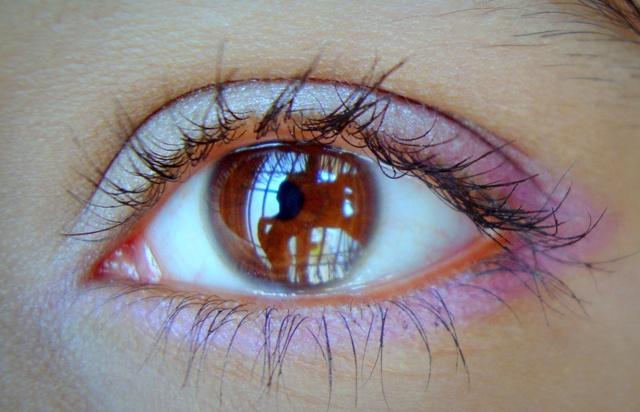
For the conversion: For both looks, one can use green, lavender, pink (as in hot pink), purple or any jewel tone. Earthy tones look good for a dinner or an occasion like a wedding so carry deep brown, olive green, oxidized gold etc as well. Please avoid red or any shadow with red undertones like rich coral. If you want add coral with brown or peach undertones. Red and blue make a deadly and dangerous combo.

Office-Eye-Makeup-Converted-Look-1


Purple-Soft-Look_Eye

Purple-Eye-Makeup-1

Purple-Eye-Makeup-2

A colour rule to keep in mind: Using any two primary colours or exactly complimentary colours in equal ratio is not only a faux pas but also hurts any one’s eyes that look at you. Eyes cannot identify primary colours together in large or equal proportions and gives a lot of stress to retina and its nerves.

Try staring at red and blue together like blue background with a huge red dot on it and you will find slight pain in your temples. Use pencils since it is easier to touch up and it is more comfortable to carry than eye shadows to your office. Keep translucent powder to remove oiliness and to dust on if needed. Carry a smudger brush. Also kajal and eyeliners will help making it look intense. Cat eye look is most easy to make it look instantly party wear.

Hope you guys like this. Let me know any other combo girls!  🙂