Category Archives: Do it Yourself

How to Make Lip Gloss with An Eyeshadow? [Photo Tutorial]

Hello Beauties,
Today, I am going to present a photo tutorial on How to Make Lip Gloss with your Eye shadow. Strange? No! I got this idea when I was planning to visit my cousin Vicky’s home after long days. I wanted to gift her something as we are meeting after a long time. She loves strawberry scented cosmetics and hence I gave her the Lakme Fruit Blast Strawberry Face Wash when we met last time 🙂 And this time, I searched for something ‘Strawberry-sh’ in my beauty product case and I found out this Aloe Veda Strawberry Lip Balm. Hmm I have reviewed this lip balm long ago here and it shows no tint on the lips even though it looks colourful! I love colourless lip balms but still I prefer the tinted ones when I am lazy to wear my lippy. My cousin is fond of tinted lip balms too hence I jumped into the experiment of making a gloss for her using this Aloe Veda Lippy and my eyeshadow 😀
    I though of using any of my pink/plum lipsticks for this but suddenly I thought ‘Why not to make it up with an eyeshadow or an eye pigment for a change?‘ That seemed as a good idea for me too and hence I picked this bright pink shimmery eye pigment from Nature’s Brilliance by Sue. Now let us check how I made the lip gloss in 4 simple steps. Go ahead and enjoy the pictures and tutorial! 🙂
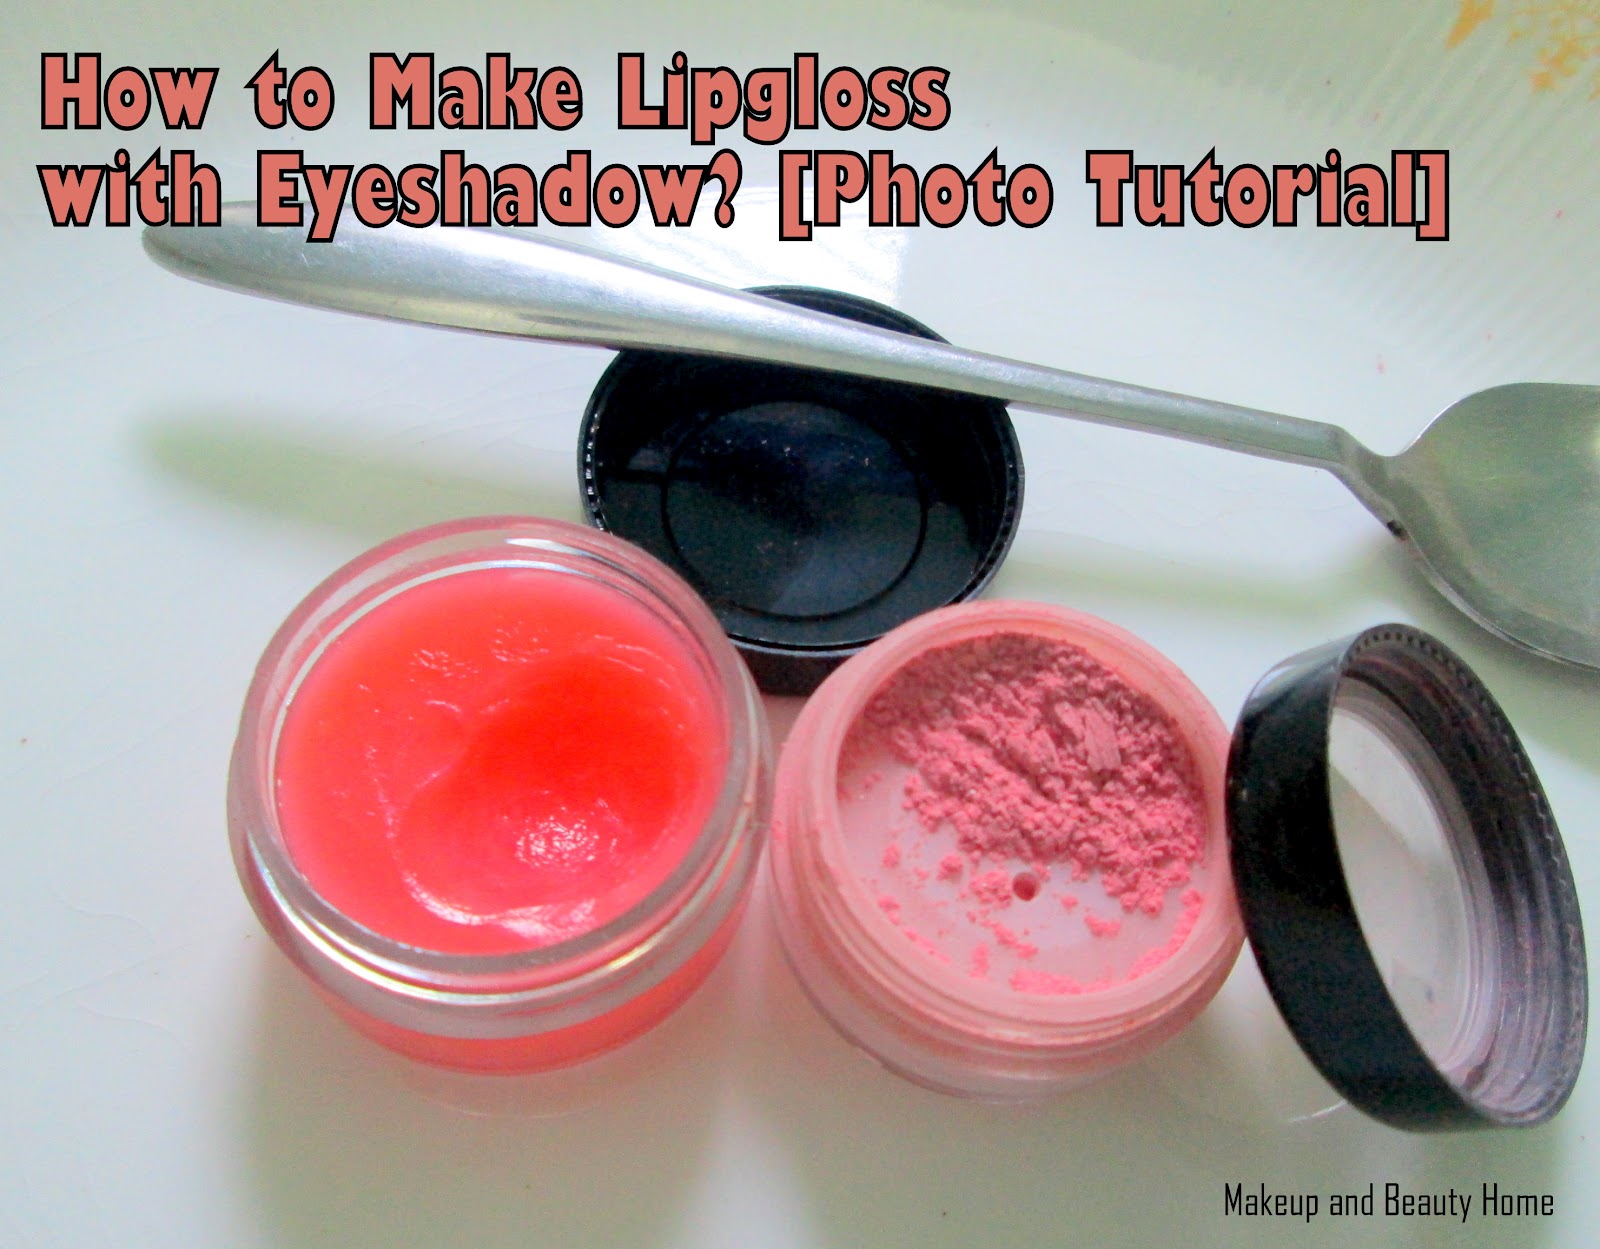
lip balm, eyeshadow, spoon

Things you will need:

  • A lip Balm (Tinted or colourless, anything would do good)
  • A pink/plum Eyeshadow (You can also go for any other shade(s) you wish)
  • A clean spoon
  • A ladle

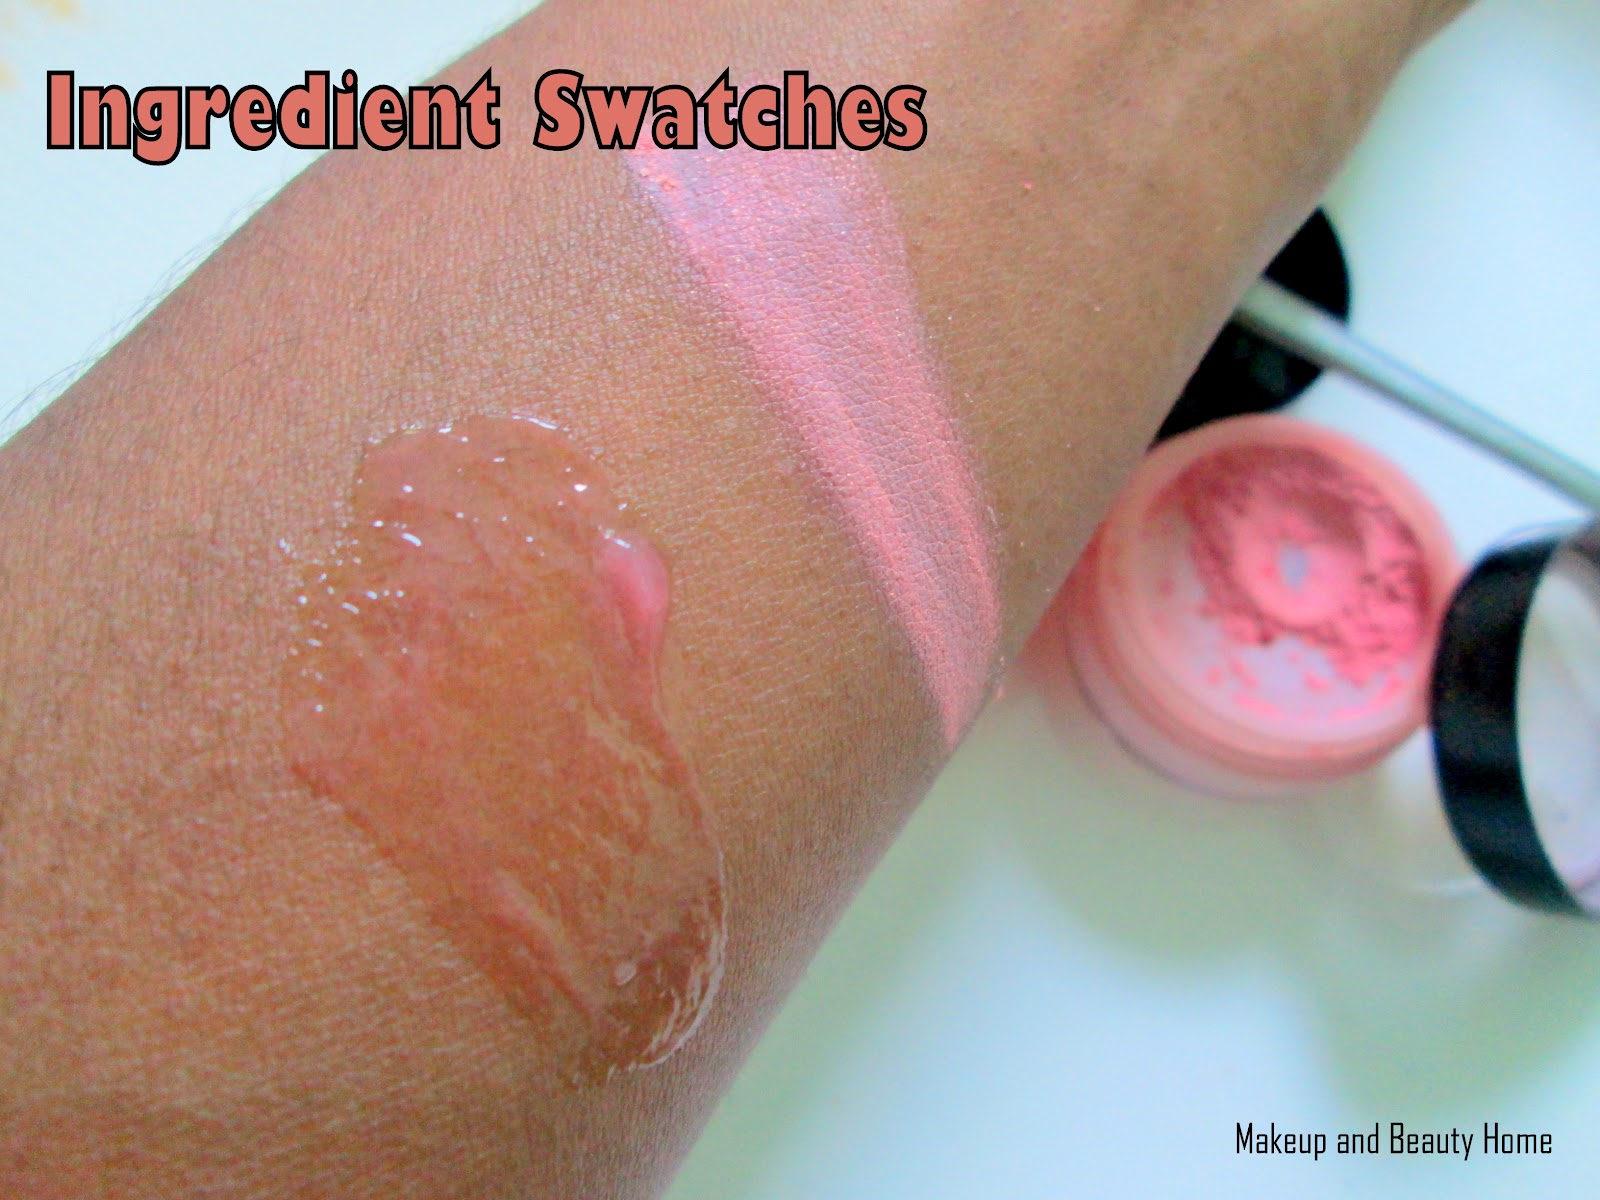
ingredients, swatches

4 Simple Steps to Make Lip Gloss with an Eyeshadow:

Step 1:
Collect your lip balm in a ladle with a clean spoon. If you are using a tube lip balm for this DIY lip gloss recipe, then cut it off with a clean knife and collect it in the ladle. You can also use thick yummy smelling lip butters for this to make your lip gloss rich! Next time I am planning to use the Himalaya Lip Butter which has a very sweet shea butter smell. (Yummm…)

lip gloss

Step 2:
Add required eye pigment/eye shadow to the ladle of lip balm. If needed you can add more later, hence add a little by little until you get the desired pigmentation. Here, the shade I used is a bright pink shade with tiny pink shimmers in it. This would add a nice shine to your lips. However you can also use matte shades for a shimmer-free lip gloss finish. If you have many same kinda shades in your eyeshadow collection, recycle them as lip glosses!
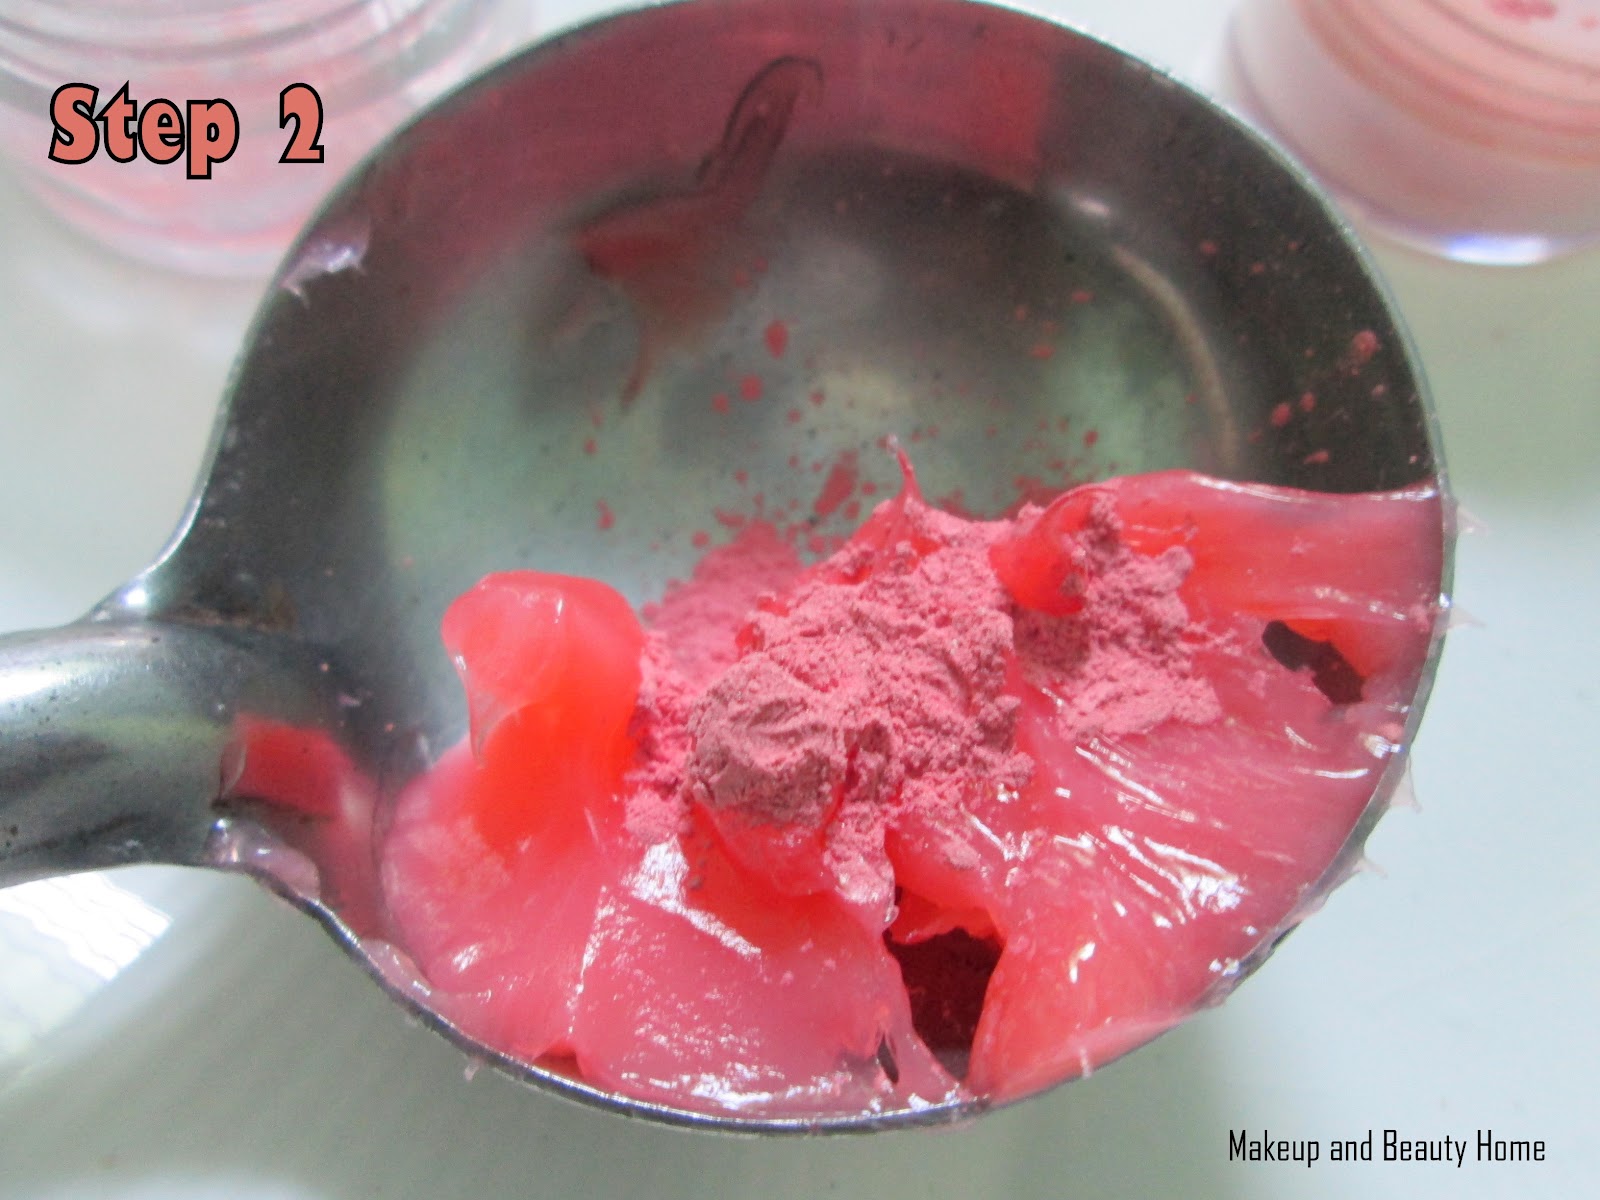
lip gloss, eye pigment, eye shadow

Step 3:
Now mix both the lip balm and eye shadow together with the clean end of a spoon. Mix well without any clumps. Swatch it in your hands to check whether the pigmentation is enough for you. If you want more opaque finish, add some more eyeshadow . This particular shade I prepared looks yummy isn’t it? I feel to keep it myself without gifting her lol 😛 (Shhh…)
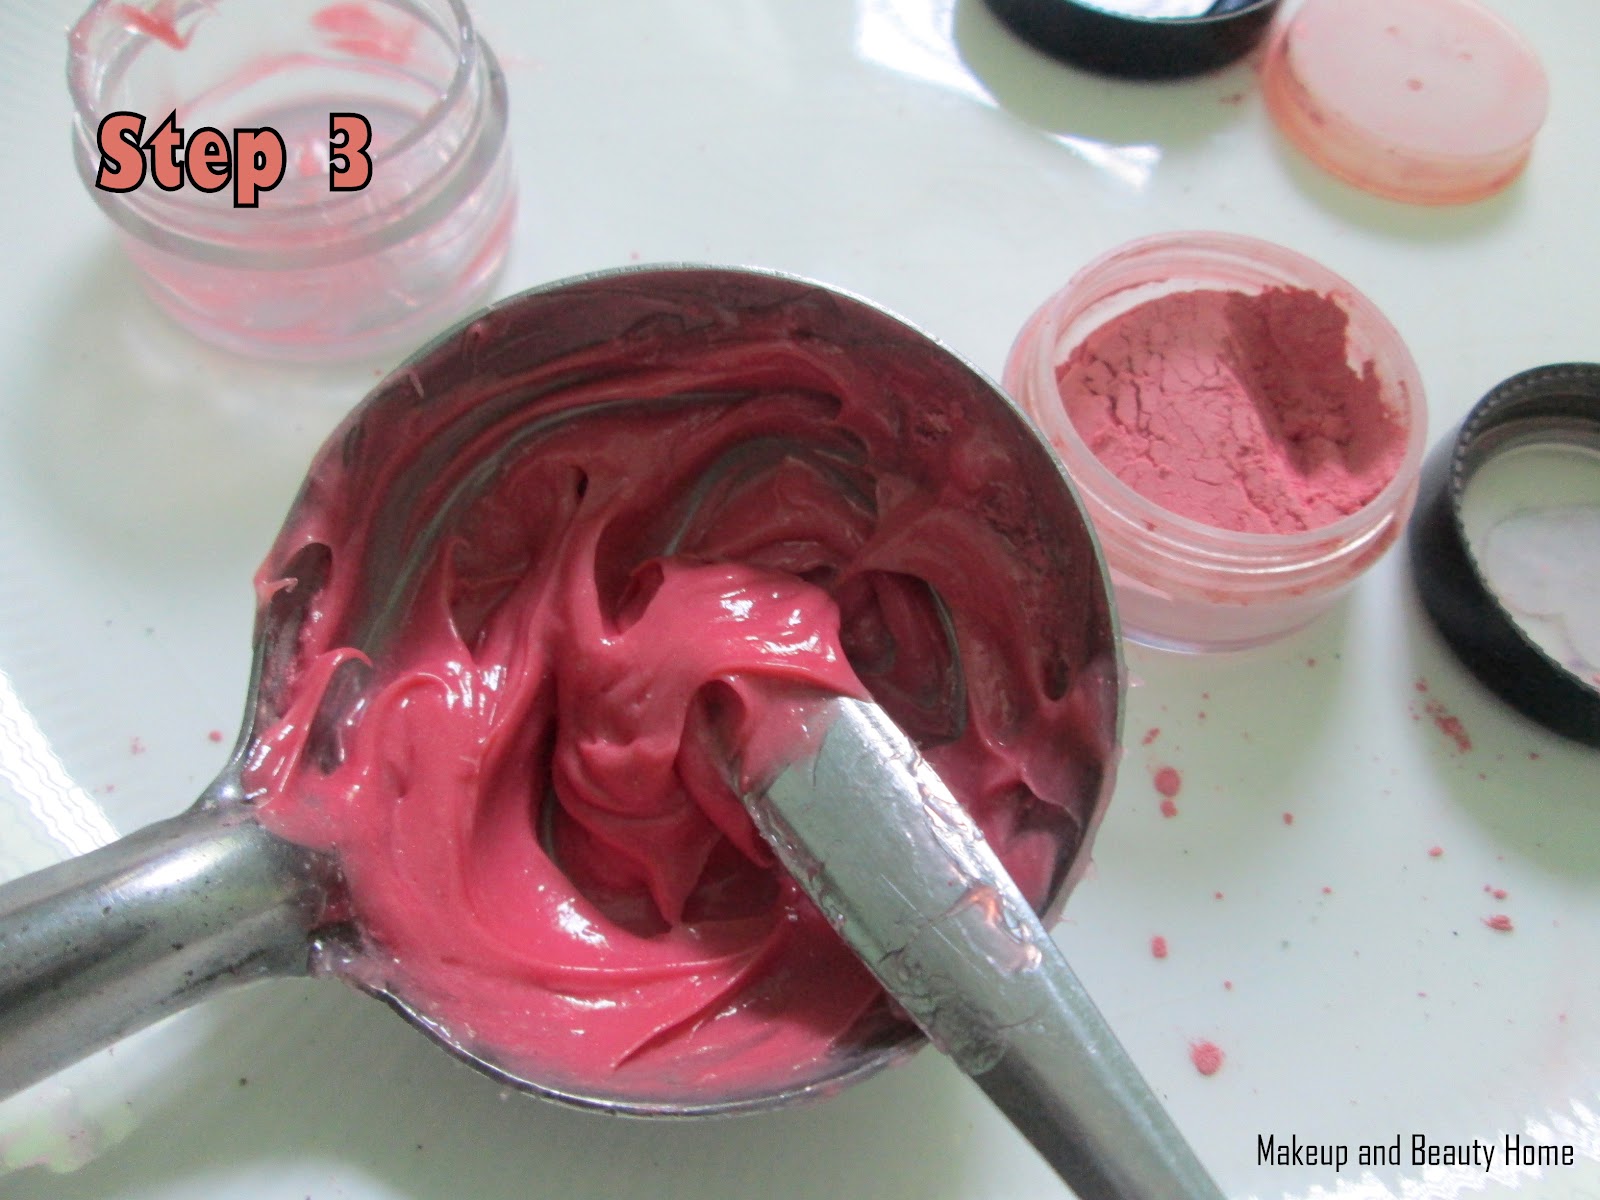
lip balm, eyeshadow, lip gloss

Step 4:
That’s it we are almost done. Now heat and melt this lip gloss and fill it up in the same lip balm container. Allow it to cool down in room temperature (This will hardly take 2-3 minutes) and you’re done with your DIY lip gloss made of eyeshadow. Enjoy!

Homemade DIY lip gloss

My Homemade DIY Lip Gloss Swatch:

It is rich, thick, moisturizing and has a moderate pigmenation with tiny pink shimmers. You can top matte lipsticks with this lip gloss to get that shimmery shine. If you are not a lipstick person, you can just use this plainly on your lips anytime; this lip gloss is suitable for day/night time wears and also for work.

Homemade DIY Pink Lip Gloss Swatch

See how I packed the DIY lip gloss gift 🙂 I hope she (my cousin) would  love it. What do you think girls?

lip gloss, DIY, gift

Hope you enjoyed my photo tutorial on making this DIY Lip Gloss with an Eyeshadow 🙂 Did you like it?

Have you tried any such DIY recipes at your home? Share below; I am waiting to hear!

How to Make Exfoliating Body Scrub with Chickpeas? [Photo Tutorial]

Hello sweet ladies!
Now we are going to check an amazing exfoliating body scrub made of chickpeas and few other kitchen available ingredients to give your skincare routine a twist. This natural exfoliating body scrub has numerous benefits such as tan removal, skin softening and deep pore cleansing. I swear by this body scrub and this one definitely wins most of the store bought body scrubs. Come let us check the recipe with a photo tutorial.


Things you will need:

  • Dried Chickpeas, 2 tablespoons
  • Dried Mung beans, 1 tablespoon (Optional)
  • Sandalwood, 1 tablespoon
  • Rice Powder, 1 tablespoon
  • Milk, Required

Preparation Method:

1. Grind the chickpeas and mung beans together coarsely. Mung bean is nothing but the green gram (Pachai Payiru in tamil). Collect the powder in a small bowl. Add sandalwood powder and rice powder to this powered mixture and mixture everything together well with a spoon.

2. Add required milk to the scrub powder that we prepared in the first step.

3. Blend well and ensure that the scrub is in the right consistency. The scrub should be neither too thick nor too runny. That’s it. Your own body scrub made of chickpeas is all ready to use now!

Usage Directions:
After having a shower with your shower gel or after a bath, on your wet skin, apply this chickpea exfoliating body scrub. Apply the body scrub over entire body skin and start scriubbing gently with your fingers and palms. Do not use this exfoliating body scrub on your facial skin as this would be a little rough compared to the facial scrubs. However, if you wish grind the ingredients more finely and store it seperately to use as your facial scrub.
       While scrubbing your body skin, concentrate more on the rougher parts such as knees and elbows. After 5-10 minutes of scrubbing, wash off the scrub from your body skin completely without leaving any residue. Use every weekend to maintain soft, glowing and tan free skin. This can also be used twice a week on your body.

Ingredient Benefits:

  • Chickpeas : Removes dark patches and pigmentation from the skin.
  • Mung beans: Softens the skin and makes it wrinkle-free. Green gram powder (Mung beans powder) is a great alternative for soaps as well.
  • Sandalwood: Improves complexion, calms down skin and reduces excessive body heat
  • Rice Powder: Helps removing tan by performing the exfoliation part in an effective manner.
  • Milk: Softens skin and prevents it from drying due to exfoliation. If you have extra dry skin, pour in few drops of olive oil to this body scrub recipe.

Do you have any such natural DIY body scrub recipe which you swear by?

How to Get Back Your Lost Skin Complexion?

I have been receiving tons of emails (literally!) from the readers requesting for skin fairness tips! According to them, white skin is equal to fair skin. I somehow do not agree with it!

Many of you have emailed me for home remedies and product suggestions for tan removing, skin lightening and dark patch removing. I wondered how people are much aware about the ‘skin complexion’ thing than the health and smoothness of their skin! Not just women, men too equally queried about getting back their lost skin complexion. It’s reasonable if you want to brighten your skin after a bad tan, but I guess it’s unfair to change your natural skin color for any reason! For the nth time, paleness of your skin doesn’t decide it’s beauty. Smoothness and the firmness does.

Our day today life is often stressful these days making us experience the dust, pollution and harmful UV ways. There’s no way we could totally escape from them but we can protect our skin up to an extent to lessen skin damage, uneven tanning and darkening. People gradually lose their radiant baby complexion by staying in sun for a long time, playing outdoor games, swimming etc. When they look years back, they would have had very even soft skin but all left now would be that patched, unevenly dark and rough skin.

There isn’t really a magical overnight cure for this skin condition but you can gradually remove the tan and get back your baby complexion. All you need are patience and dedication for this. If you are still going to be under sunlight everyday, then these ideas below may not work effectively; so as the first step, avoid Mr.Sun and don’t show your skin to him (expect for a mild morning and evening sunlight)

Exfoliate Twice a Week

Being a athlete, I used to have very dark and unevenly toned skin 2 years back due to my everyday practice under sun in the stadium. I did not crave for fair or whiter skin that time but just wanted to have a clear, radiant and mainly that ‘even’ skin tone. When nothing helped much to achieve that, exfoliation helped me a lot. Believe me, it worked like a charm in clearing out the uneven tone of my body and facial skin.

It is better to exfoliate your skin twice a week with good exfoliating products or you can just simply make your own skin exfoliating recipes at home. For face, use the mixture of rice powder, gram flour and rose water to scrub and exfoliate the unwanted dead cells and for my body, loofah works best. Loofah is nothing but a dried fruit fiber which you can get from super markets easily. If your facial skin is extra dry, add few drops of olive oil to your scrub recipe. Remember, do not overdo exfoliation as it might turn your skin more prone to sensitivity. Twice a week is more than enough.

Moisturizer & Sunscreen

These two are the basic and still the most important steps of anyone’s skincare routine. These two should never be skipped if you wish for a healthy glowing skin. Use good face and body moisturizers with high SPF hence you do not need to layer up two different products (Moisturizer and sunscreen separately) on your skin. Whatever skin type you may have, moisturization is a must. I have been experienced this; regular moisturization made my skin smooth, clear and soft. Though moisturization doesn’t lighten or whiten our skin, it makes skin super healthy and soft. You have to try it to believe it; so do not skip moisturization at any cost even if you have the oiliest skin.

Oily skin types need light moisturization whereas the dry ones would need heavy creamier moisturizers to balance the skin dryness. If you are going to step out without sunscreen, then forget about getting your complexion back. Even one day out in sun without your sunscreen will spoil all your effort so make sure to wear your sunscreen everyday. If you are out in sun for more than 2-3 hours continuously, then reapplication of your SPF lotion on both face and body is a must as well!

DIY Tan Removing Facial Every Weekend

To remove facial tan and brighten your skin complexion, you can prefer weekend facials. This would remove any excess dead cells present on the surface your skin and helps to reveal the original glow. Performing a facial routine yourself isn’t that a tough task. All your need are a facial cleanser, a scrub, a face pack, a toner and a moisturizer. You need to choose of them depending on your skin type whether oily, dry or sensitive.

Cleanse your face without any traces of oil, leftover makeup and such. Apply a good facial scrub and exfoliate your facial skin. This process would open up the skin pores and helps in better face pack penetration. After scrubbing, wash your face and smooth your face pack evenly on your face and neck. I highly suggest a tan removing face pack for this. There are many tan removing face packs available in the market today; choose one which suits your skin the best. Alternatively you can also combine a teaspoon of fullers earth with a teaspoon of sandalwood powder, half a teaspoon of tulsi (basil) paste, required rose water and few drops of glycerin to make a muddy tan removing face pack in minutes. This would do wonders on your skin! After face pack usage, dab the toner and moisturize your skin. You’re done with your quick and natural weekend DIY tan removing facial.

This facial should be followed at least once every week to get back your complexion soon. For faster results, you can even perform this twice every week. Applying a thin paste of sandalwood + rose water mixture on face for 15 minutes every night would ensure quick tan removal. This process would also calm down and soften your skin to help it stay young forever.

Eat in time, sleep in time and drink lots of water everyday. 3 liters of water a day would do wonders on your health and beauty if regularly followed. Not only in the morning, have a bath before your bedtime too to ensure dirt and sweat removal from the skin. Follow all these steps for a month or two and come back here with your results. Forget about chemical skin bleaches and other artificial treatments. Go natural and achieve the clearer skin tone. Get back your complexion by following a healthy skincare routine as instructed above. These remedies are also suitable for brides.

Hope you found this article on getting back lost complexion useful. Do share your comments below!
In case of queries regarding this post, feel free to submit below and I am hear to help.
Image Source: Google Images