Author Archives: Arshita

About Arshita

Arshita is beauty blogger from Hyderabad. She is married and also working in Amazon. Apart from being a foodie and fun-lover, she is addicted to pet dogs.

DIY Hibiscus and Curry Leaves Hair Pack to Prevent Hair Fall

Hey friends, happy monsoon!

I will show you one of my tried and tested DIY hair packs to prevent hair fall in this changing weather. In monsoon, every year I suffer little bit more than usual hair fall. But this monsoon, I am prepared to face it. So, here is my recipe!
About the ingredients:

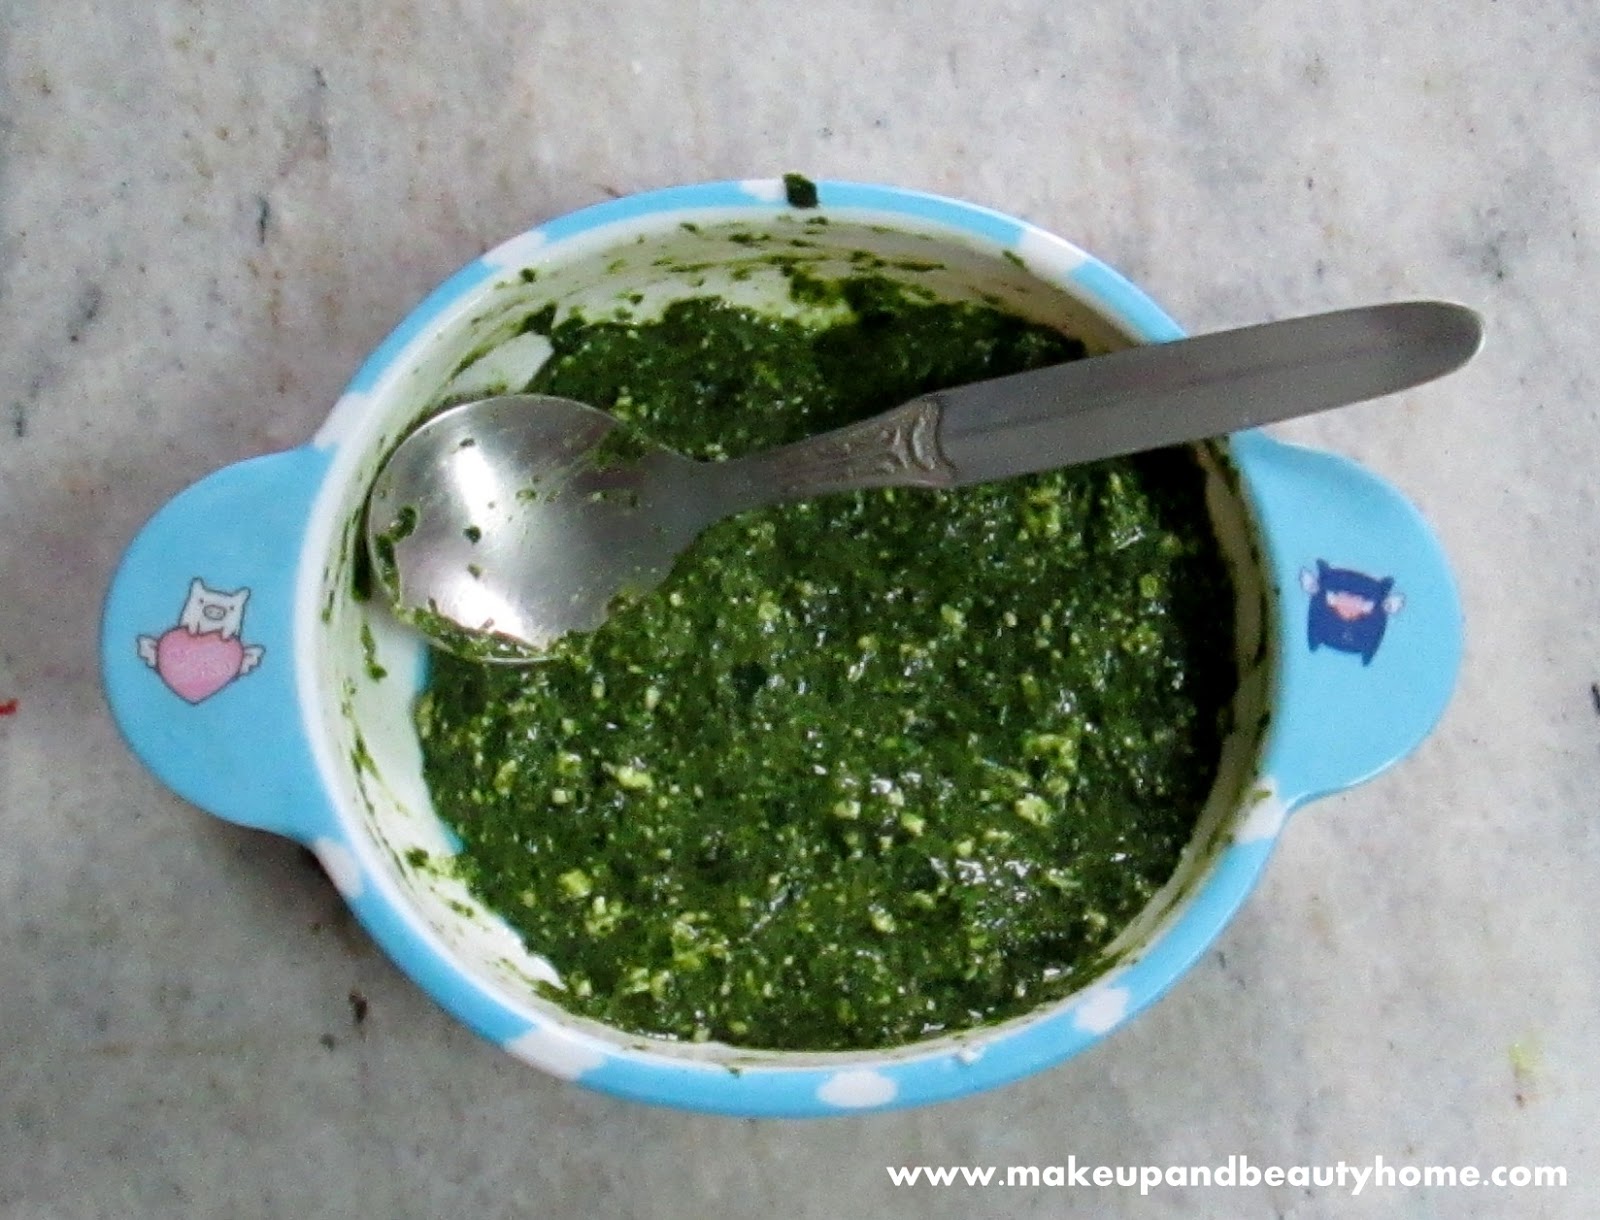
Hibiscus Leaves: Hibiscus rosa-sinensis, popular as Hibiscus is a very well known herb in the world of beauty treatments. Its rich properties help to prevent hair-fall, dandruff, immature graying of hair and invigorates new hair growth while giving a luscious strength to hair. In all the Asian countries, hibiscus is used for several hair-treatments.

Curry Leaves: You might have heard about curry leaves in the kitchen; it is largely used in South India for making tasty dishes, but you should know, like Hibiscus, it also has the good properties which is really a treat for hair. As, curry leaves are high in iron, it participate in faster hair growth. This also helps to keep grey hairs at bay. Also it generates new hair while stopping it from falling.

Things you will need:

  • 10 fresh Hibiscus Leaves.
  • 25-30 fresh Curry Leaves.
  • One clean bowl.
  • Mixer (to make a paste).

Preparation Method:

Step 1: Get your ingredients ready. Now, clean all the leaves very nicely (You would not want any dust or insects in your hair pack).
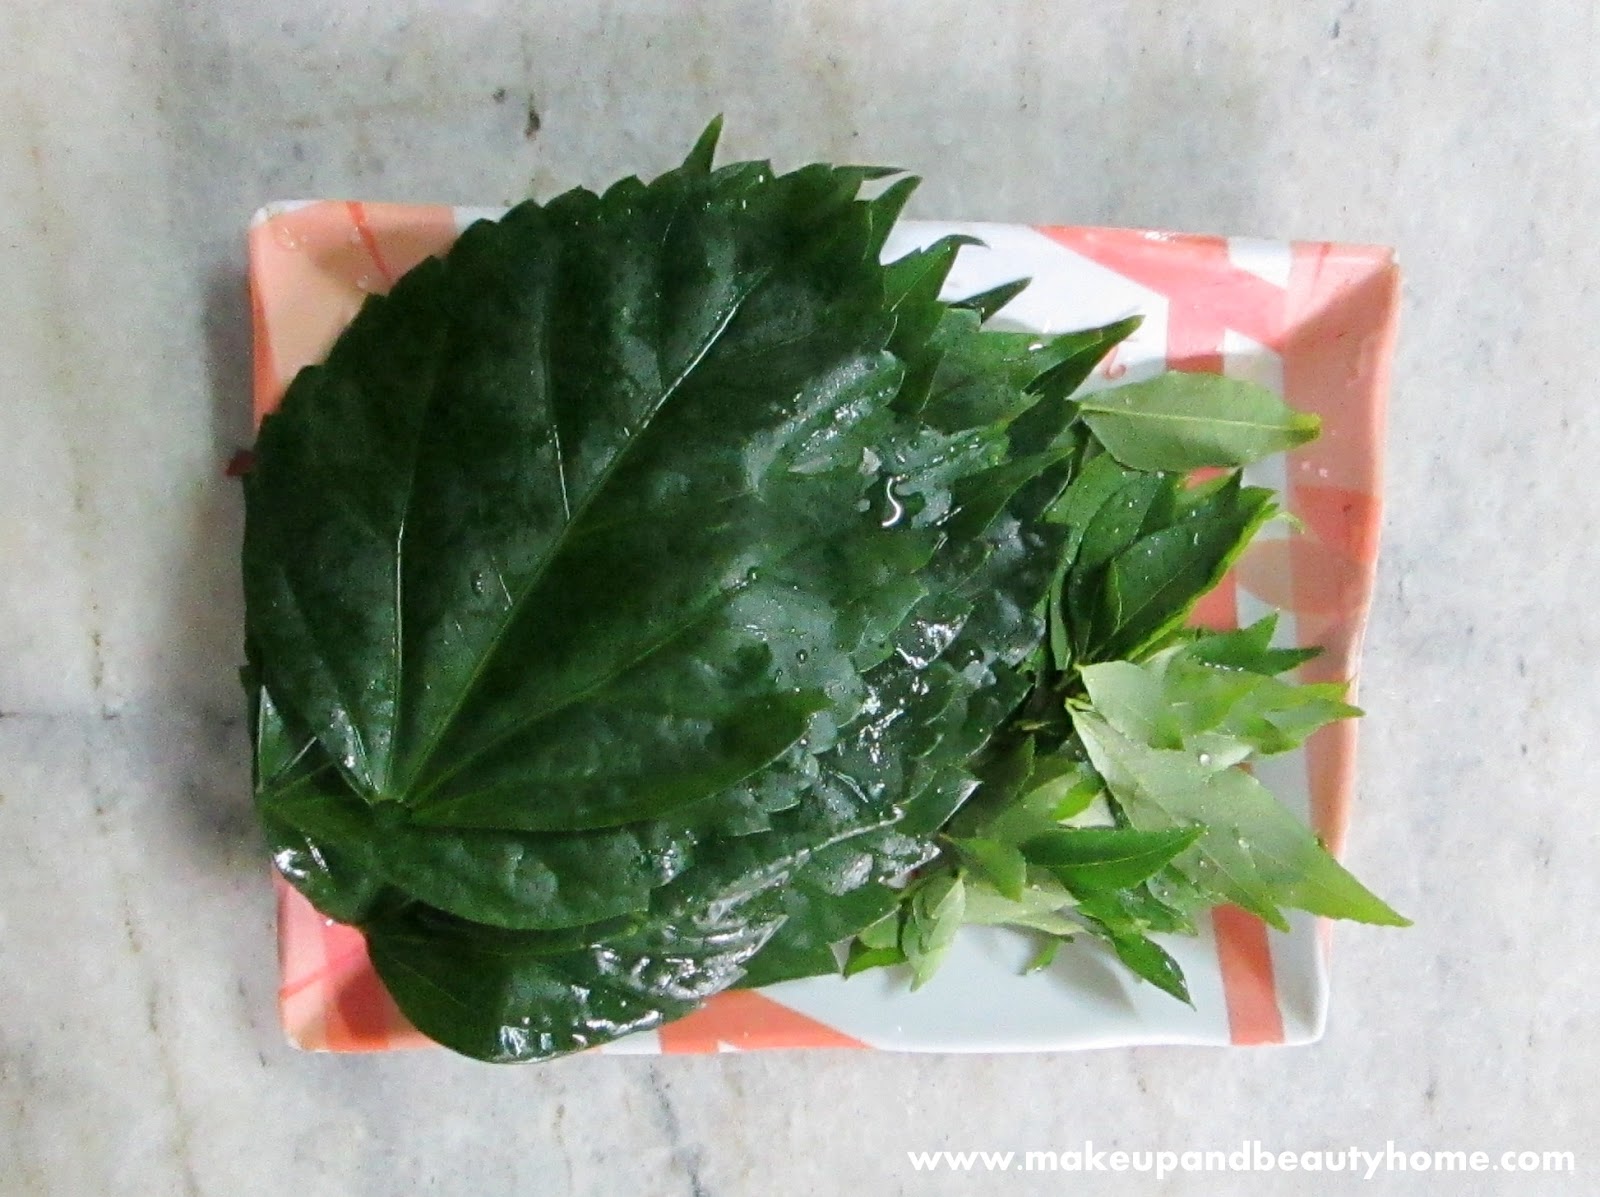
Step 2: Put all the leaves in the mixer and add two tablespoon of water (dry leaves will have problems in mixing). Mix it for 3-4 minutes.

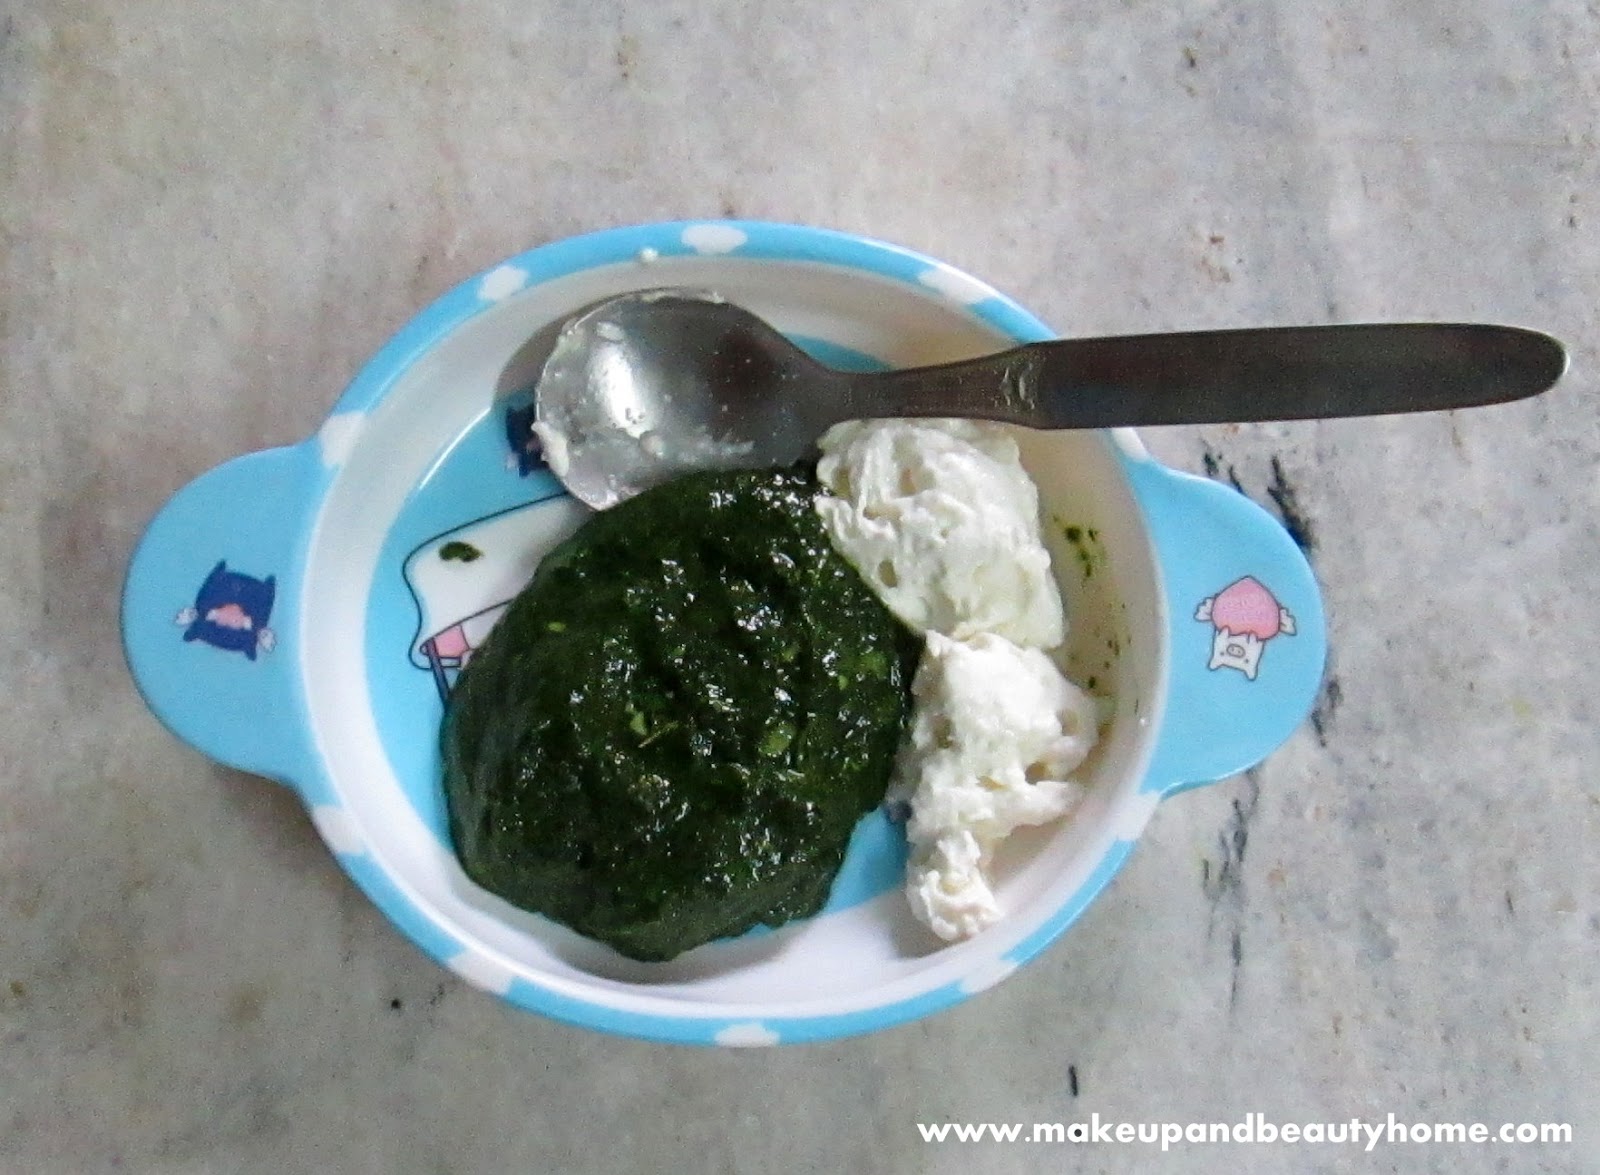
Step 3: Pour it in a clean bowl. The paste will be of slippery kind as Hibiscus leaves are slippery. Now, you can add curd for better result, or you can use the paste alone. Here I have shown a picture of the paste mixed with curd.
Step 4: Now, apply this pack using your hand on the scalp first and then on the hair. Let it stay for 45 minutes to 1 hour.

Step 5: Wash it first with plain water for a long time to get off the slippery effect. Then use a mild herbal shampoo. After shampoo also, rinse your hair carefully (I am too lazy to rinse so well and I would see those small leaves’ particle still left on my hair).

To see a difference in your hair, use this pack once a week.


Benefits:

  • It helps growing hair faster.
  • Invigorates new hair growth.
  • Stops hair from turning gray.
  • Hibiscus leaves cure dandruff.
  • Makes hair soft, shiny.
  • Keeps hair black and strong.
  • Nourishes hair completely.
  • See the after-effect picture of my hair.

It is purely natural and herbal, no side effects. Try it ladies and get luscious soft and shiny hair at home.
DIY Hibiscus Flower Infused Mustard Hair Oil For Hair Growth

Hello friends, hope you all are having a good time. A few months ago, I was facing a severe hair loss problem (yet to find out the cause) and that was stopping my hair to grow even at less than normal speed. Then I found out about Mustard oil on Google. When I told it to my mother, she also said that in her childhood elders used to say mustard oil is best for faster hair growth. So, today I will show you my own tried and tested hair oil recipe.

Mustard Oil, Hibiscus Oil, Hair Growth, Fast Hair Growth

Hibiscus: As we all know, Hibiscus flower and its leaves are used in Asian countries specially India for treating hair problems. There are some herbal hibiscus powders available on the local or online stores (yet to try it). For many years Hibiscus flower and leaves are used now world wide for its benefits on hair. It helps prevent hair  fall, dandruff, graying of hair, spit ends and keeps hair healthy, black and nourished. It also helps growing hair faster.

Mustard Oil: Mustard oil as well as Hibiscus flower is very beneficial to hair. Some of us may not approve of this as it stinks (I was also totally anti of using this oil on hair), but the benefits that one can get from this oil is an eye opener for many of us. Honestly, I never used mustard oil on my hair before, but while searching on Google about hair growth I came to know the benefits, and since then I am using it religiously; thrice a week.
And the result is exactly what I was looking for. It actually broke the spell and my hair is growing (*touch wood*) and my hair texture has been changed from what we call fine and fragile hair (thin hair) to shinier, thicker and stronger hair.

So, the final verdict is if you can survive the strong eye-watering smell and stickiness of Mustard oil, you will definitely get a good result. But in order to see a drastic change, you need apply this oil at least three times a week. I also combine Castor oil and Almond oil with it to get more benefits at times.

Now, here is the recipe:


Ingredients Needed:

  • Cold pressed Mustard oil (for it is richer in properties).
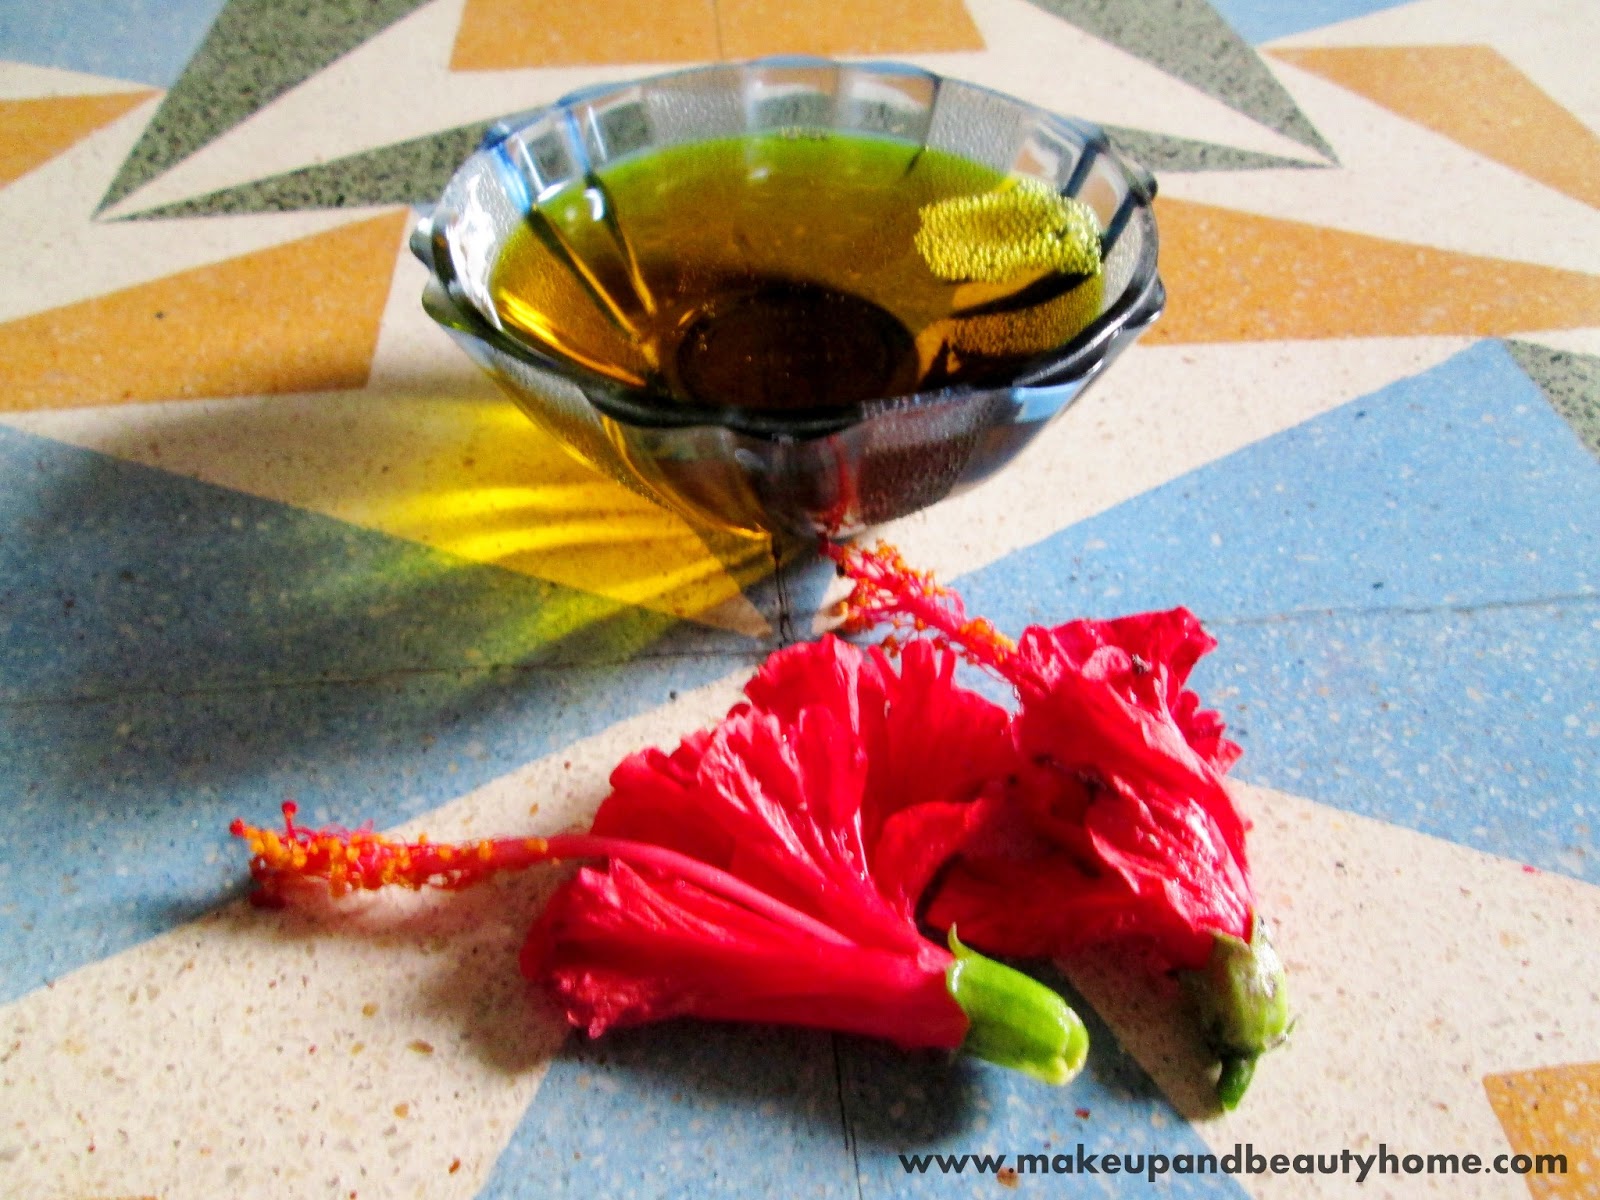
  • Two Hibiscus Flowers
  • One clean bowl.
  • One clean container.


Steps:

Step 1. In a clean bowl, pour cold pressed mustard oil. You can take as much amount you want and then increase the number of flowers with it. I have used small amount as it has no preservatives I prefer a fresh batch after every 2-3 weeks.

Mustard Oil

Step 2: Now, place the Hibiscus flowers into the oil. Make sure they are totally drowned. Leave it for 24 hours or at least overnight.

Hibiscus Flowers in Mustard Oil, Hair Growth Recipe

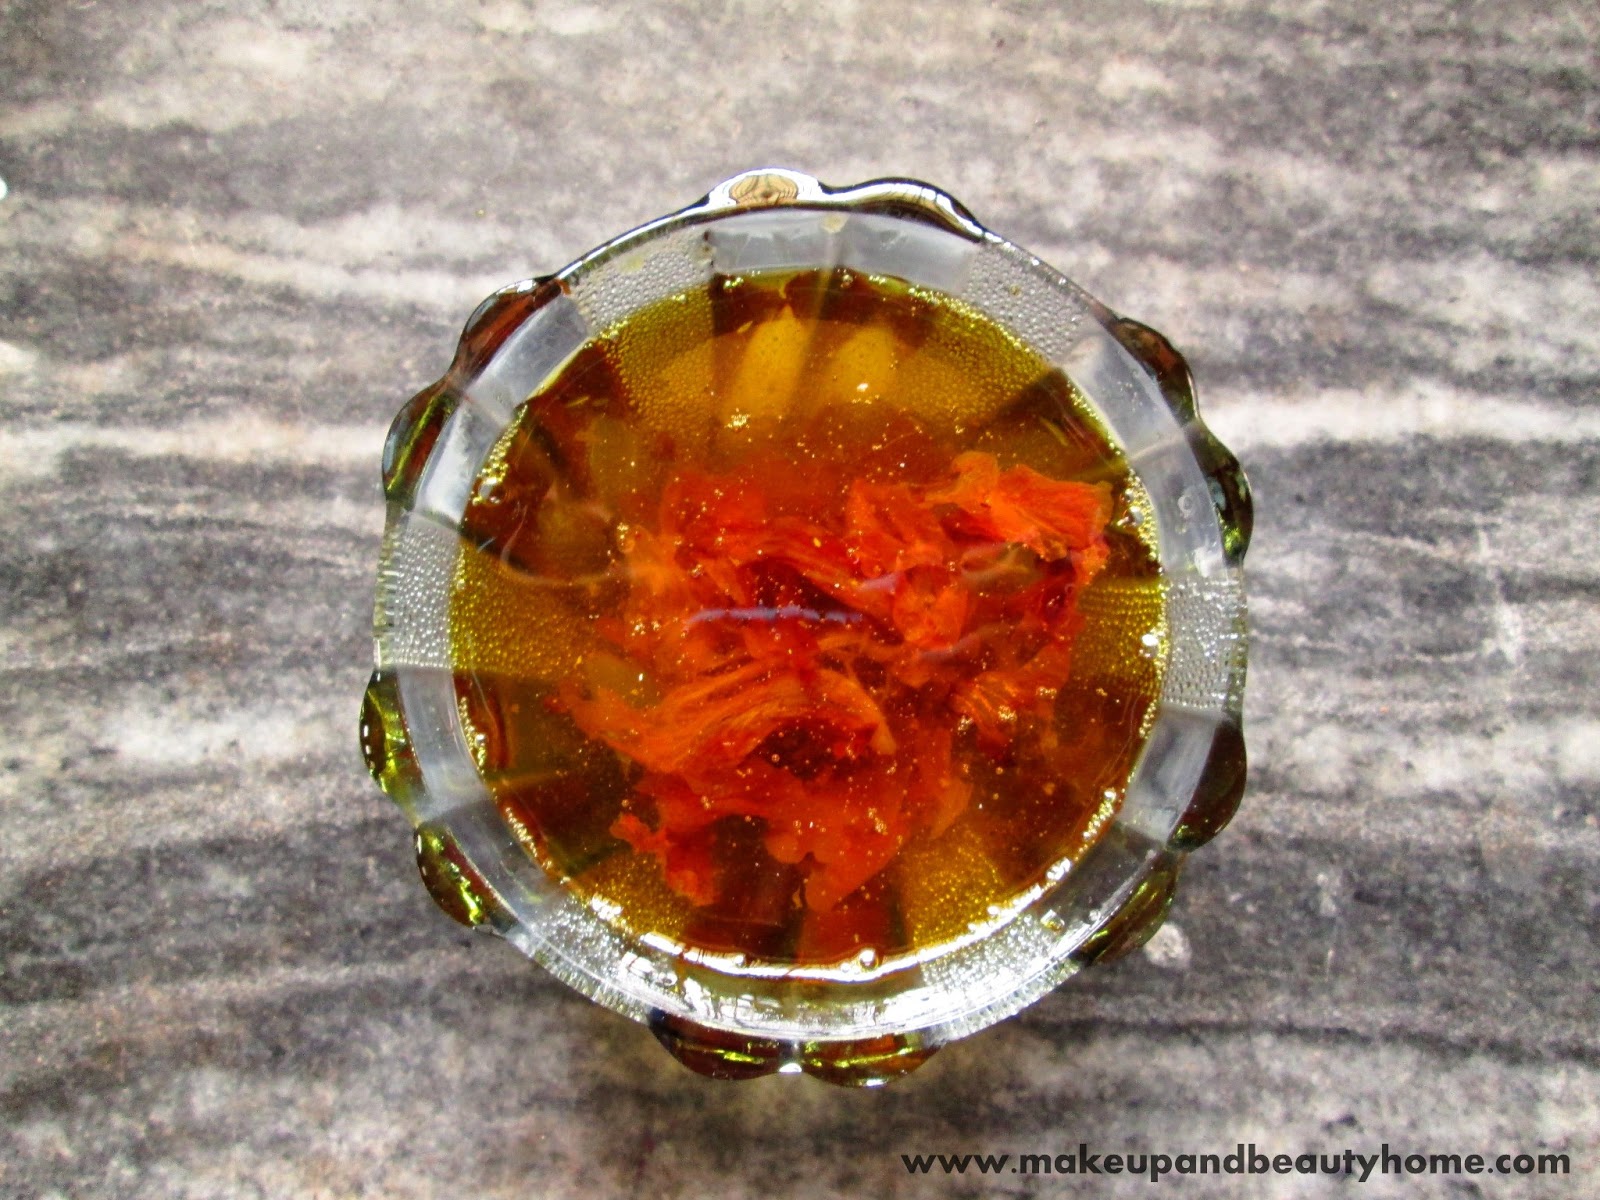
After 24 hours, it will look like this. You can see how the color of the oil is changed and the flower petals have become transparent.

Homemade Hair Growth Oil Preparation

Step 3: Crush the flowers as much as you can.

Step 4: Then sieve it and pour it in a clean container. You can also leave the crushed particles if you like.

How To Use?:

Apply the oil directly on the scalp massaging it gently. Applying this oil at night is preferable. You might want to use pillow liner or towel for your pillow as it can stain. Next morning wash your hair with a herbal shampoo.


Benefits:

  • It actually made my hair grow faster.
  • It gave my hair a light golden tint.
  • My hair texture improved.
  • Less hair fall.
  • Hair quality improved.
  • Makes hair healthier and strong.

This DIY hair oil is totally tried and tested; hope you find it helpful. Try it and keep your hair healthy and strong. So, take care and stay healthy.


My Hair:

My Hair After Using Homemade Hair Growth Hair Oil

Do you make your own hair oil at home? If yes, what are the ingredients used and which is your favorite recipe? Share below!

Do It Yourself Easy Flower Nail Art : 6 Easy Steps

Hello ladies,

How many of you thought of getting nail art done and did not have time to go to the parlor? Well, you need not worry now; I will show you some of my tried and tested easy step by step nail arts that you can do at home without expensive and hard-to-get nail-art supplies. Today, here I present a easy flower nail art tutorial.

Things you will need:

  • Semi transparent/off-white/nude color nails paint
  • Two bright color nail paints
  • One light color nail paint
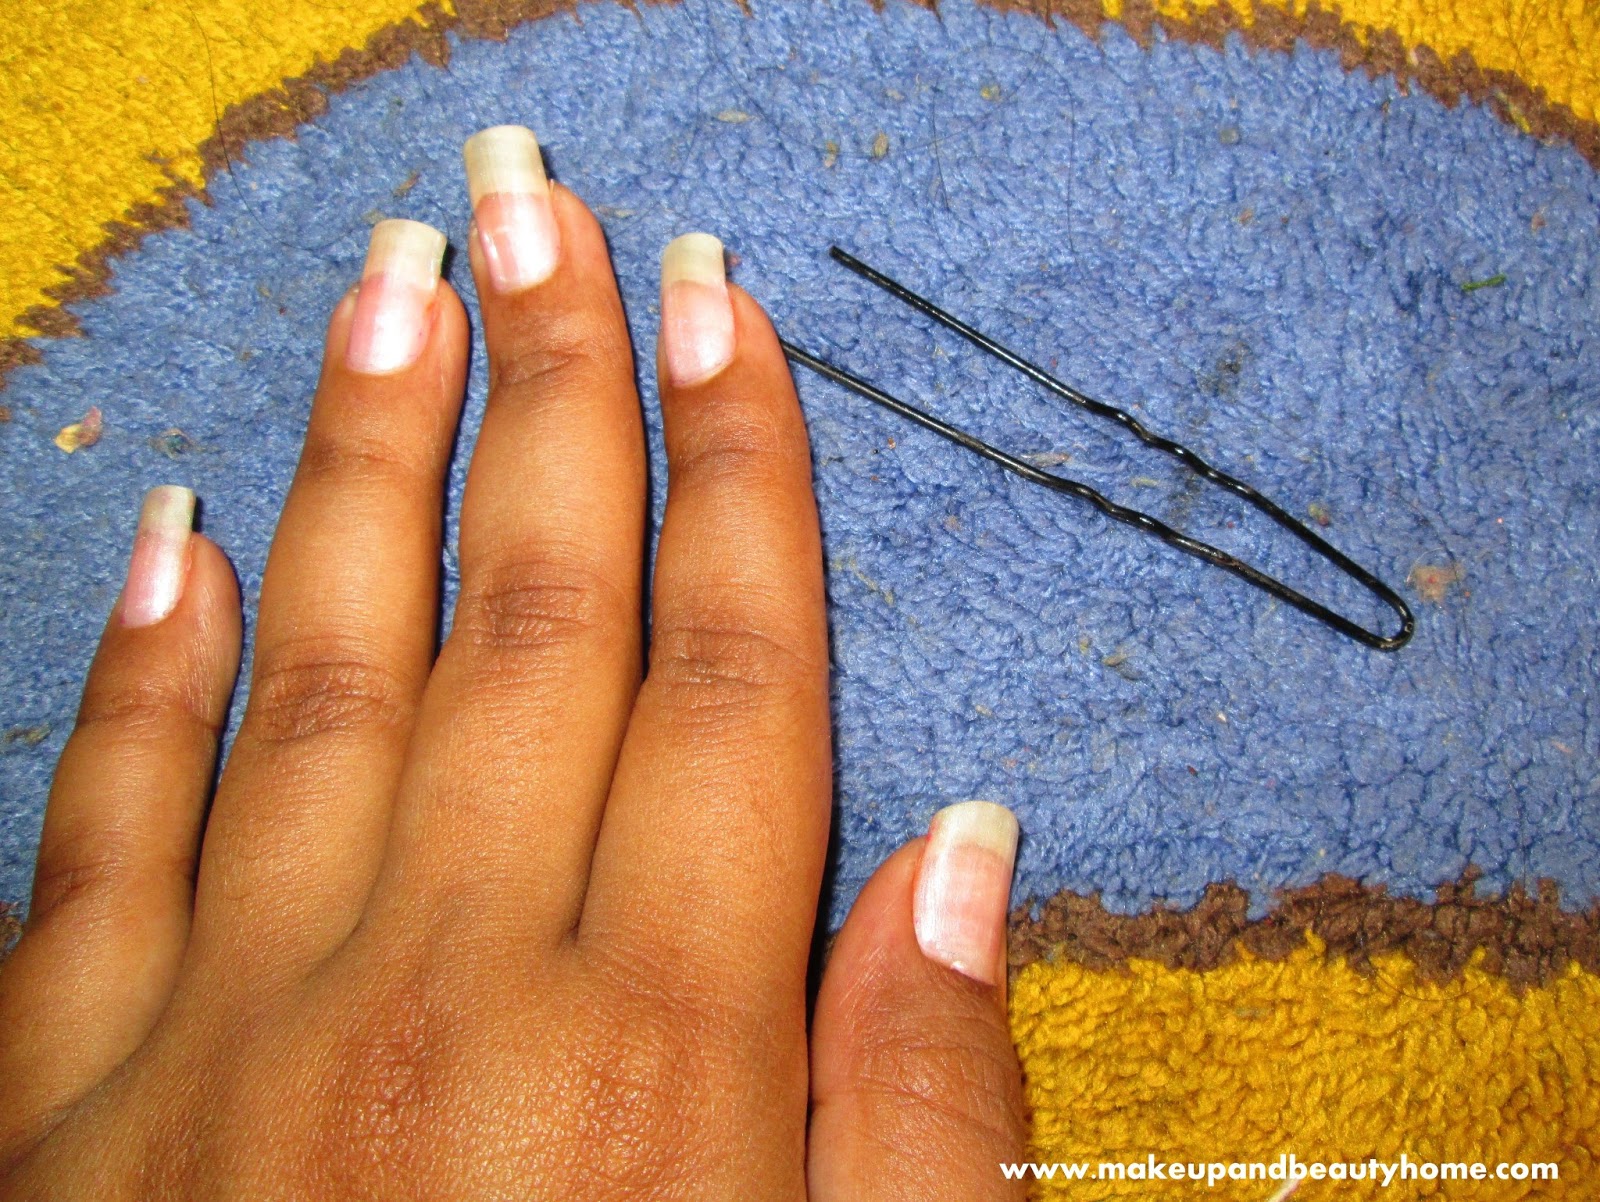
  • One pointed tool like bobby pin or hair pin or if you have nail art dotting tool
  • One top coat nail-paint
  • Ear bud and remover

How to Do?:

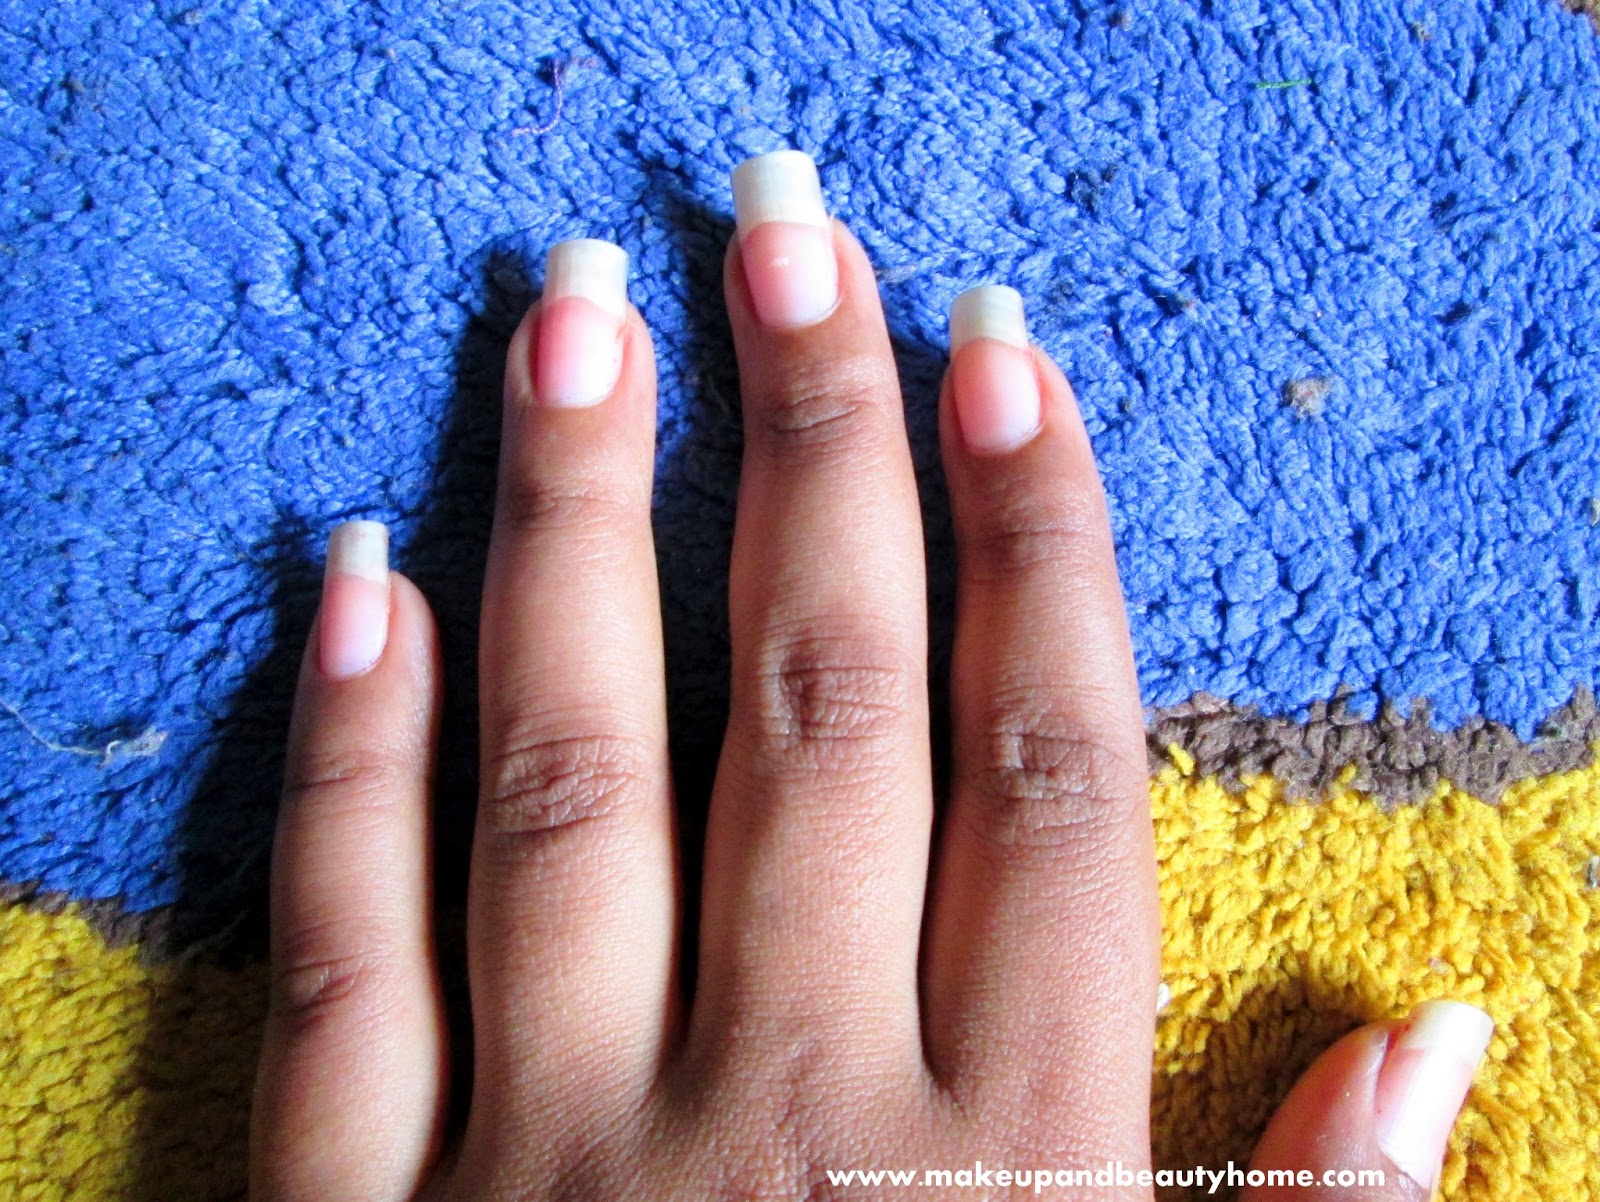
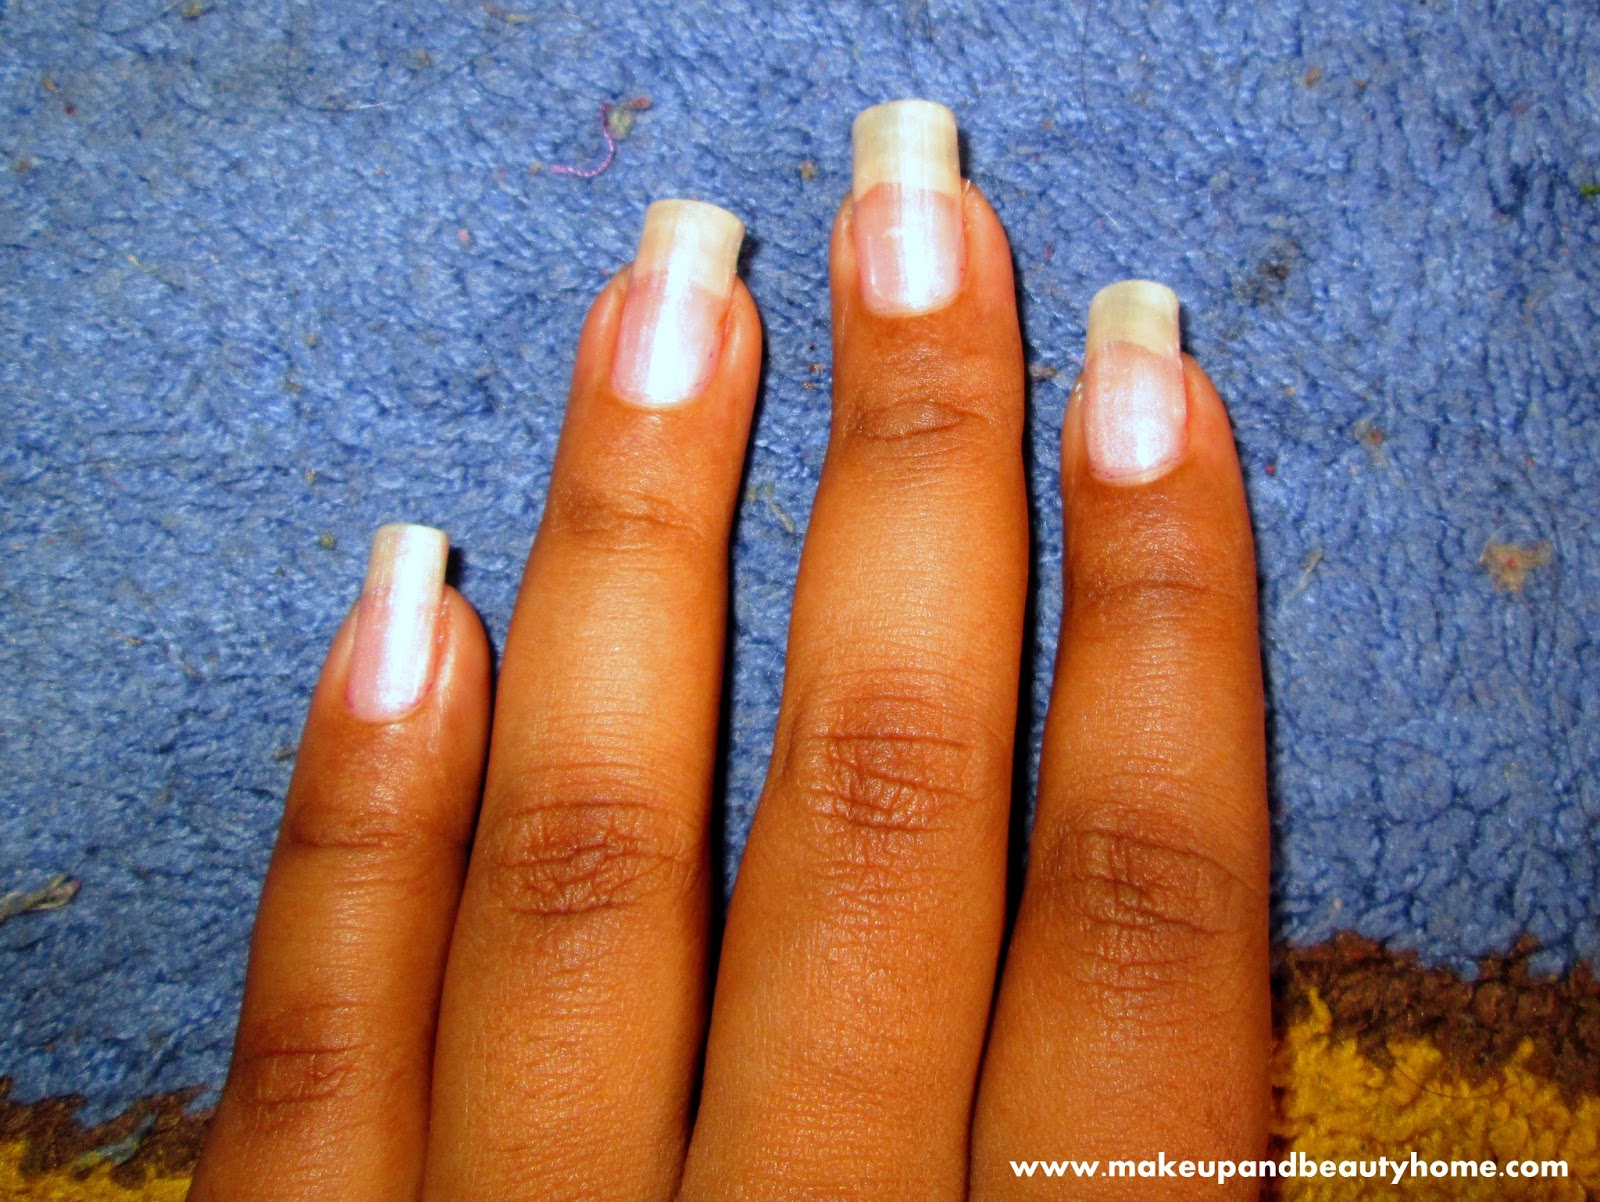
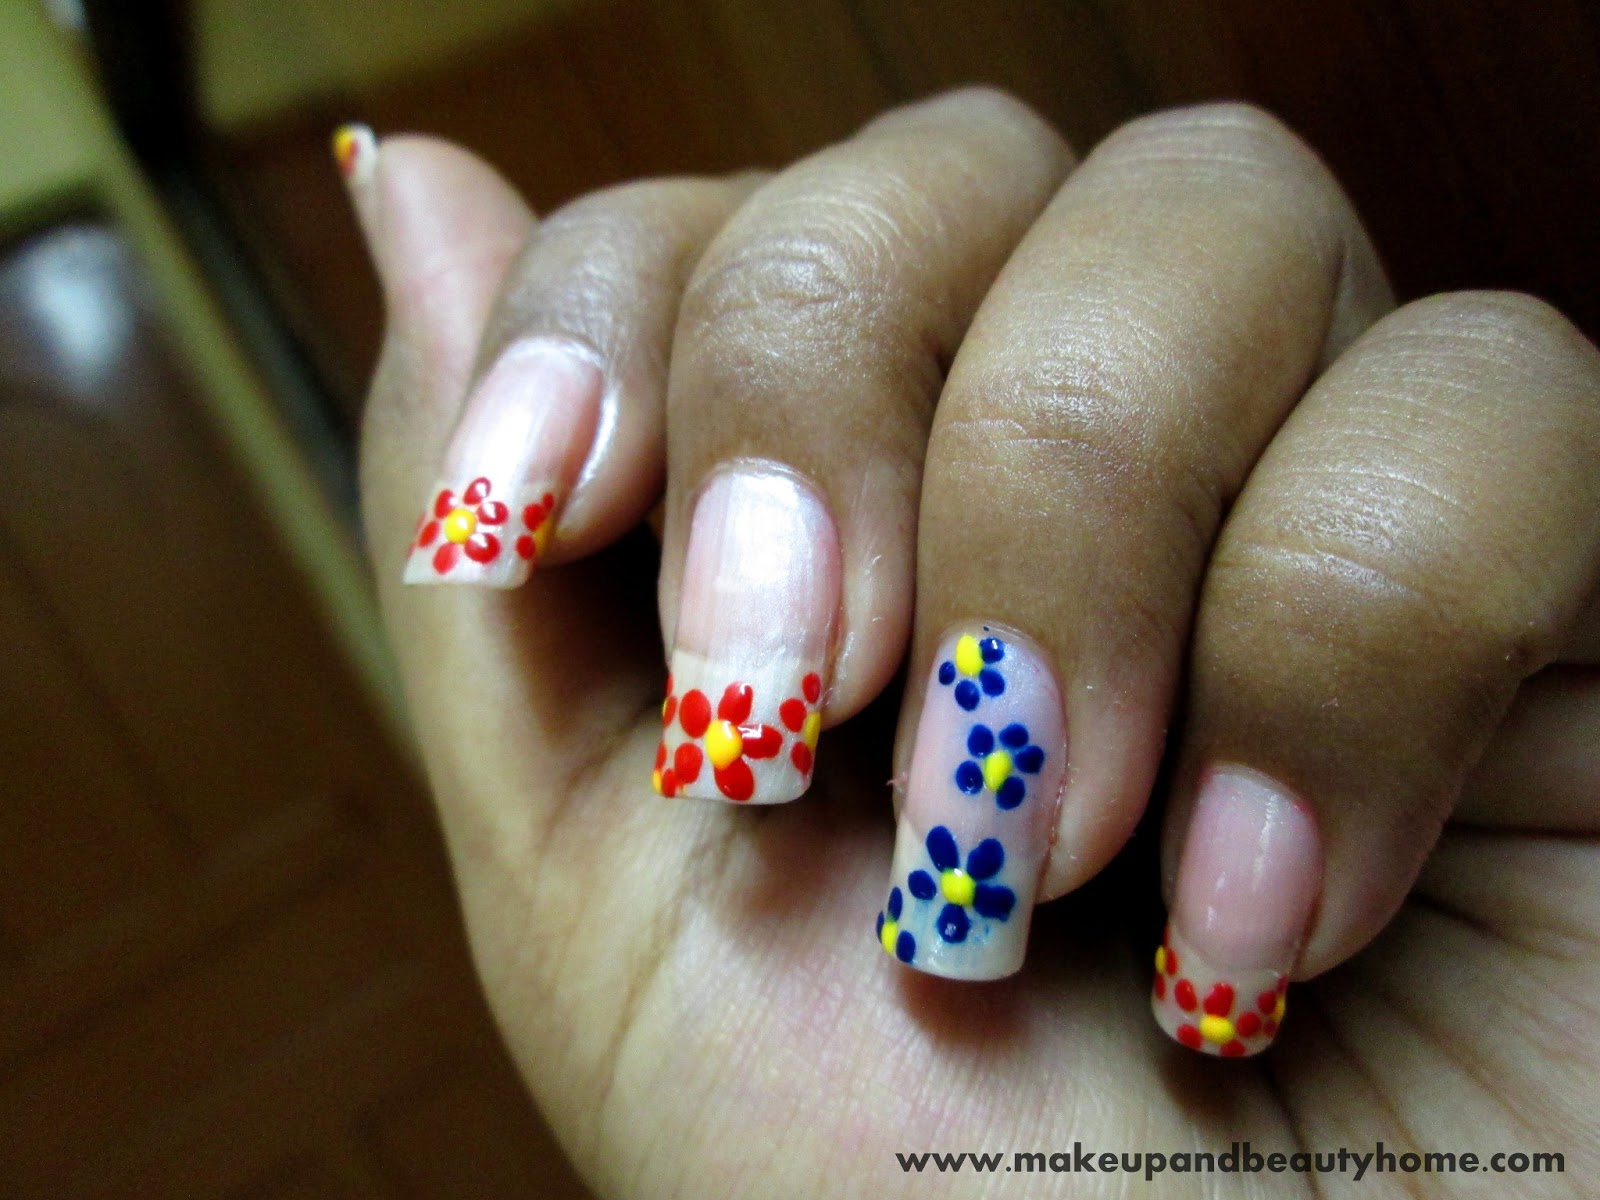
Step 1: Clean up your hand and nails (if there is any leftover nail paint). Now, apply the semi-transparent/off-white/nude color nail paint (off-white in the pictures) on all the nails. Apply two coats for proper color. Let it dry for 2 minutes.

Step 2: Now, take any of the bright color nail paint (red in the pictures) and dip the bobby pin/hair pin/dotting tool into the nail paint and draw five dots forming a circle on the tip (preferably middle) of the nails.

After drawing one circle of five dots, you may not have much space to draw five dots on the rest of the nail-tip; so draw four or three dots forming semi circles on the rest of the nail-tip (covering the sides of the nail-tip).

Do it on all four nail-tips except for the ring finger. Let it dry for 5 minutes.

Step 3: Take the light color nail paint (yellow in the pictures) and carefully dot right in the middle of the dotted-circle. Now you can see how it is taking shape of flowers. Be very careful and keep your hand steady. Do it on all the flowers and let it dry.

Step 4: Wipe off the remaining nail paint from the pin/ dotting tool and take the second bright color nail paint (blue in the pictures) on it. Now, draw a five-dot circle on your ring finger right on the tip but little bit upwards (as in the picture).

Now here is the trick, you have to draw the flowers in a semi circular line across your nail. Once your first and big flower is done, do one more on the end (I have drawn three dots). Then do a smaller five-dot circle above the big flower. And do one again on the top (I have done four-dots). So, on your ring finger, you will have four flowers, in a semi-circular line.

Step 5: Again with the light color nail-paint, dot on the middle of all flowers on your ring-finger nail.

Step 6: Finish off your nail art with the top coat.

If some nails are looking messy around the corners, use ear-bud soaked in nail-paint remover to clean it.
Try this simple and easy nail-art and flaunt it like a star.