Author Archives: Arshita

About Arshita

Arshita is beauty blogger from Hyderabad. She is married and also working in Amazon. Apart from being a foodie and fun-lover, she is addicted to pet dogs.

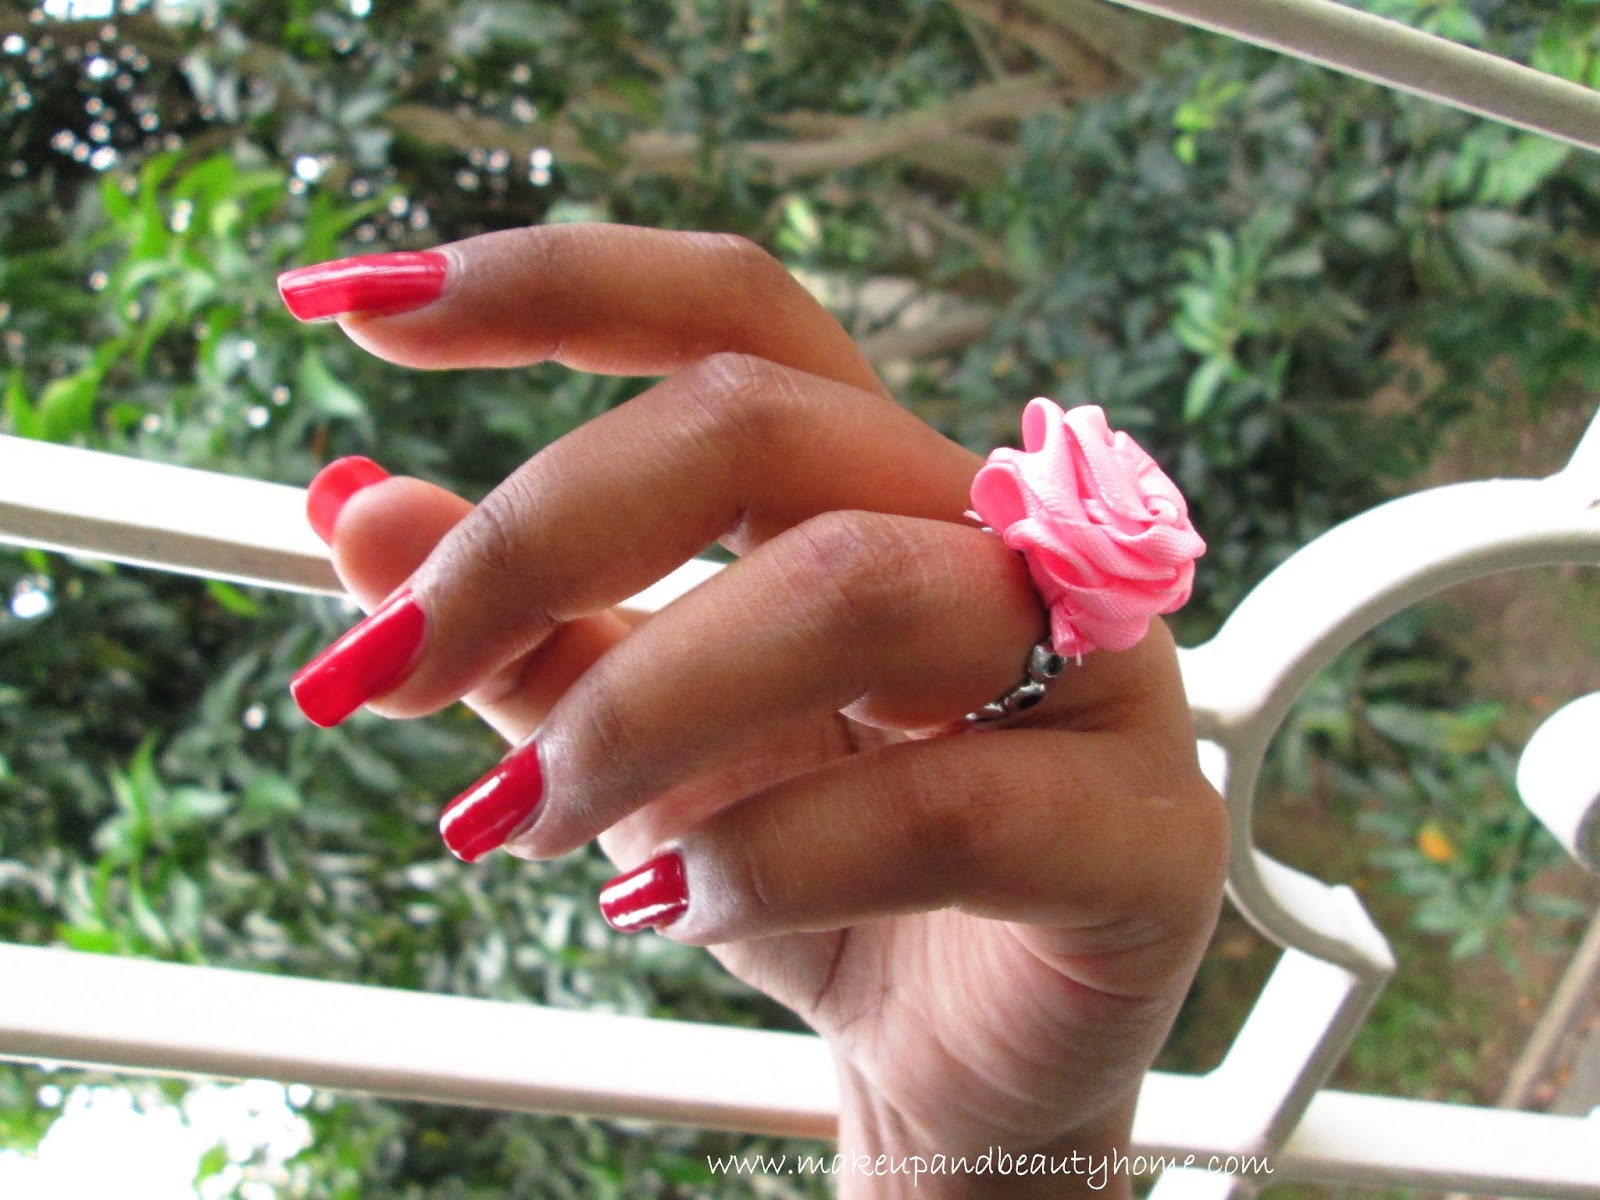
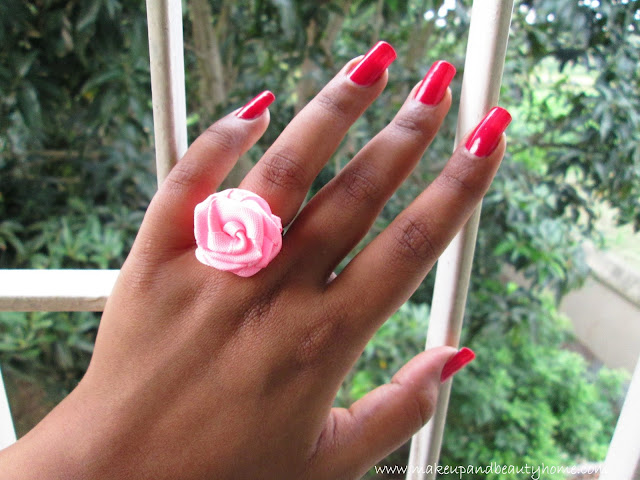
Do It Yourself Easy Ribbon Rose Ring Tutorial

Do you like fashionable accessories? Of course you like, I like too; and how about doing beautiful fashion accessories on your own? In our childhood, we all made paper rose in our craft class, today I will show you the same technique to make a beautiful accessory. Here goes my tutorial.

Things you will need:

  • Your favorite color ribbon (minimum 20 inches long)
  • One simple ring
  • Scissors
  • Fevicol

Tutorial:

Step 1: Cut ribbon at least 20 inches, you can cut it longer if you want. Now, on the one end of the ribbon, place a knot and leave one inch space below the knot.

Step 2: Hold the knot in your left hand and with your right hand fold the ribbon to 45 degree. Then, twist the knot anti clockwise and keep folding the ribbon with right hand. After doing one round, put your thumb on the top of it so that the folds stay in place. It will produce layers of the folded ribbon. Keep doing it until it is reached your preferable size.

Step 3: Once you are done, turn it upside down and place another knot with the both ends of the ribbon. Cut the extra ribbon leaving one inch space. Now, place the rose on the ring and on the inside of the ring, place a tight knot with the both ends of the ribbon.

Step 4: Apply glue (fevicol) on the knot that you have placed on the ring, also on the layers of the flower.  Use glue liberally, this will only help your ribbon rose stay in place. Cut the extra ribbon ends carefully and let it dry.

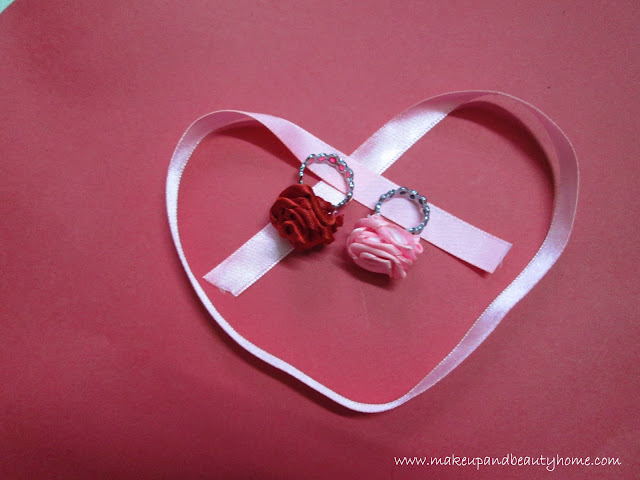
Make it ladies and be a fashionista. This is the easiest way to add some statement to your appearance, wear it with a vintage dress or a western dress and flaunt it like a Fashion Diva. 🙂
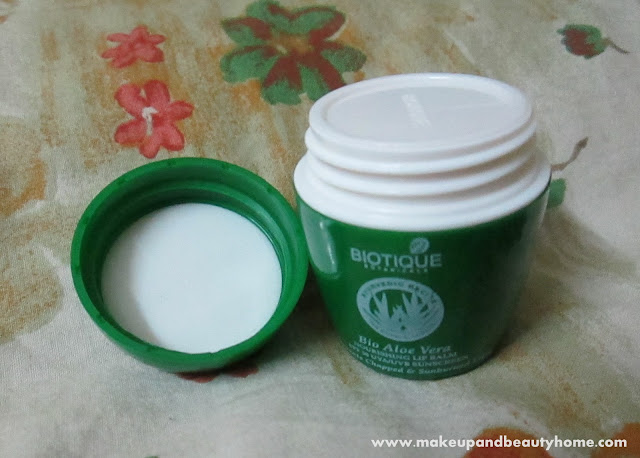
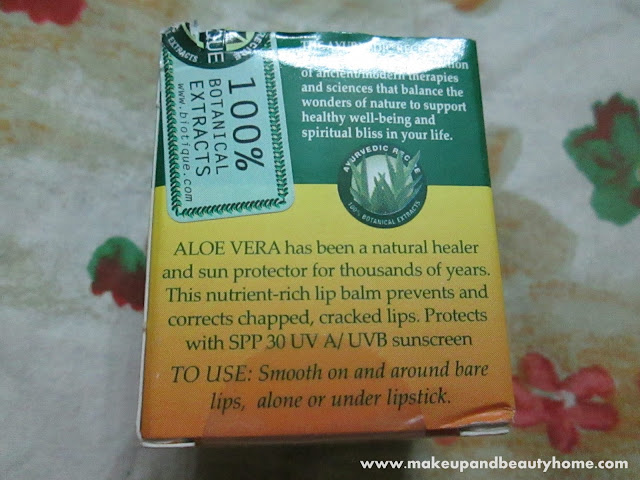
Biotique Bio Aloe Vera Nourishing Lip Balm Review

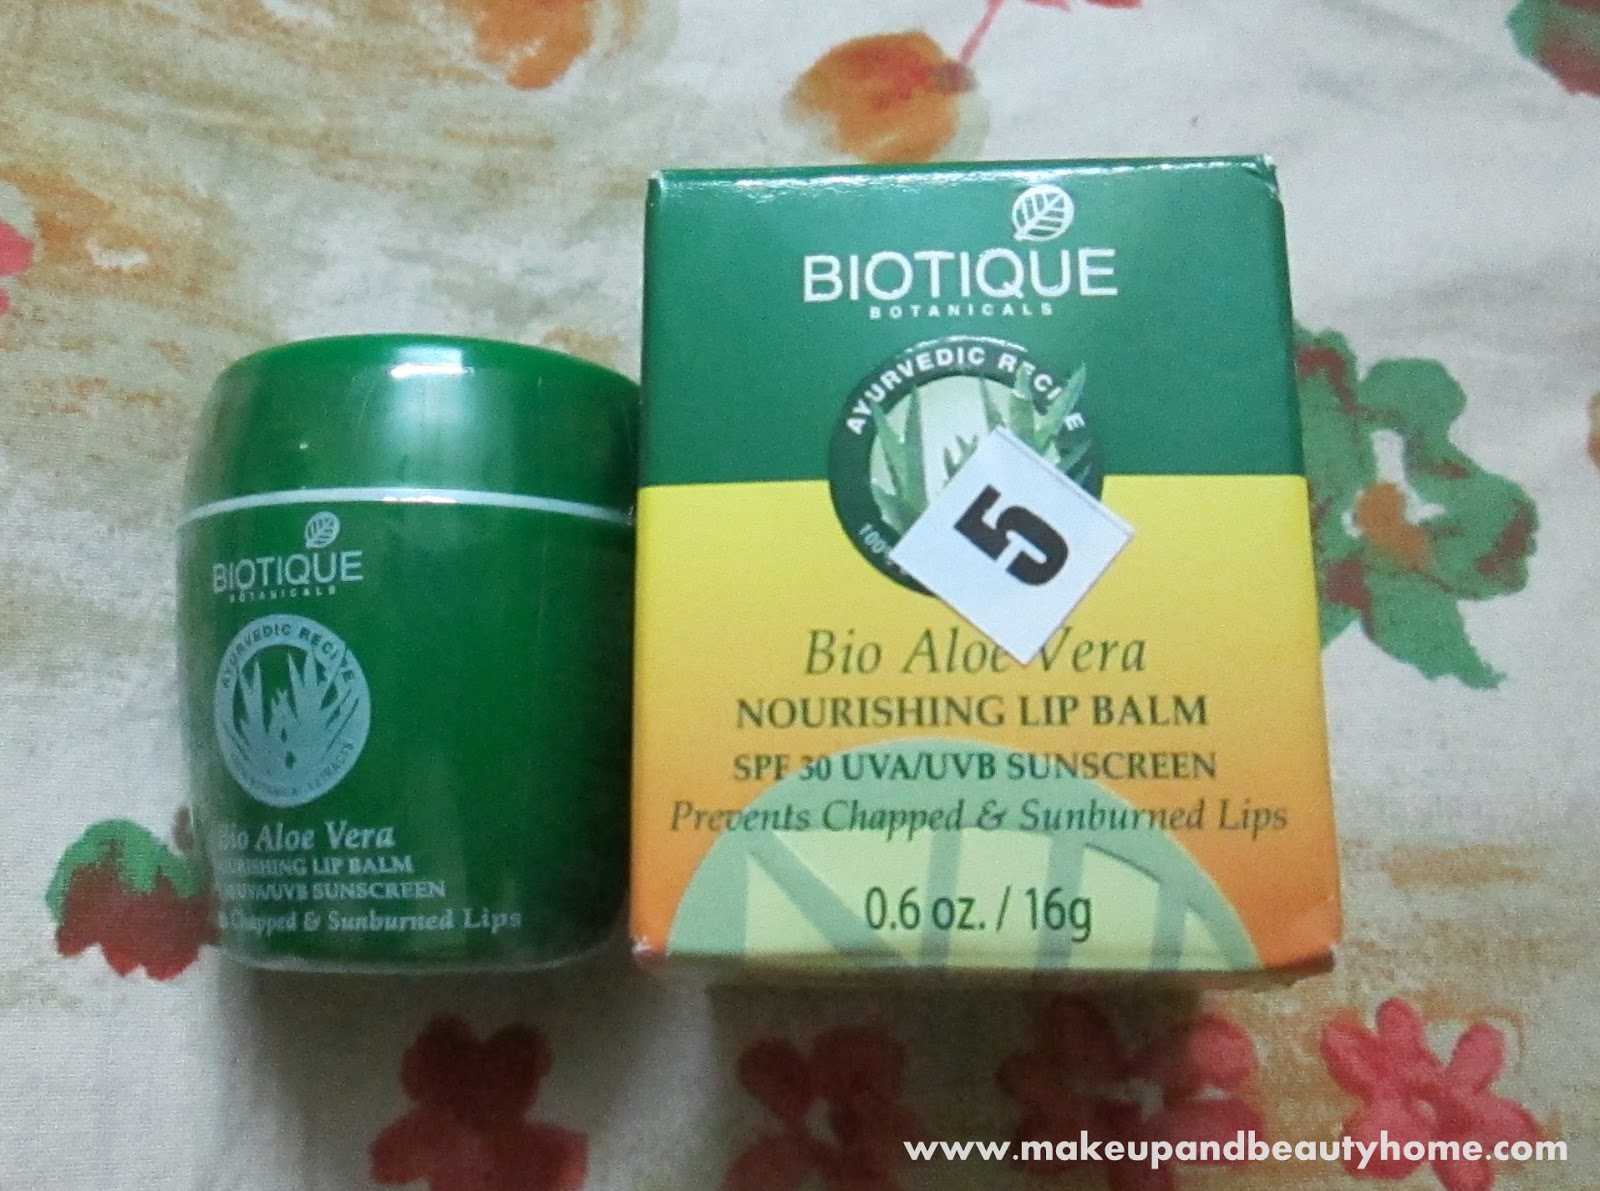
Hello everyone, hope you all are doing well since the hot summer is eventually leaving its place to the lovely rainy season. No matter its summer or winter or rainy season, I always need lip balm for my lips (my lips get dry all the time). I have tried many lip balms of different brands, and today I will be reviewing a lip balm from Biotique with SPF 30 UVA/ UVB Sunscreen.

Price and quantity: 

Rs. 99 for 0.6 oz. /16g.


My Take:

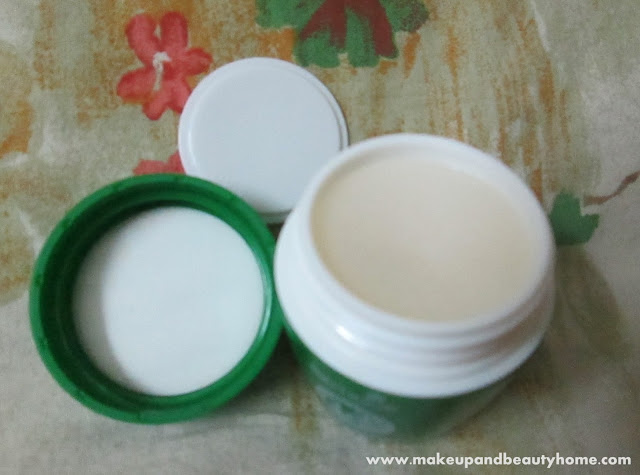
This lip balm is a gel type consistency and its color and texture is just like pure aloe vera gel. It comes in a not too small yet very cute green jar which is the typical jar type of this brand. It has an extra cover under the lid which I find fascinating (don’t know why). Only a little amount does all the work; so 16 g will go for a long time.

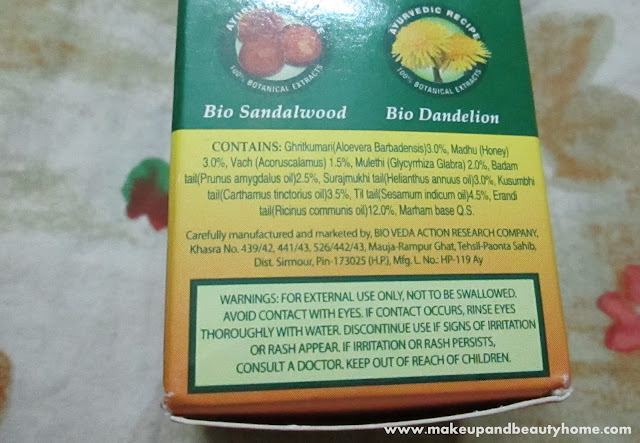
Its consistency is very thick (thicker than aloe vera gel) which is good. It stays for really long time unless you eat and wash your mouth. It claims 100% Botanical Extracts, which is proven in the ingredients list, and also after using it I felt the same.

I am using it for the last two weeks, till now it has cured my chapped lips (due to staying long time in air conditioned room). I have worn it outside also, though I don’t know how much it works as sunscreen. But it did not heal my sunburned lips till now (maybe I am judging too soon). Overall, I love it; if I finish it before winter, I will definitely buy another one.


PROS:

  • Gel like consistency yet, very thick.
  • Cured my chapped lips.
  • Cute jar packaging.
  • Extra lid for protection.
  • Inexpensive.
  • 100% herbal.
  • Good quality brand (I have previously used hair products of this brand).
  • Staying powder is excellent.
  • 16g is a lot amount, for small amount is enough.

CONS:

  • There is none. I simply love it.


Rating: 5/5


Do I Recommend?

Yes, definitely. I am sure you will love it too.


Would I Repurchase?

Yes. Right after I finish this one.

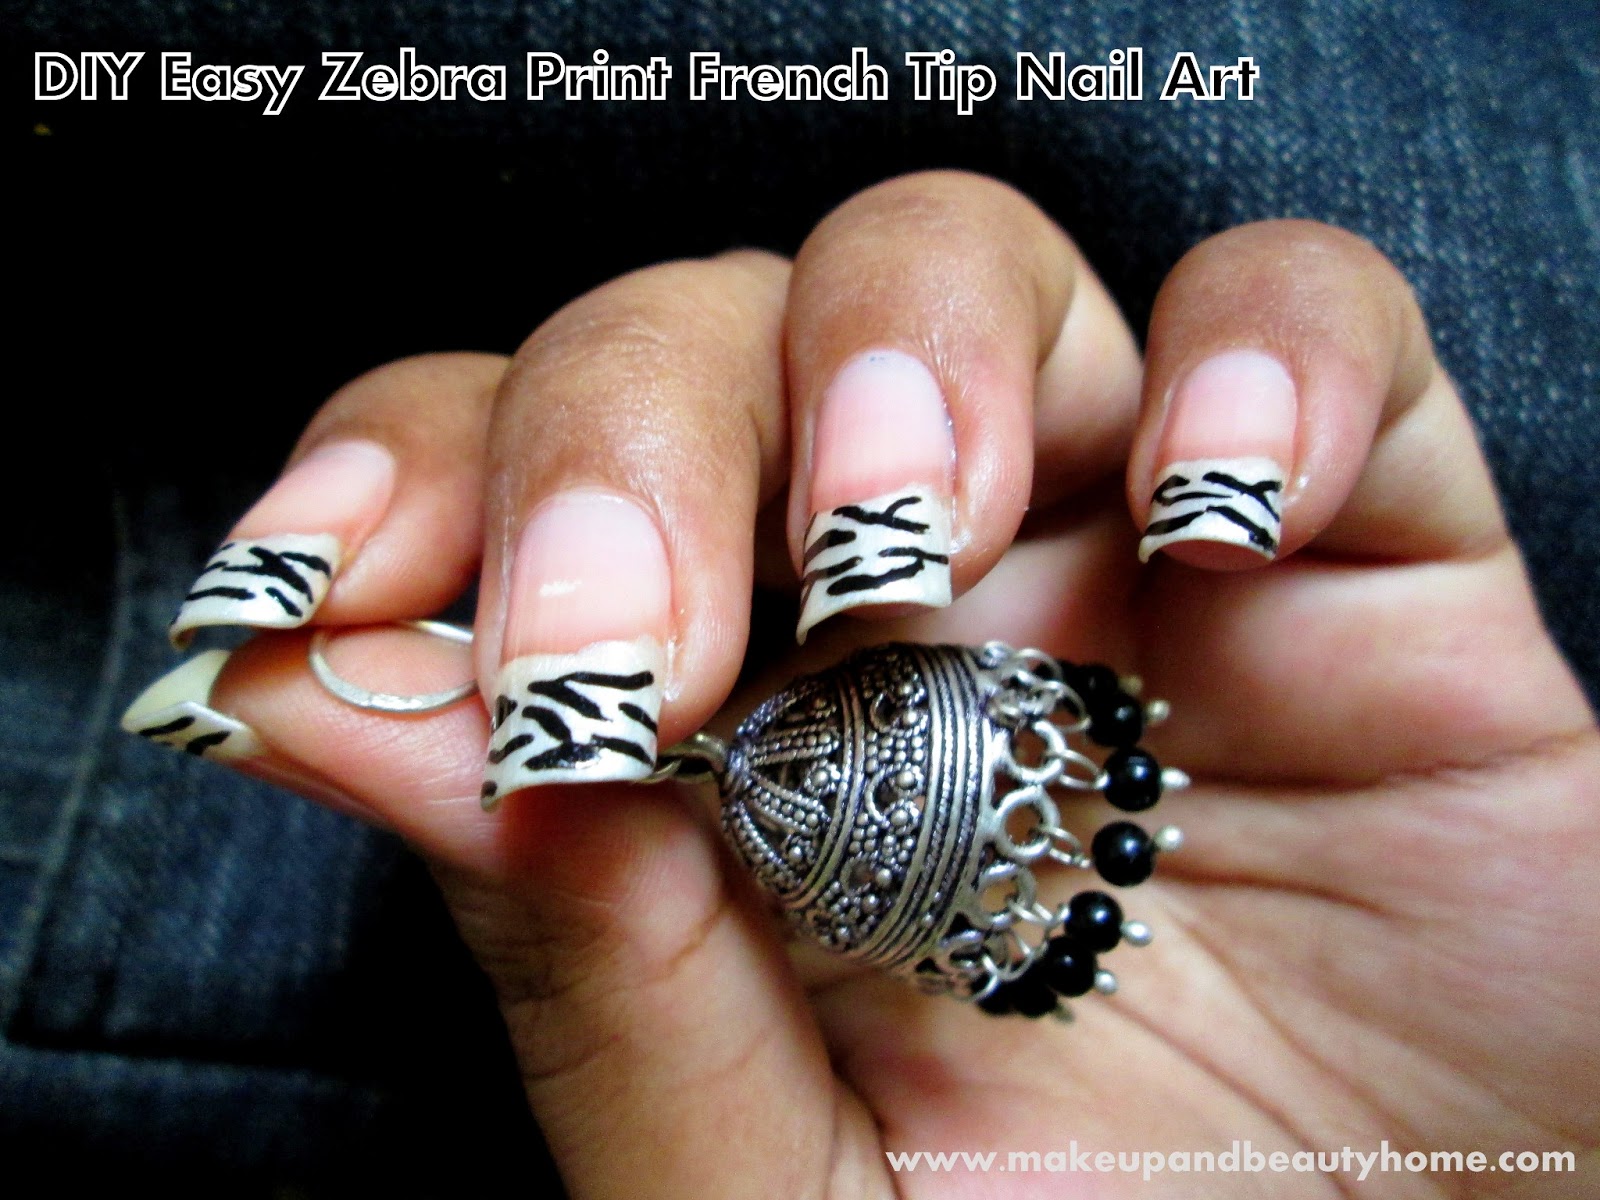
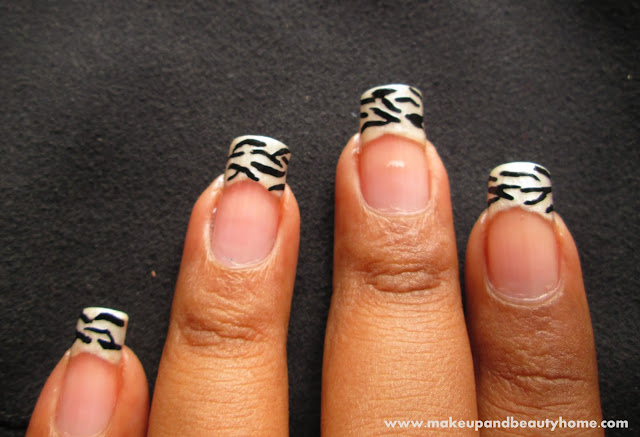
DIY Easy Zebra Print French Tip Nail Art Tutorial

Are you an animal print crazy like me? Then, this tutorial is for you; don’t worry ladies who are not so fan of animal prints, this nail art does look quite stylish and fashionable too. I also love French manicure, and this is the perfect combination of French nail art and animal print. So, here goes my tutorial.

Things you will need:

  • One base coat nail paint (optional).
  • One white/ off-white nail paint.
  • One black nail paint.
  • One top coat nail-paint.
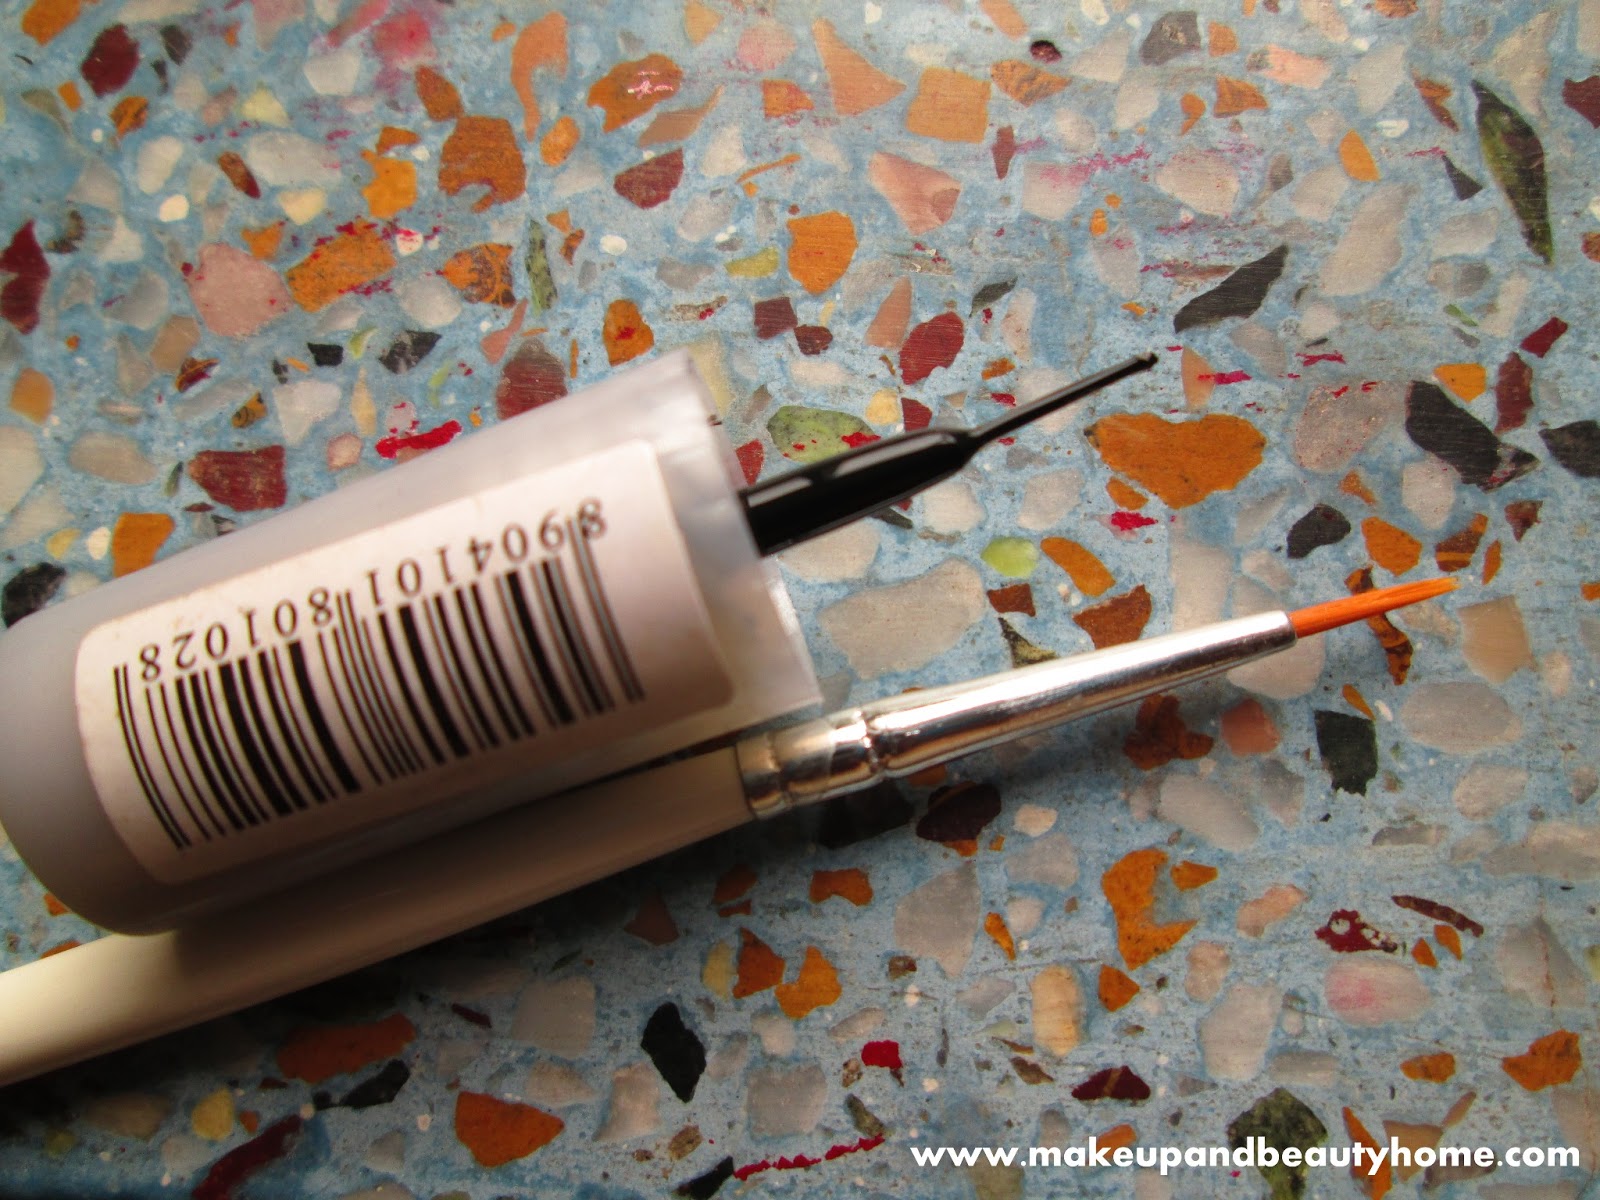
  • Nail art brush/ regular paint brush (No. 0, the thinnest one) or old eye liner brush.

Step 1: Clean your nails and apply the base coat. It is optional; you can skip this part. I prefer applying top coat at base, for that extra glossy effect. Let it dry.

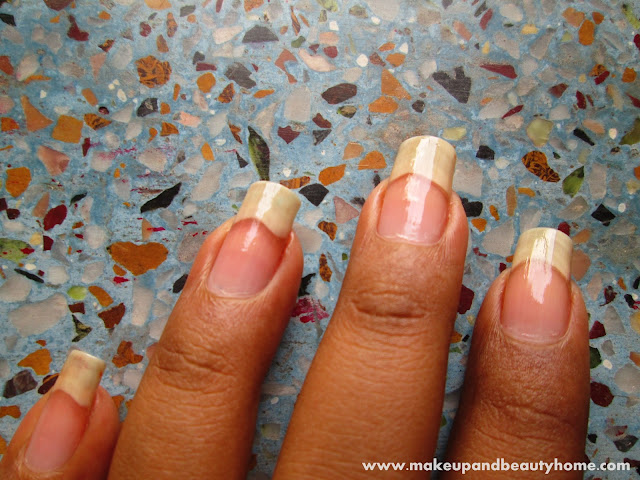
Step 2: Then apply the white/off white nail paint on the nail-tip very carefully. I have used off-white nail-paint for it looks more dramatic. You can do it with the nail paint bottle applicator or you can also use the special paint brush for doing it neatly. I have done with the normal nail paint bottle applicator.

Step 3: Apply double coat of white/off white nail-paint. And let it dry for 5 minutes.

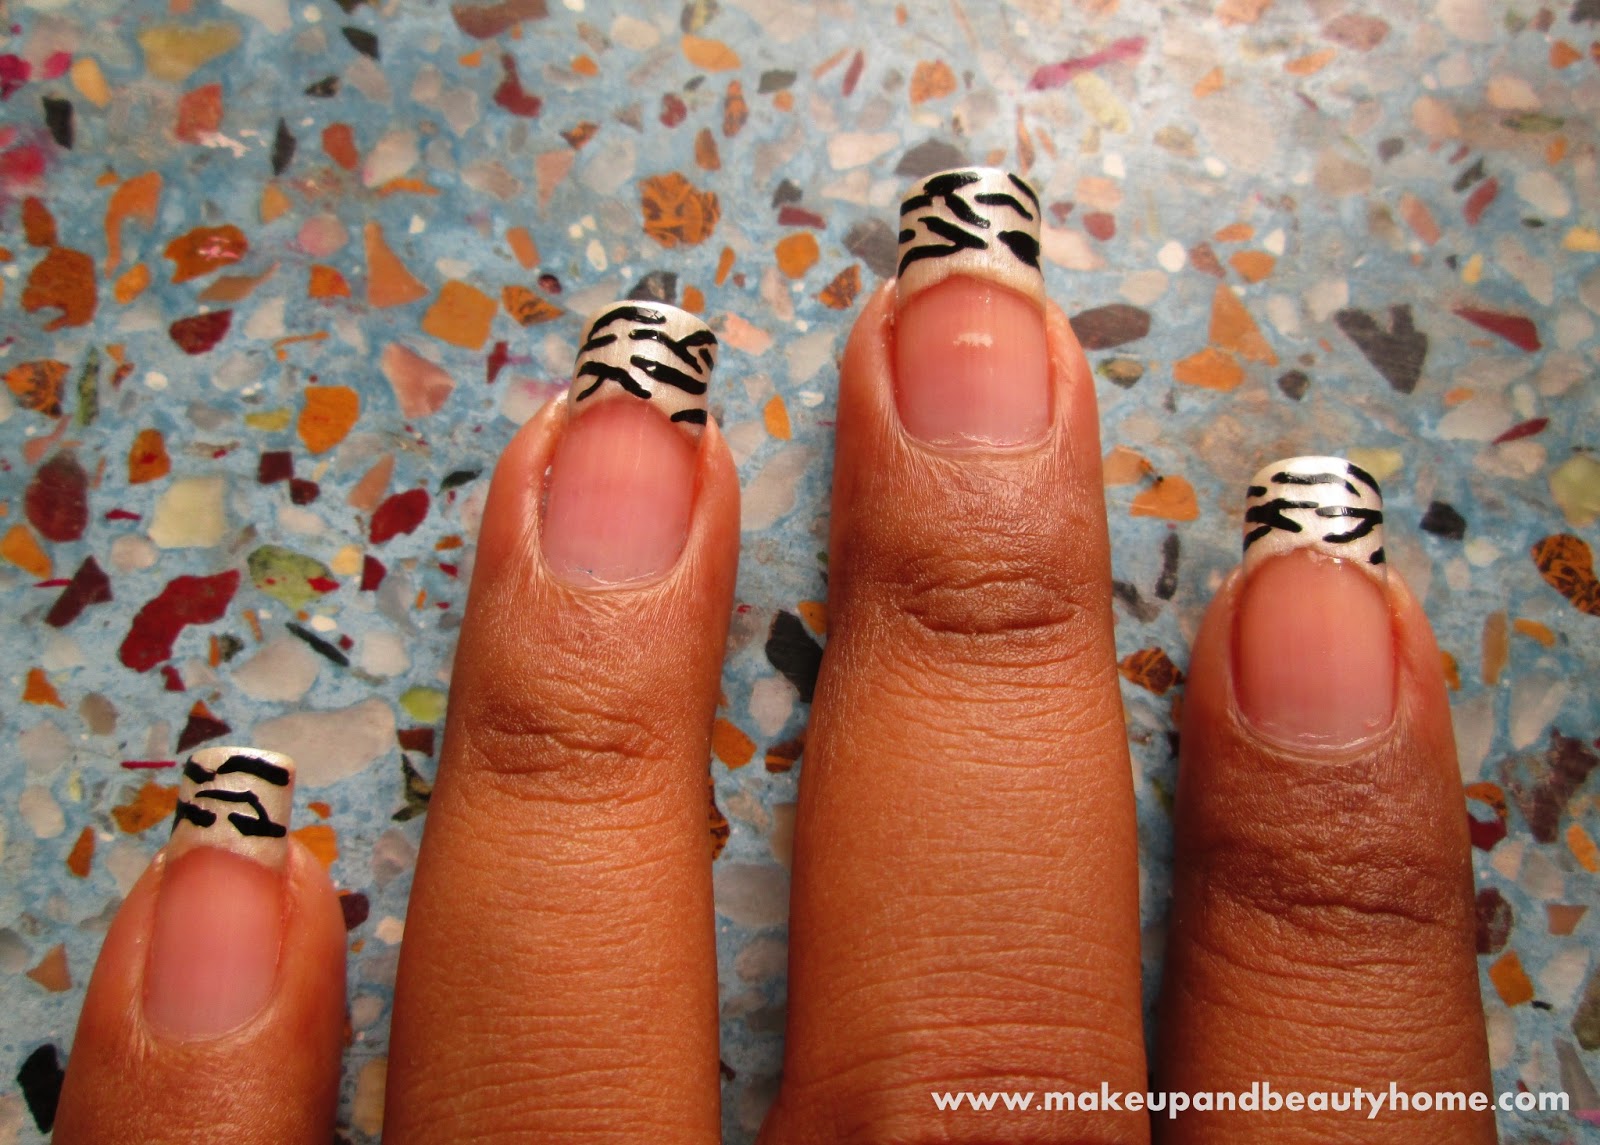
Step 4: Now with the nail paint brush or regular paint brush or your old eye liner brush (wash is thoroughly and dip it in the nail-paint bottle) draw uneven lines, V-shaped lines and Y-shaped lines all across the nail-tip. Make sure they are uneven and not too thin or not too thick lines. Do it on all the nail tips and let it dry.

Step 5:

Finally, apply the top coat, twice.


NOTD: 

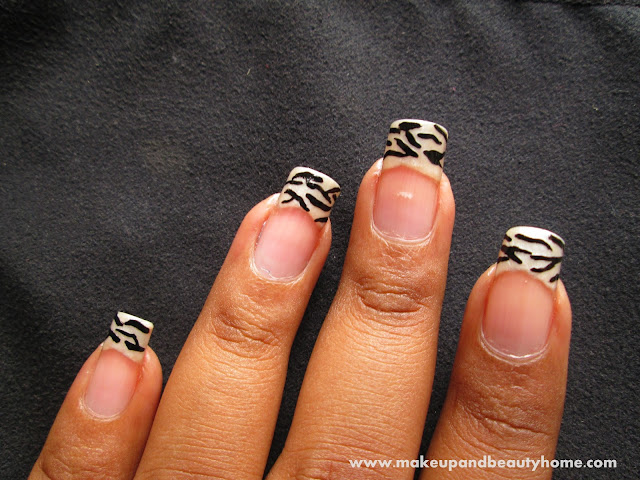
Isn’t it the easiest and still very fashionable nail-art? So, try this, beauties and be the centre of attraction.