Author Archives: Arshita

About Arshita

Arshita is beauty blogger from Hyderabad. She is married and also working in Amazon. Apart from being a foodie and fun-lover, she is addicted to pet dogs.

Vintage Rose Print Nail Art Tutorial ~ Do It Yourself

Good day amigos!

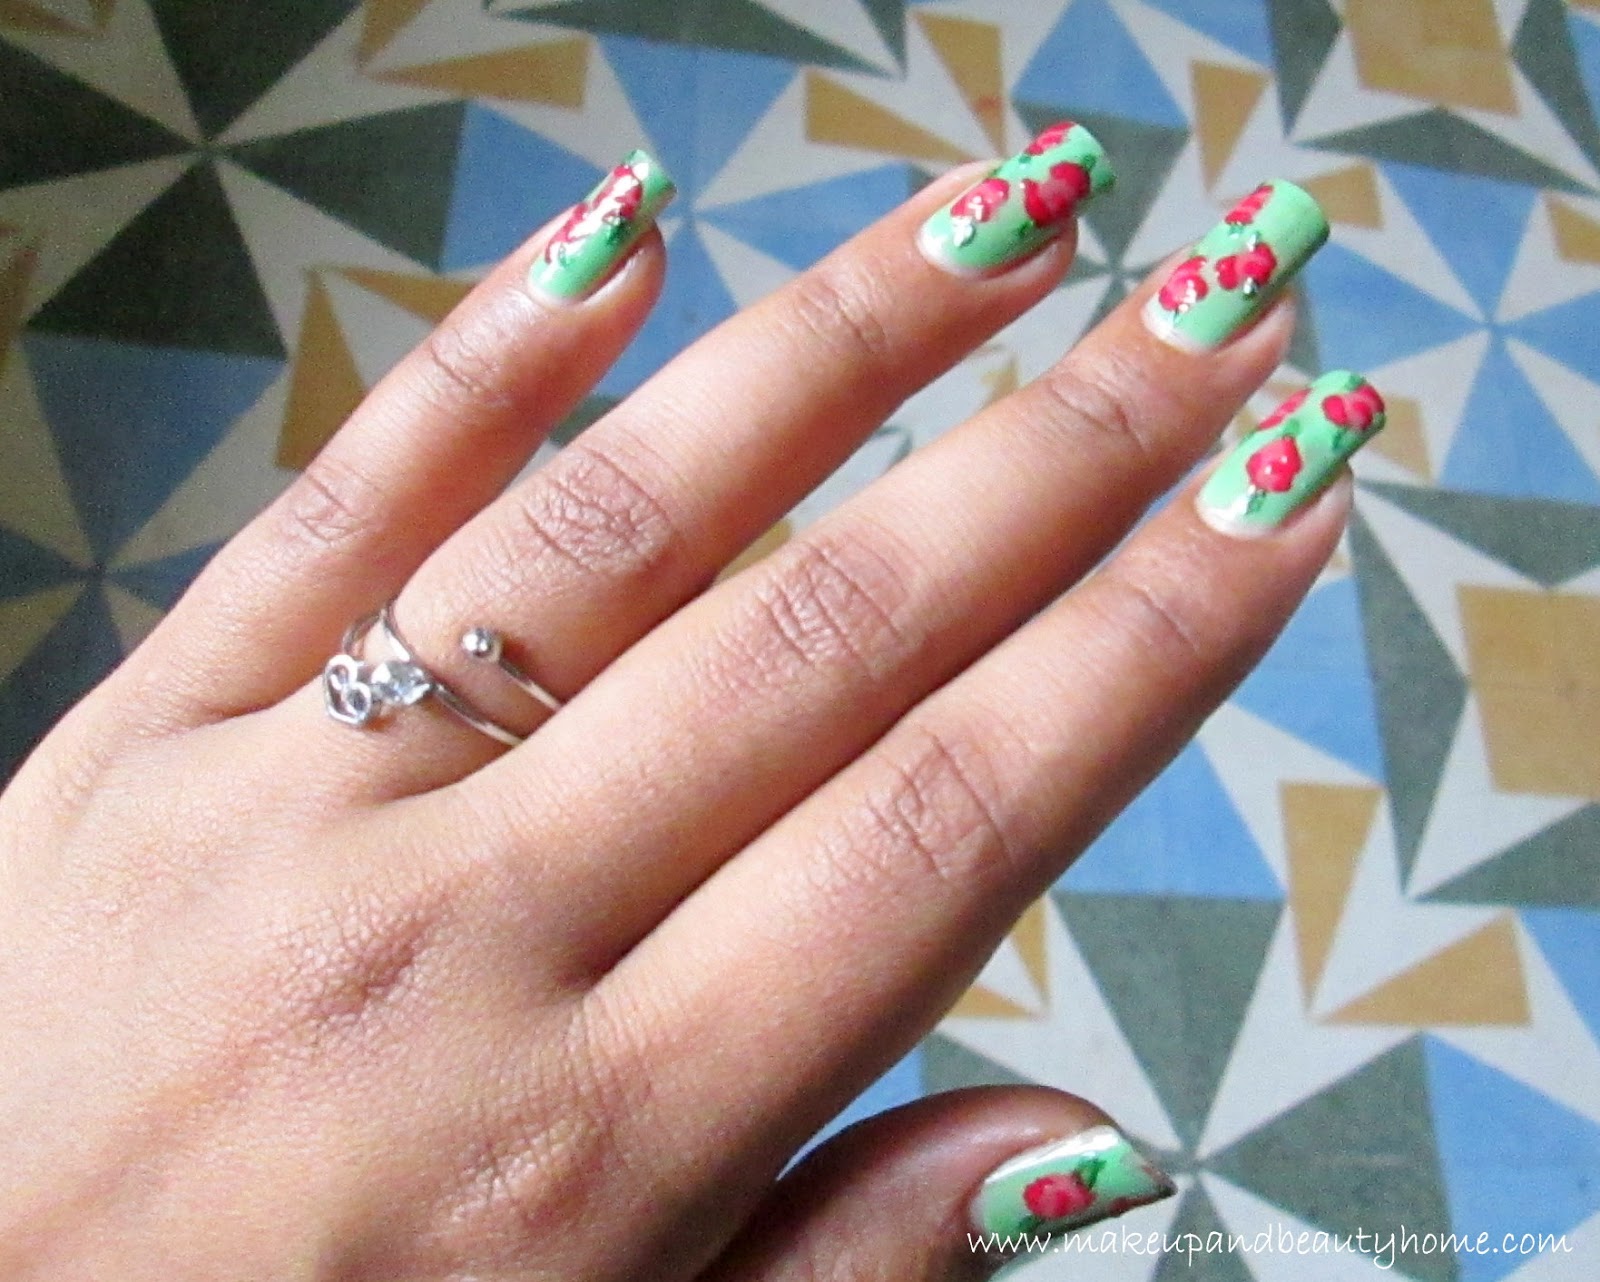
How are you all in this monsoon? Today I present to you one of my favorite nail art i.e. DIY Vintage Rose Print Nail Art. You can do this nail art on short nails also; the print itself is very appealing. Vintage prints are very popular these days, you can see them on scarves, bags, tops everywhere. Why not give an extra touch to your outfit or accessories with this pretty nail-art.

So, here goes the tutorial.
Things You Will Need:

  • One light color nail paint.
  • One red nail paint.
  • One nude color nail paint.
  • One green color nail paint.
  • One top coat nail paint.
  • Nail-art brush/ regular (No.0) paint brush/ bobby pin.


Step 1: Clean your nails and apply the light color nail paint on all the nails. Apply double coat and let it dry.

Step 2: Take the nude color nail-paint and place 3-4 blobs on the nails (don’t worry if it is uneven). Let it dry.

Step 3: Now, dip you nail art brush/regular paint brush or bobby pin into red nail paint and draw a semicircle in the middle of the blobs moving outwards(I have done with bobby pin).

Then, draw two uneven outlines on the blob; one on the top and one at the bottom. Here is your rose. Let it dry.
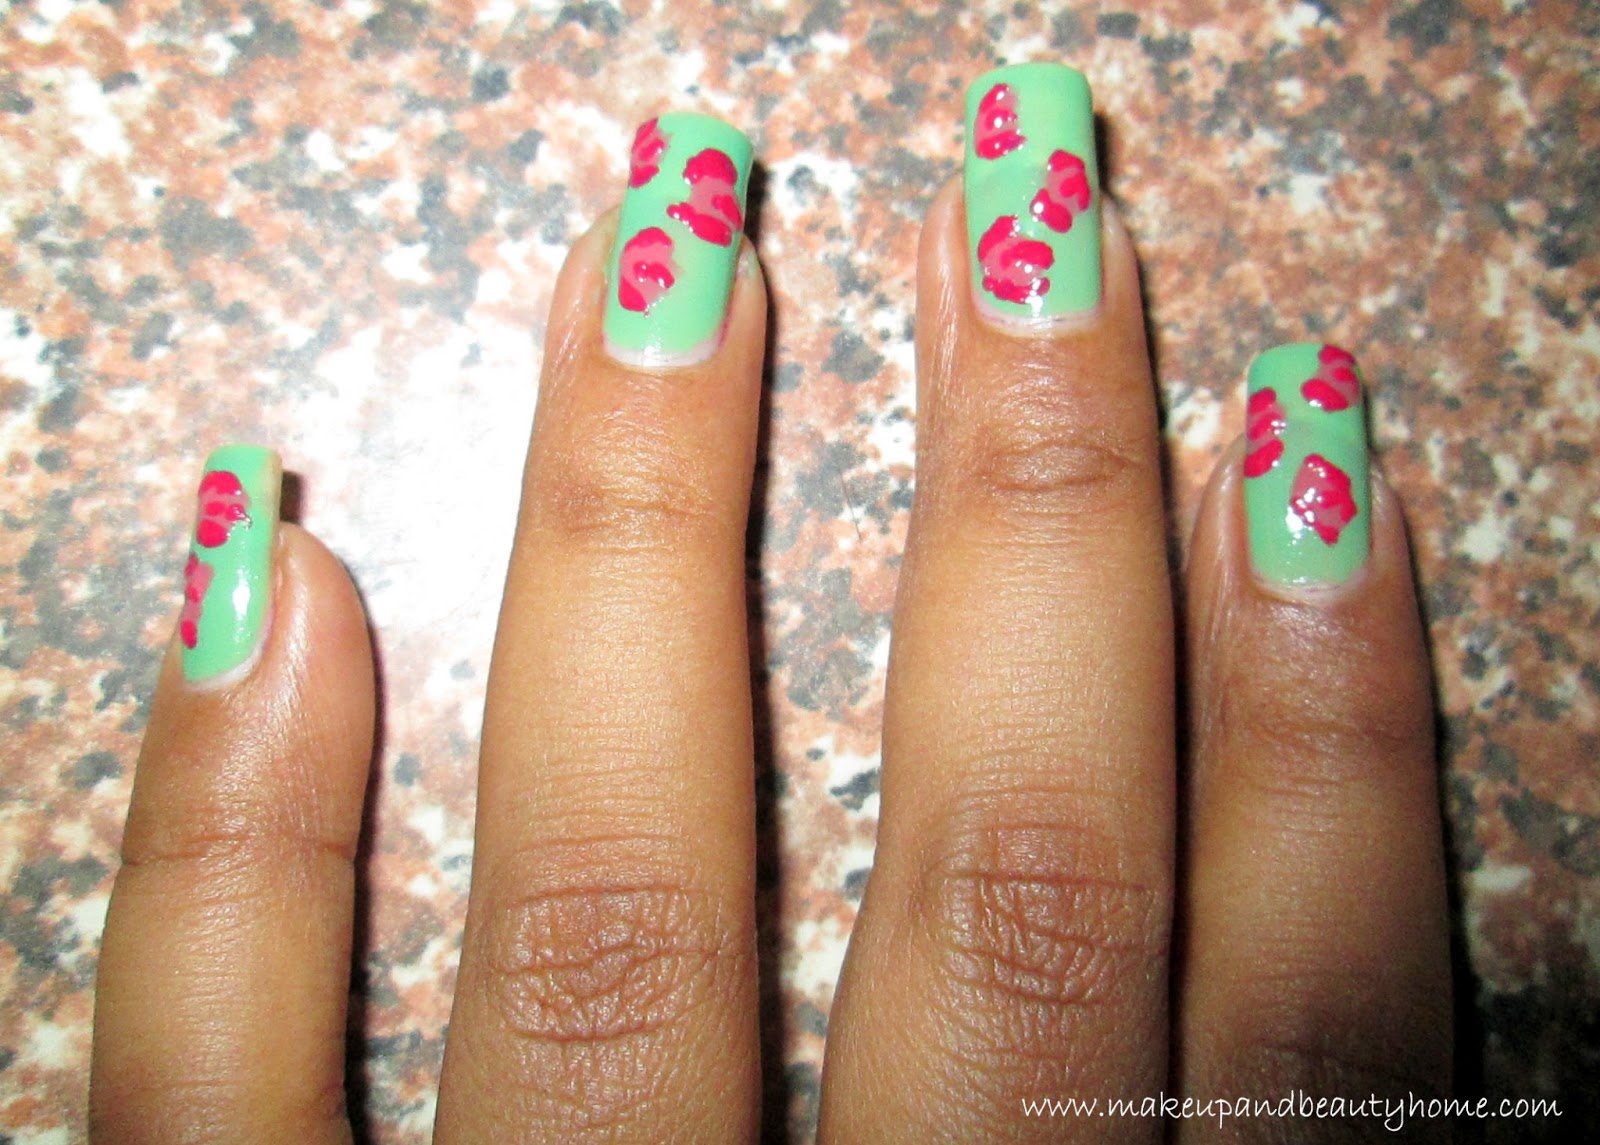
Step 4: Now, take the green color nail paint and draw a short line one on the top of the roses and one at the bottom (these are leaves). Let it dry.

Step 5: Finally, apply top coat and let it dry.

So, ladies, next time you are going for a birthday party or little house warming party or baby showers, don’t forget to do this nail art and catch all the attention.

As I said earlier, it can be done on short nails also, there might not be left any other excuses for you to not do it. 🙂 This Vintage Rose Nail Art is as classy as stylish, and it will look prettier on you beautiful ladies. Give an extra effort to look the best version of you. 😉 Good luck amigos and stay happy & healthy.
Cute Bow Nail Art Tutorial ~ Do It Yourself

Hey dear friends!

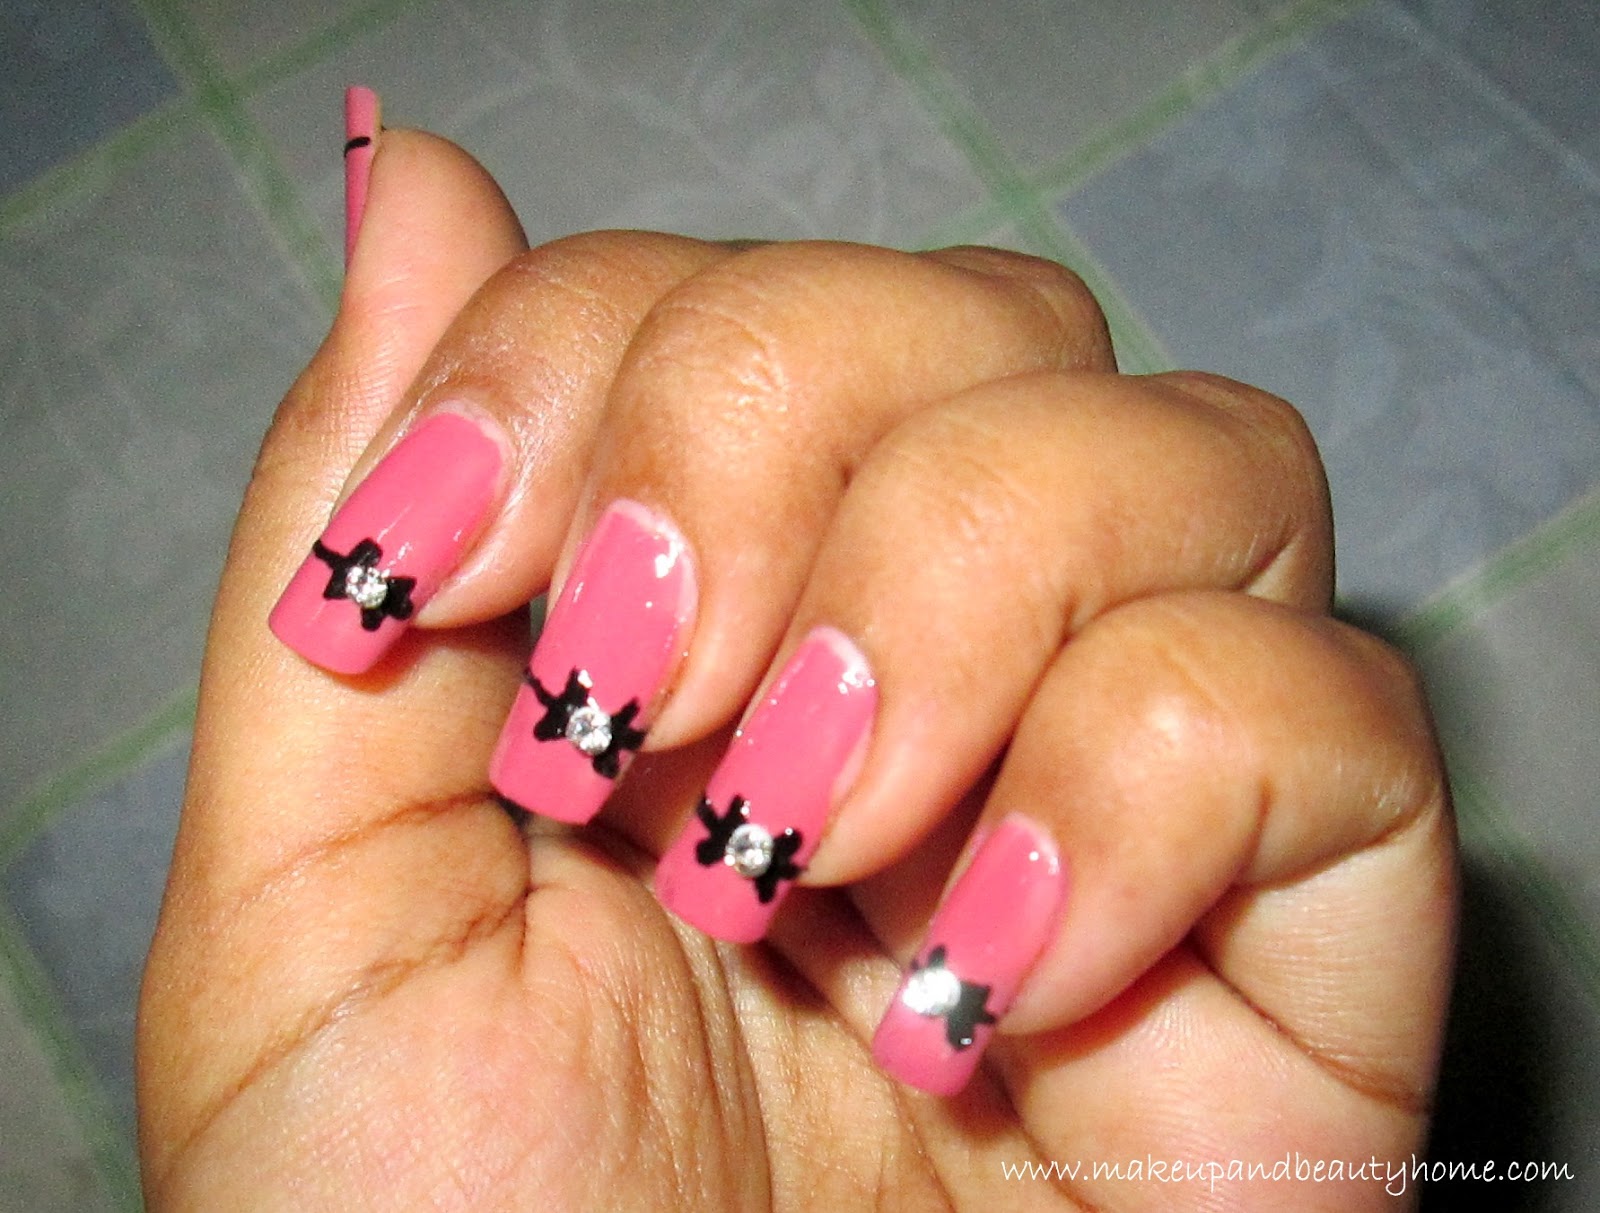
We girls love girly stuffs like cute teddy, bows right? I love bows so much that I keep making everything which must have bows like hair accessories, bracelets; this time I thought why nail art would lag behind. Bows are itself very cute at the same time trendy and stylish. The Hollywood singer Katy Perry had popularized Cute Bow Tuxedo nail Art. Bows are fun and very easy to do on nails.

You can buy ready made nail art bows also from leading online stores. But, I am no pro, and I like to do it myself, so, today I am going to show you my tutorial.

Things You Will Need:

  • One nude color nail paint.
  • One black color nail paint.
  • Nail paint brush/ regular paint brush (No.0)
  • Rhinestones or Stone Bindis (optional).

How to Do?:

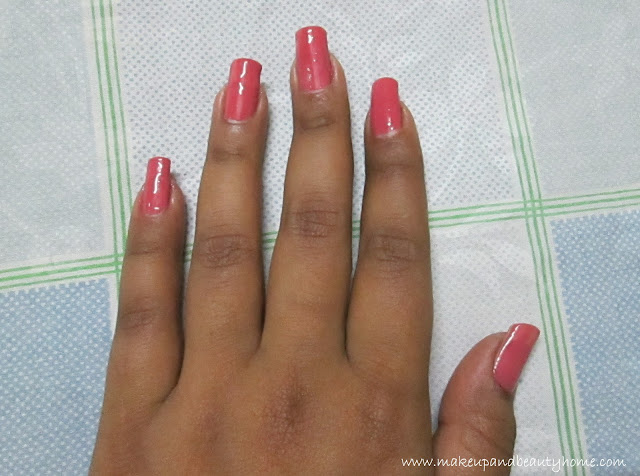
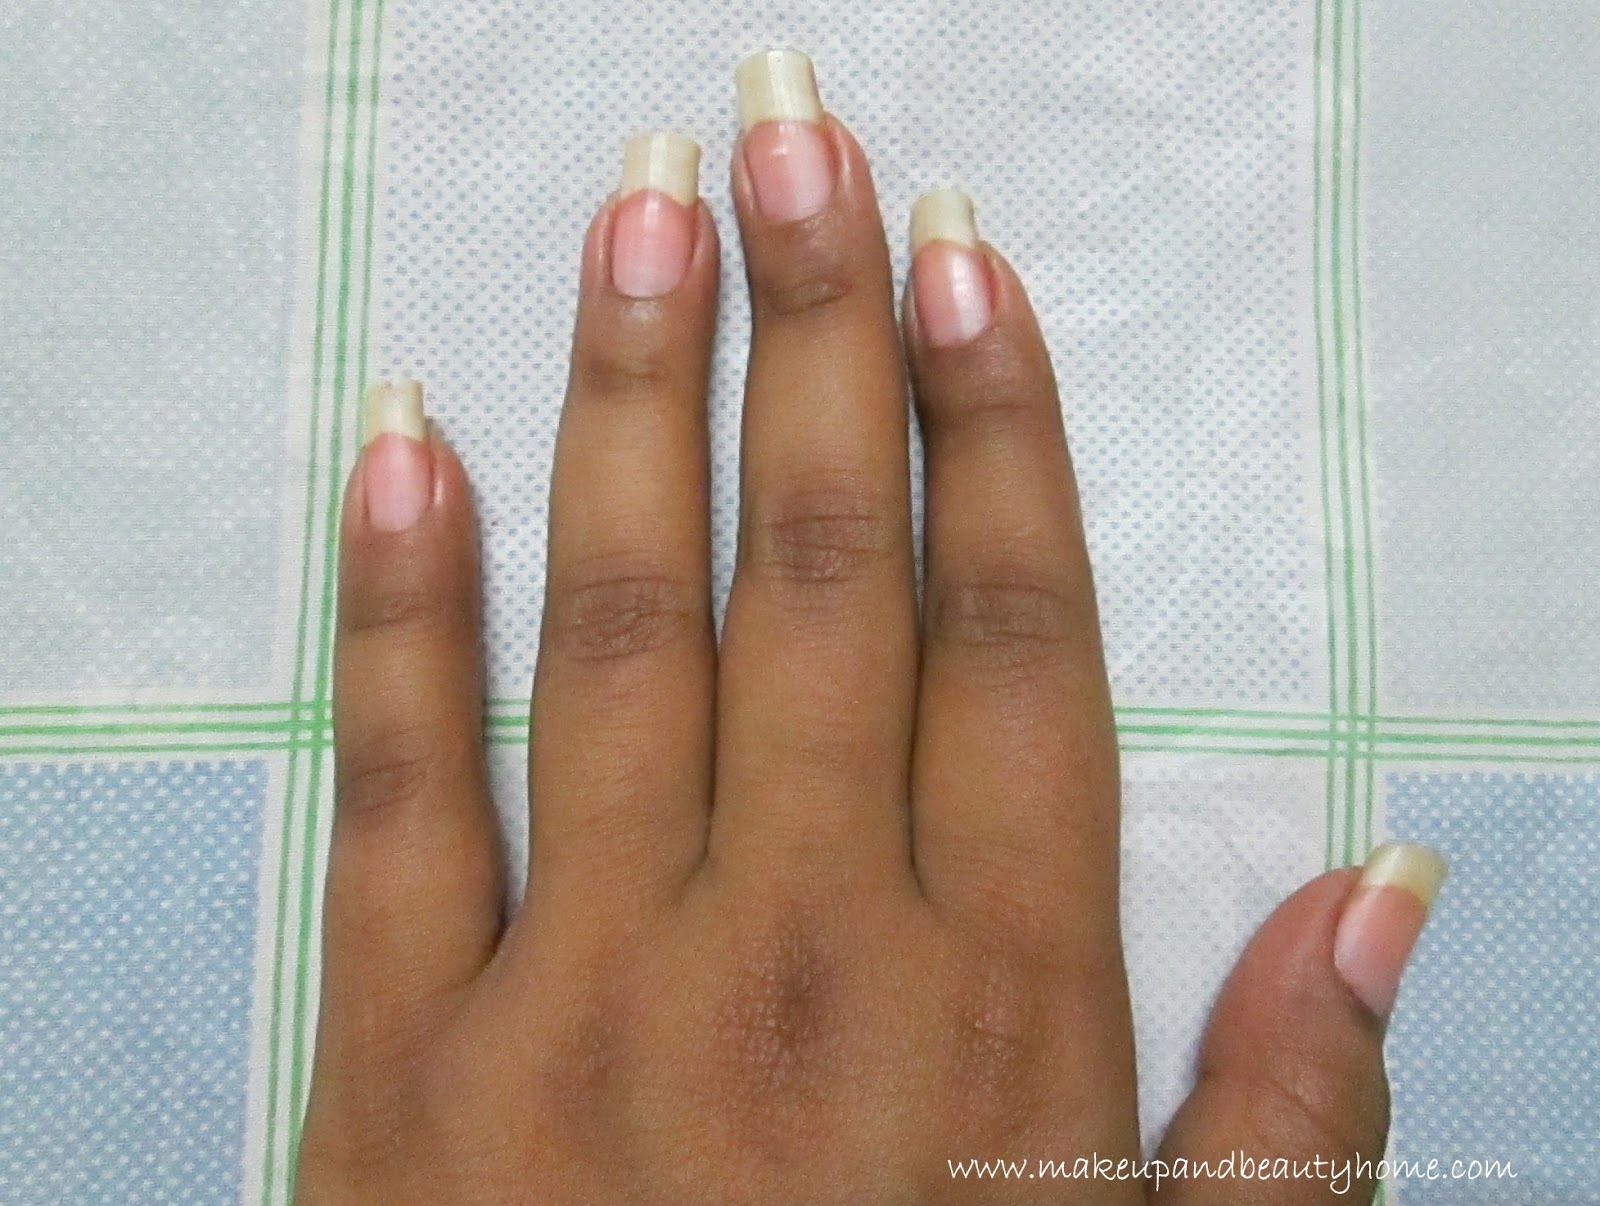
Step 1: Clean your nails and apply the nude color nail paint. Apply double coat and let dry. (If you want, you can use any color you want for the base nail paint.)

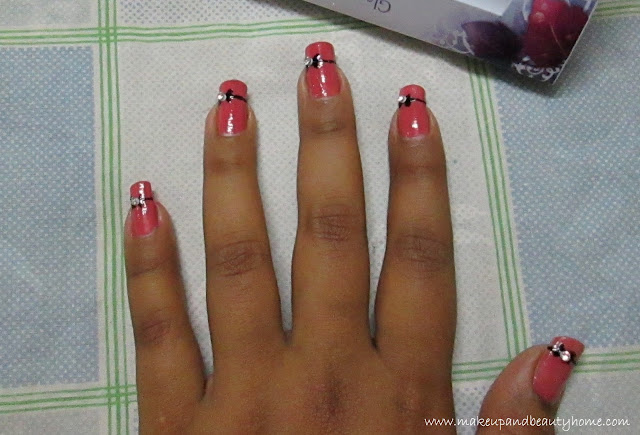
Step 2: Dip your brush into black color nail paint and draw a straight line across the nail tip starting from right to the middle of the nail tip. Then after leaving a space, now draw one small dot on the other end of the nail. This should look like one straight line with a space in between.

Step 3: Now, on the space in the line, draw a small bow. For the bow, in the empty space, draw two vertical lines (||)on the line facing each other.

Then, draw a cross (|X|) connecting the two vertical lines. You will have two triangles; fill them with the same nail-paint.

Step 4: After drying, apply the final top coat and let it dry for 5 minutes.

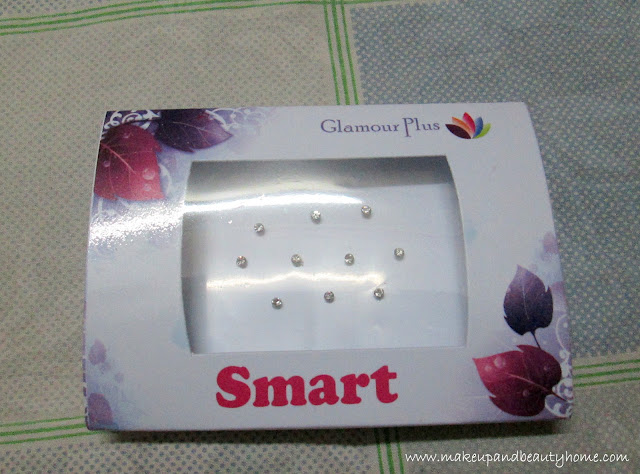
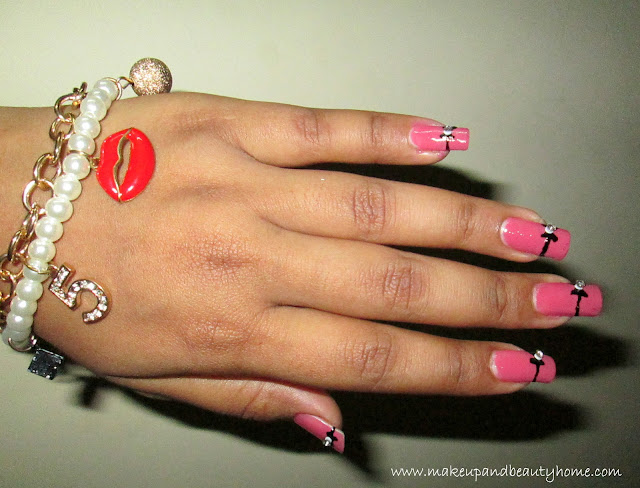
Step 5: Take your rhinestones or stone bindis and place it right on the middle of the bows. If you want to keep it simple, you can also skip this step.

So, try out this simple yet fun and cute nail art; and wear it with your cute dresses. Stand out in a crowd and be a fashion diva yourself. Stay healthy and stay happy amigos.

Khadi Kesar Peeling Scrub Gel Review

Hello everybody!

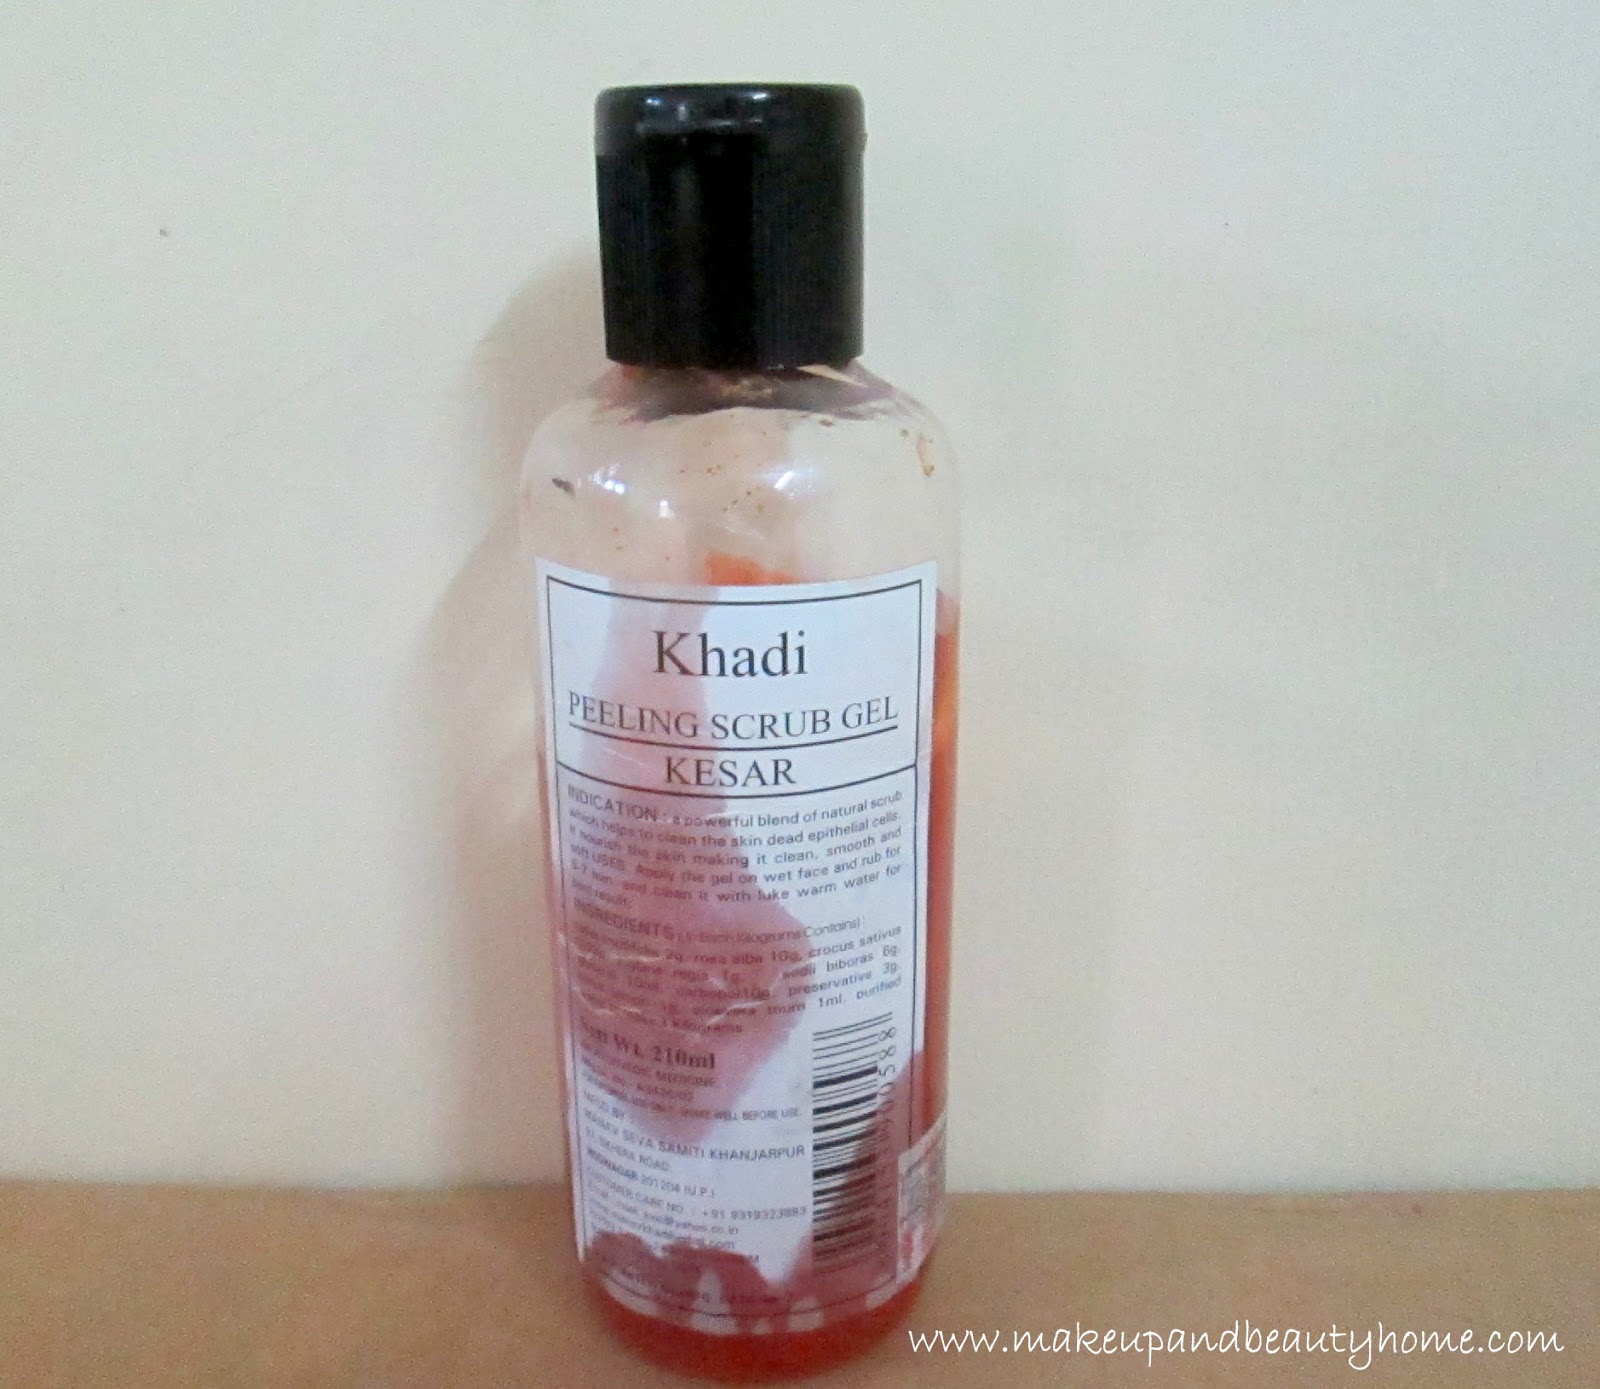
Every time I write for MABH, I get so excitement down my heart that I cannot even express. 😛 So, coming back to the topic, how often do you use scrub? I honestly cannot live without it, if I don’t scrub for a week; I feel like my skin is full of dirt and dead cells (even if I do CTM daily). And I am reviewing today my all time scrub, Khadi Kesar Peeling Scrub Gel. I bought it online last year and still using it.


Price and quantity: 

Rs. 145 for 210ml. (I got it for Rs. 123)


My Take:

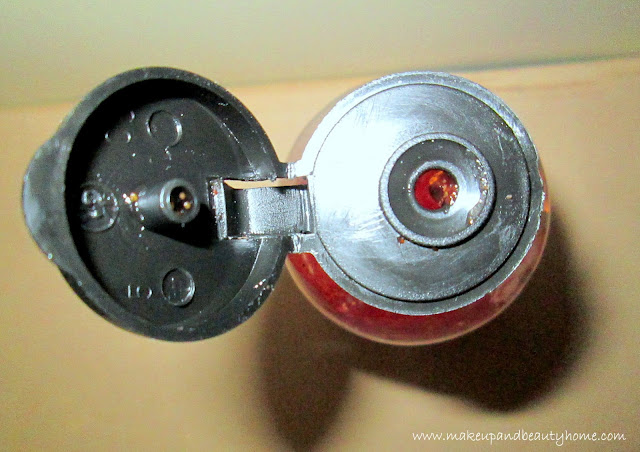
I have normal skin with T-zone oily and I use this scrub for my weekly scrubbing and also for my home facial scrubbing. To begin with, this scrub comes in a typical Khadi bottle, but luckily mine was bit sturdy. It has flip top cap.

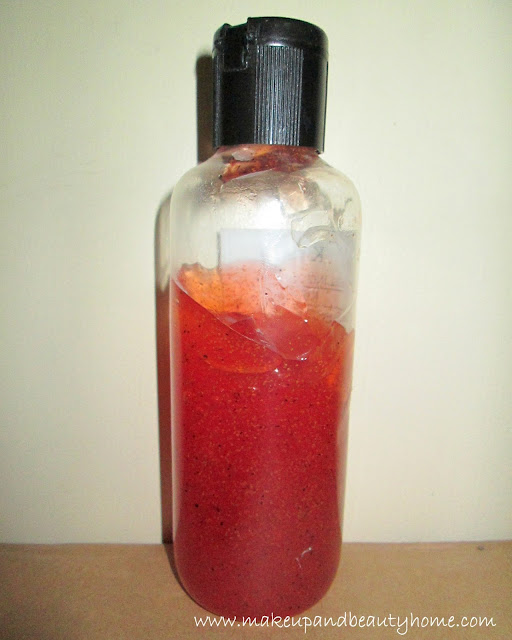
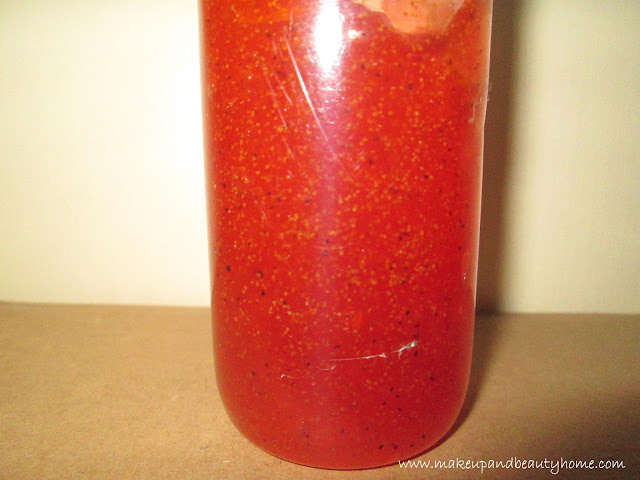
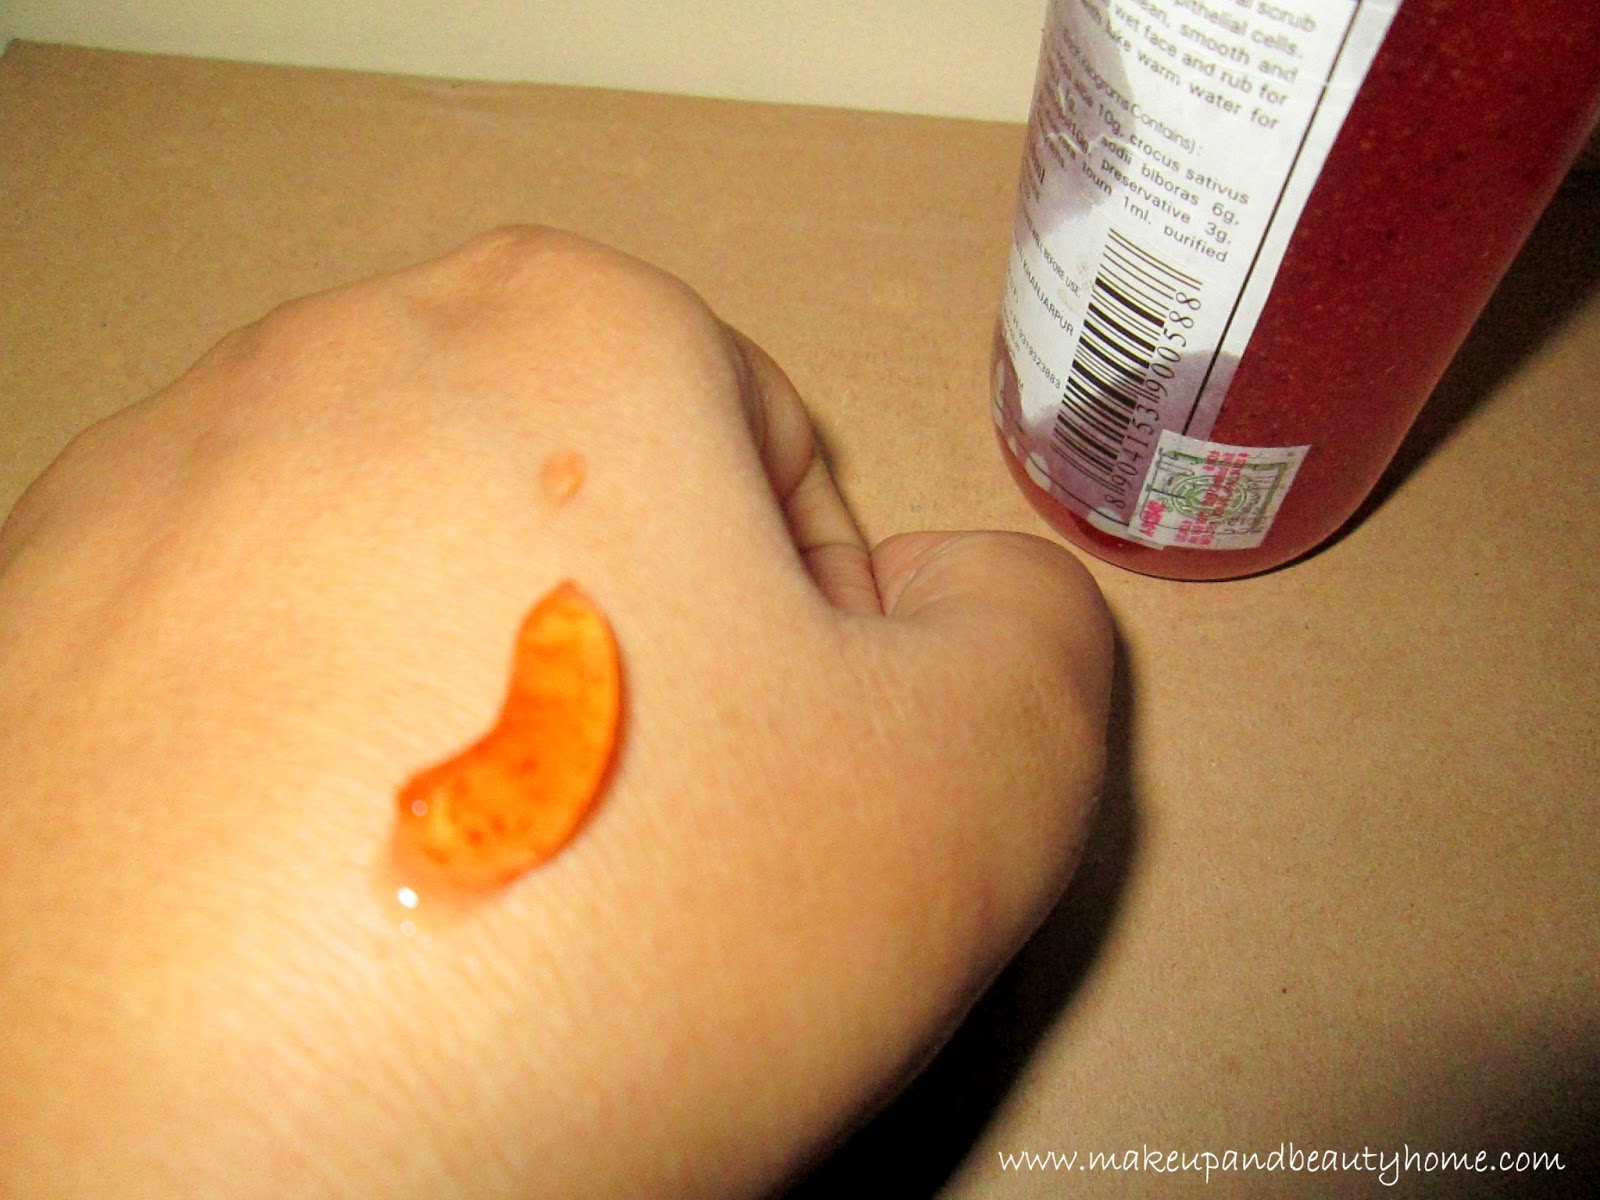
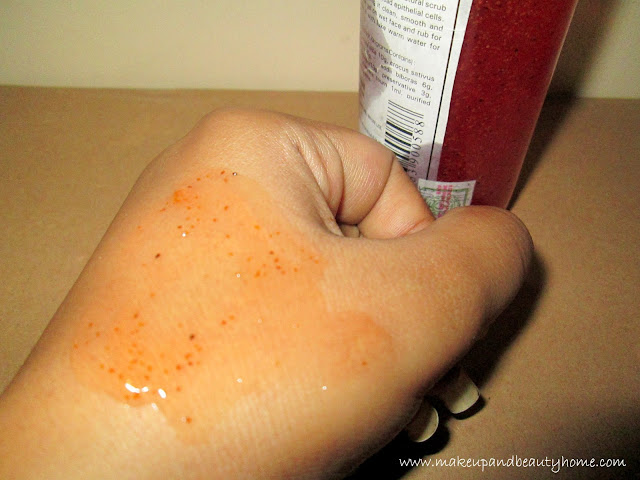
The scrub is a reddish orange color gel with millions of black and off white granules. When applying it on the skin, it gives a nice cooling feel, and the smell is exactly like kesar mixed with some other herbs (the smell reminds me of Pass pass :P). It is thick gel and because of the packaging, after a few uses (when the level goes down), it becomes hard to get it out.

It purely cleans my skin, making it soft and supple. It rinses very well, without leaving any slippery effect. The granules are quite hard, so I don’t use it when I have pimples on my skin. It is directed to rinse with lukewarm water for better result; I totally get the idea when I use this scrub for my home facial. After scrubbing and getting steam, my face feels like baby’s skin and it glows, really!

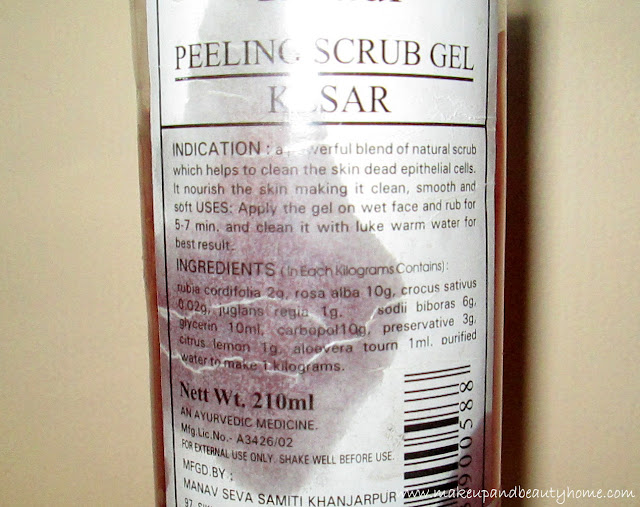
Well, Khadi is quite known as herbal company, but there is preservative in the ingredient list (which breaks my heart). Other than that, I love this scrub, it may not be making my skin fairer or removes spots, but it cleanses my skin and makes it like baby’s skin. It does not dry out my skin nor needs no face wash after using this (Lotus Apricot Scrub needed face wash after).

When I ordered this scrub online, I thought it might be peel off gel as displayed on its name. But after trying it for the first time, I saw no peeling condition. I wondered why they would name it Khadi Kesar Peeling Scrub Gel if it is not for peeling, after 3-4 uses, I realized that it is called “peeling” because it peels the dead cells from skin and gives a new baby soft skin. 😛

PROS:

  • Cleans well.
  • Easy to apply and remove.
  • Smells pretty well.
  • Travel friendly.
  • Fairly large amount.
  • Makes skin soft and smooth.
  • Leaves skin refreshing and cool.
  • Great for regular use.
  • Does not leave skin dry or oily.

CONS:

  • Contains preservative.
  • Granules can be quite harsh for acne prone skins.
  • Packaging is not perfect for thick gel.


Rating: 3.5/5 (-1.5 for preservatives)


Do I Recommend?:

Yes, it is a good scrub for regular use.


Would I Repurchase?:

Yes, absolutely.