Author Archives: Arshita

About Arshita

Arshita is beauty blogger from Hyderabad. She is married and also working in Amazon. Apart from being a foodie and fun-lover, she is addicted to pet dogs.

Palmolive Thermal Spa Skin Renewal Shower Gel Review

by Arshita

Hello dear friends!
I personally love body washes and shower gels. They are easier to use and also hygienic. So, today I will review Palmolive Thermal Spa Skin Renewal (Crushed Coconut and Jojoba Butter Extract) shower gel. I used body washes from this brand when I was kid, and at that time they did not have variants like they have now.

This particular product interested me because of its contents i.e. Coconut and Jojoba Butter. Both of them are great for skin, so I opted for this one. Now, here are the details.

Claims of the Shower Gel:

Enjoy the virtues of SPA-inspired treatment every day in your shower with new Palmolive Thermal SPA Skin Renewal shower gel. Its deliciously creamy formula with Jojoba butter and Crushed Coconut extracts will help retain your natural moisture to reveal soft, supple skin while gently renewing it. It helps scrubbing action. Your skin is soft and beautiful radiant! Dermatologically tested.

Price and Quantity: 

Rs. 135 for 250 ml.

Key Ingredients: 

Aqua, Sodium C12-13 Pareth Sulfate (*P) / Sodium Laureth Sulfate (*H),  Acrylates Copolymer, Cocamidopropyl Betaine, Sodium Chloride, Parfum, Glycol Distearate, Prunus Armeniaca Seed Powder, Sodium Hydroxide, DMDM Hydantoin, Laureth-4, Testrasodium EDTA, Sodium Benzoate, Hydrogeneted Jojoba oil, Cocos Nucifera oil, CI 77891.


Usage Directions: 

Pour a little Palmolive Thermal SPA Skin Renewal shower gel on your wet loofah. Apply gently over wet skin. For best result, use loofah to work up rich, fragrant lather before rinsing off.

Shelf life: 

24 months.

My Take on Palmolive Thermal Spa Skin Renewal Shower Gel:

I bought this last month, when it was quite hot summer. To begin with, Palmolive Thermal SPA Skin Renewal shower gel comes in a nice curvy bottle with a flip top cap.
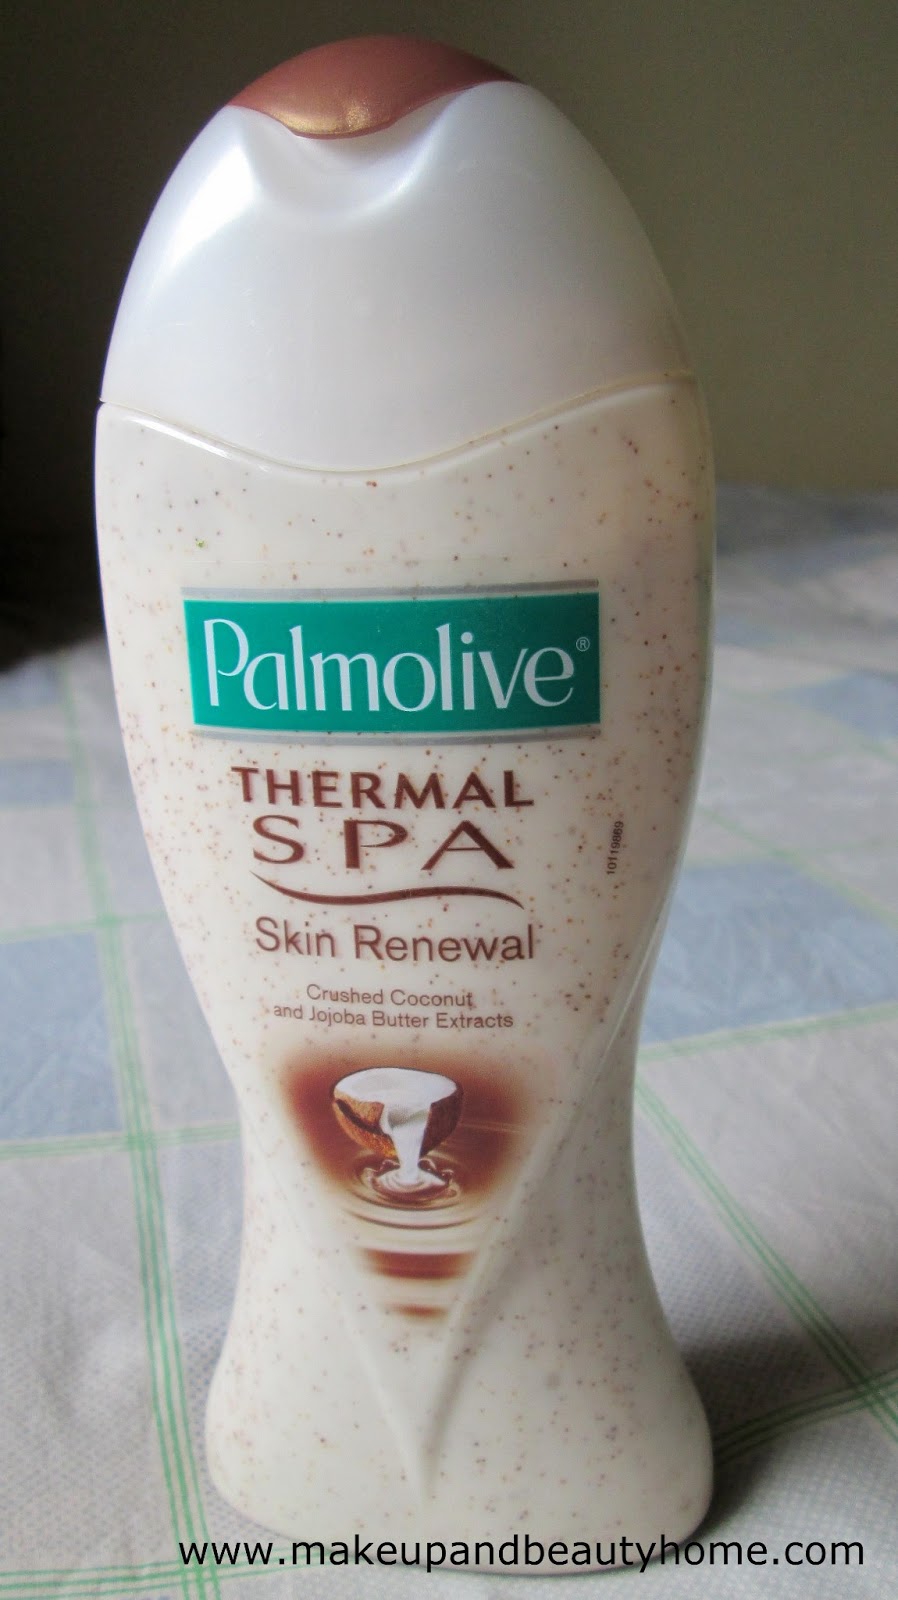
It smells exactly like coconut but in a better and refreshing way. I don’t like coconut smell but the other fragrances mixed with it make it very soothing and fresh. It would be wrong to call it shower gel as the product is a thick white cream like consistency. It also has tiny dark brown and yellow particles in it.

The bottle was full with the shower gel, no complains about the amount of the product. Now, coming to my experience with it, I used it with and without loofah and both the time I loved it. It lathers pretty well alone, but when using with loofah, I have to take a good quantity of it to lather well. And yes, it does work as scrub when used without loofah. The particles are mild and good for mild scrubbing. It rinses off very easily, does not leave any slippery effect.

The smell does not stay for even average time. But my skin sure stays soft for a long time. My skin does not become dry always but in cooler days, I feel to use body lotion after using it.

Overall, though it contains SLS (almost all the products in market contain SLS). It is a great shower gel for cleansing and scrubbing in this affordable price. Not to forget about the smell which makes it a SPA-like experience.

PROS of Palmolive Thermal Spa Skin Renewal Shower Gel:

  • Smells soothing and good.
  • Fairly large amount.
  • Affordable price.
  • Cleans skin.
  • Can be used as mild body scrub.
  • Granules are mild.
  • Makes skin soft.
  • Rinses off easily.
  • Does not leave slippery effect.
  • Good brand.

CONS of Palmolive Thermal Spa Skin Renewal Shower Gel:

  • Contains SLS.
  • Sometimes makes skin dry.

MABH Rating: 4.5/5

Do I Recommend?:

Yes, it’s good for summer days.

Would I Repurchase?:

Yes.
Do you like exfoliating body washes? Which is your favorite one?

Easy Stripes and Heart Nail Art Tutorial ~ Do It Yourself

Hello friends!

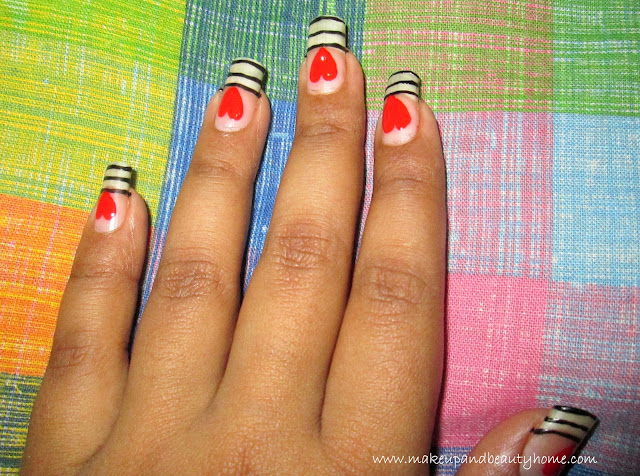
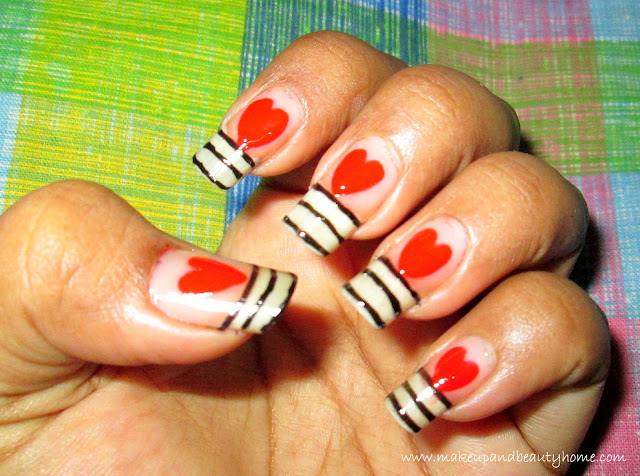
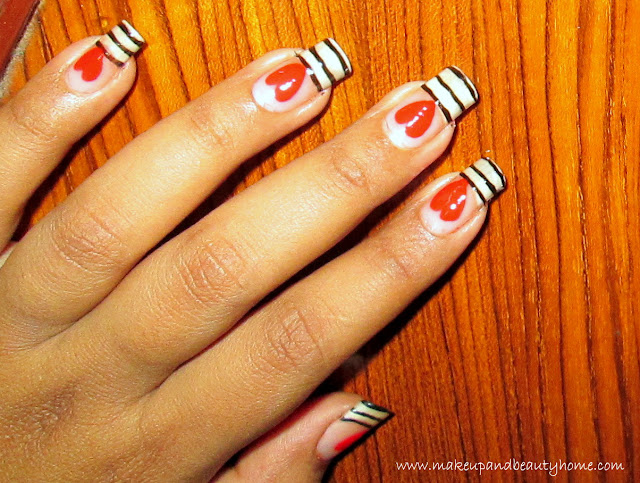
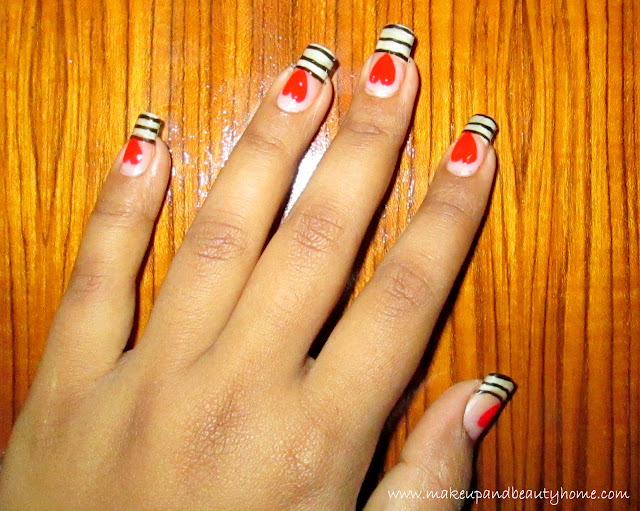
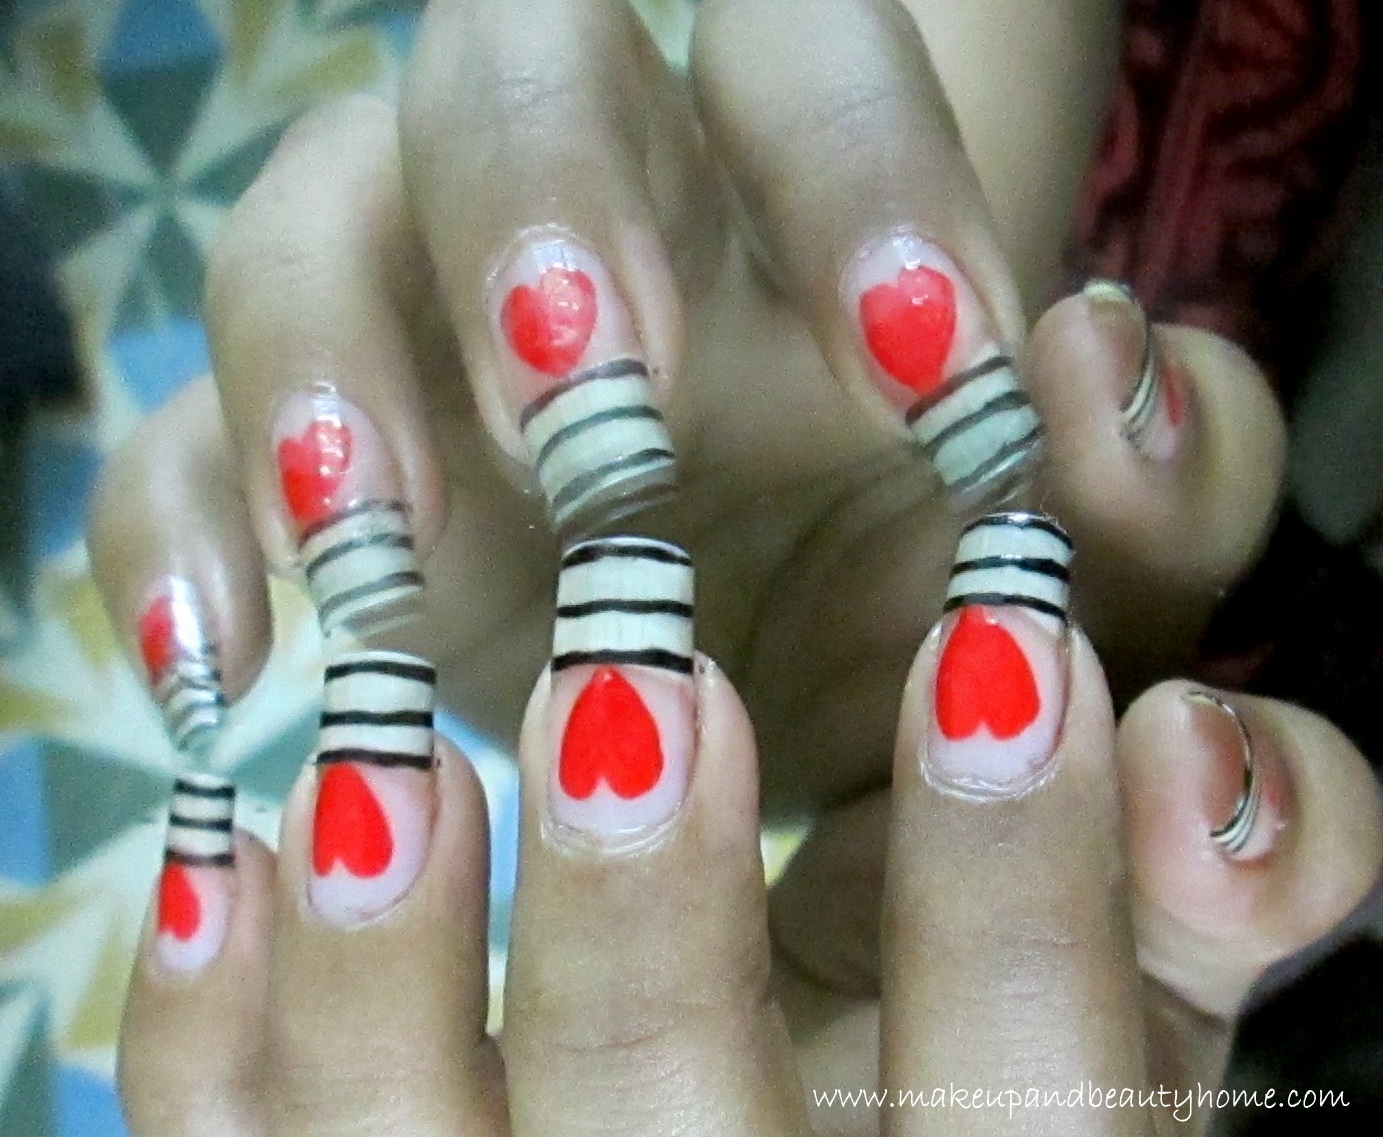
Today, I am going to show you the most simple and yet very modern nail art. I know, Valentine’s Day has been and gone, but there is no season for love, right? So, how about reflecting this idea onto your nails? I have come up with this idea after a lot of experiment. So, here goes my tutorial.

Things You Will Need:

  • One Black nail paint.
  • One Red nail paint.
  • One top coat nail paint.
  • One nail-paint brush/ regular brush (No.0) / bobby pin.
Tutorial:
 
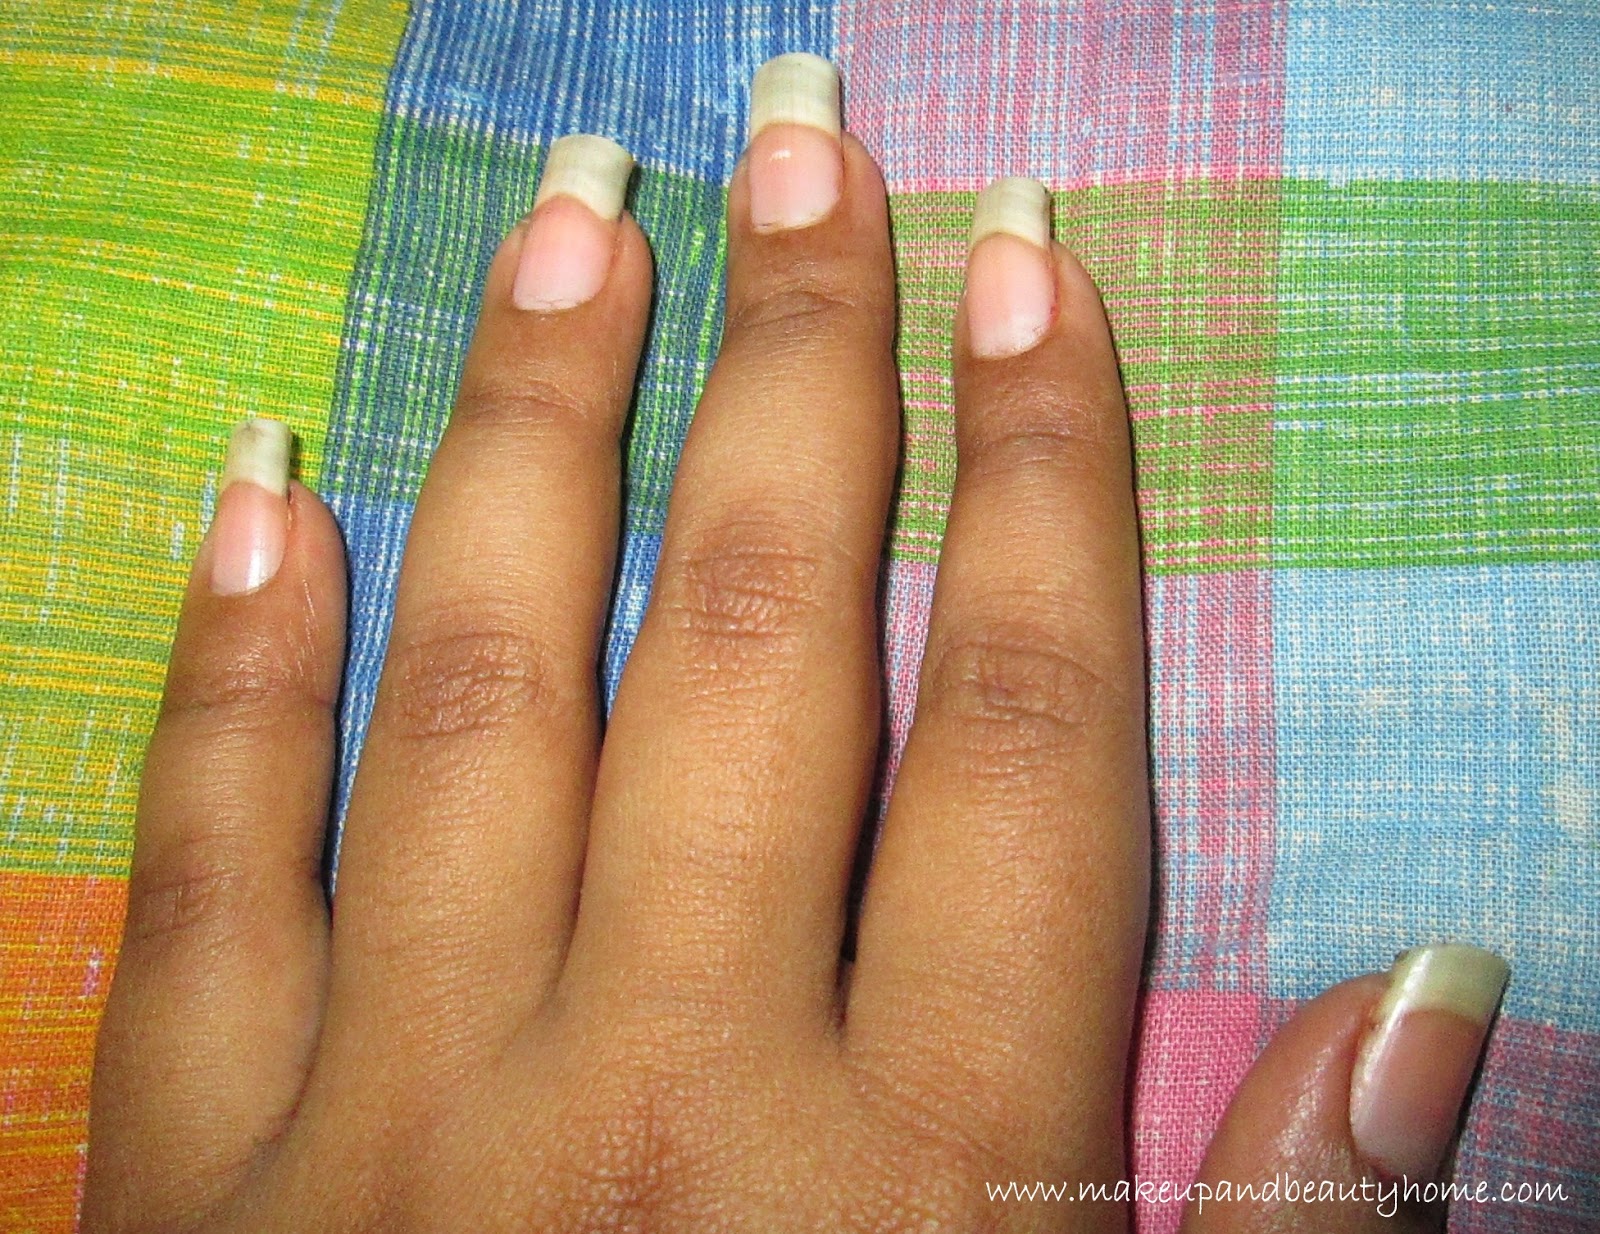
Step 1: Clean your nails. (If you don’t have any nail paints left on your nails, still clean it with remover to get the perfect clean and white nails)

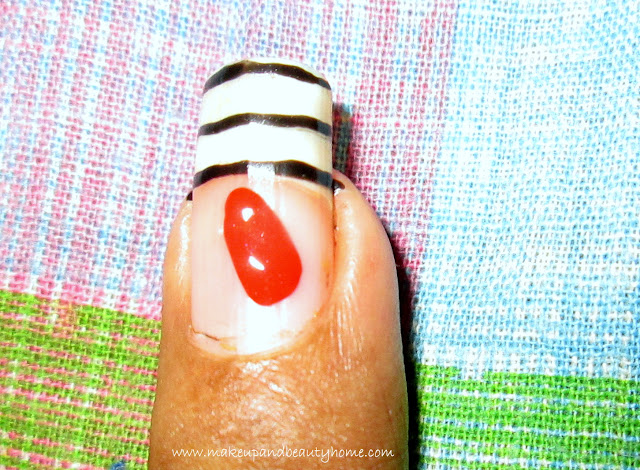
Step 2: Dip your brush/bobby pin in the black nail paint and draw one horizontal line on the edge of your nails. Then draw two more horizontal lines below it, leaving a moderate space in between the lines. Be very careful while doing this. I have done with regular paint brush.

[Note: If you have short nails, leave smaller space in between and draw only two lines on the nail tips.]

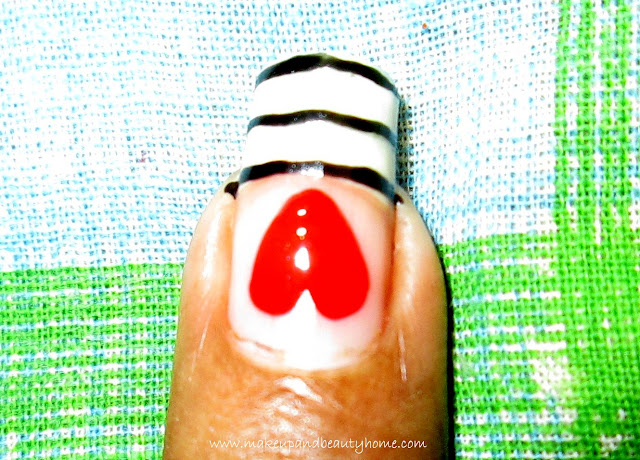
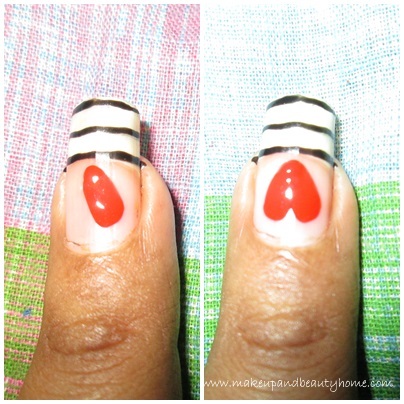
Step 3: Now, for the heart, you don’t need any tool; normal nail paint bottle applicator will do it. Take the red nail paint and draw on the middle of your nail one line in the angle 45 degree tilted to the left. The shape of the line should be like Carrot (thicker on the top and narrow on the bottom). Then, draw one more similar shape line and in similar angle but on the right.

[Note: Before doing it on your nails, do practice it on a piece of paper.]


Step 4: After drying, apply the top coat on all nails.

So, ladies try this simple nail art and pull it off with any type of attire be it your western attire or some casual attire. It is as easy as cute and trendy also. Be the most fashionable person among your peeps. Stay healthy ladies and do not forget to let me know how you like it.

Polka Dots French Tip Nail Art Tutorial ~ Do It Yourself

Polka dots are ‘80s style which is a great hit all the time; I think everybody likes them at some point of time. I was watching the promos of the recent film, Ghanchakkar, and I saw Vidya Balan wearing ‘80s style clothes and hair accessories, you can see polka dots also. I have done polka dots nail art before also and I wanted to share it with you lovely ladies.

So, here is my tutorial. Of course it is easy to do and no you don’t have to have nail art brushes or dotting tool for this nail art. I hope you ladies find it useful.

Things you will need:

  • One white nail paint.
  • One bright color nail paint.
  • One top coat nail paint.
  • Dotting tool/ bobby pin/hair pin.
  • Nail paint brush/ regular (No. 0) paint brush (optional).
  • Nail paint remover and ear bud (for cleaning messy nail corners).

How to Do?:

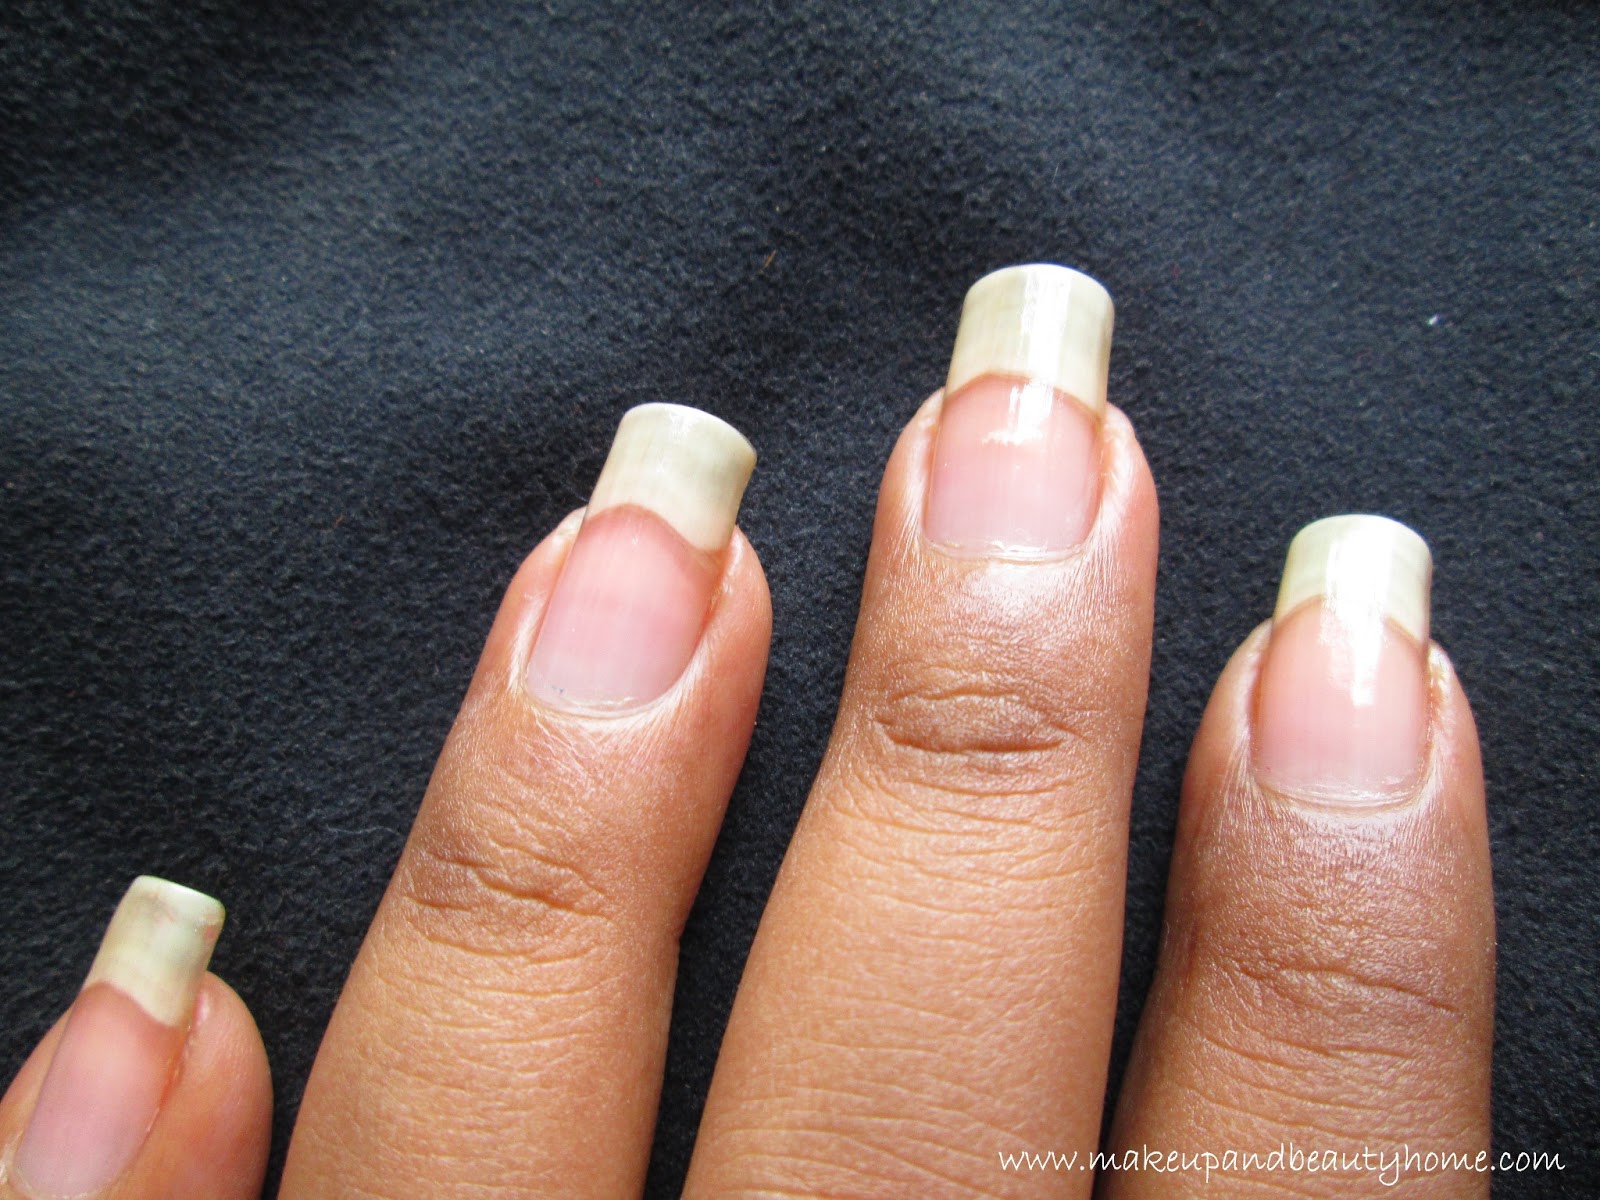
Step 1: Clean up your nails and apply the top coat (It is my way to make nail arts extra glossy) once. Let it dry for 2 minutes.

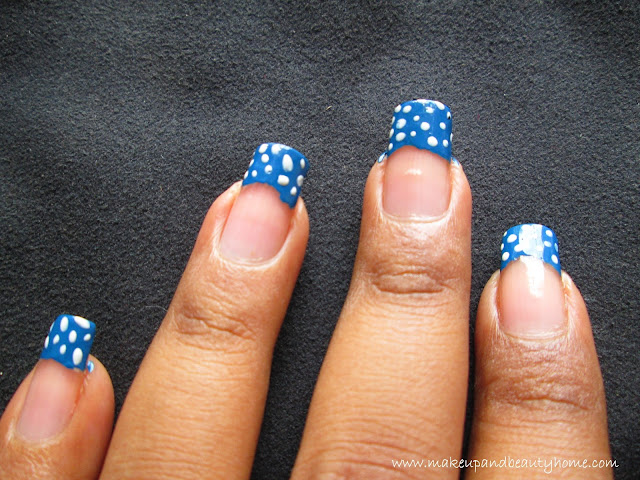
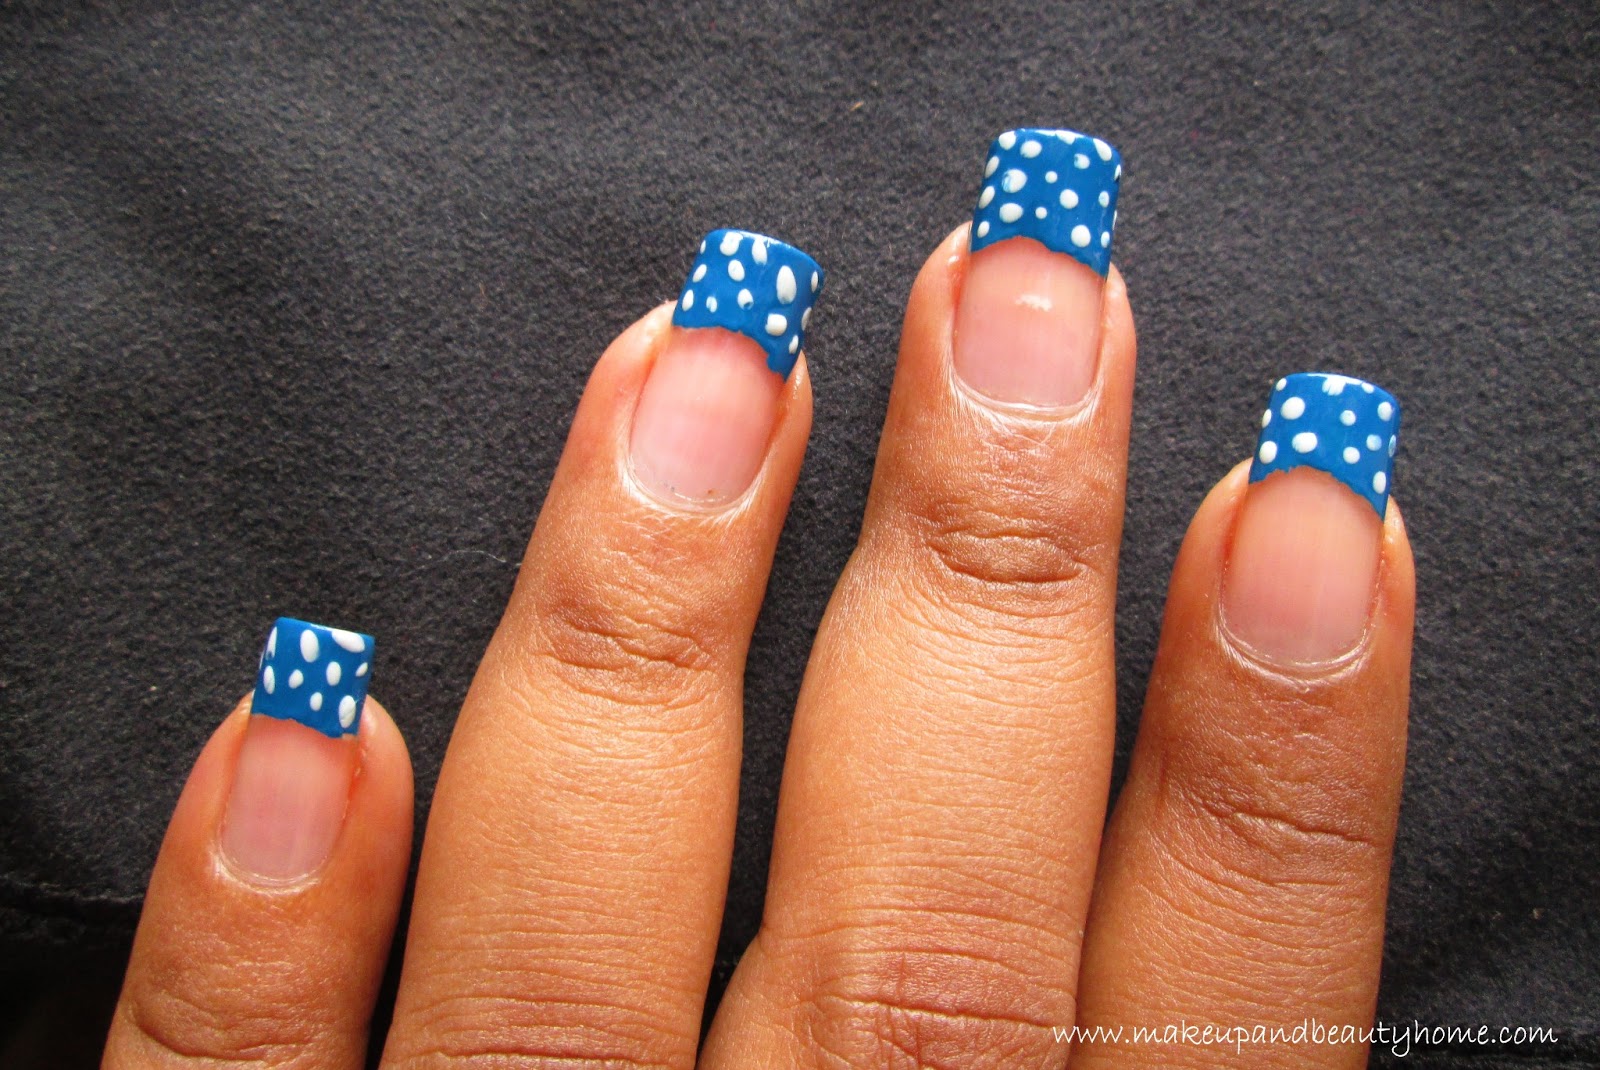
Step 2: Now, take the bright color nail paint (Blue nail paint in the picture) and apply it only on the nail tip carefully. If you find your nail-paint bottle applicator is too thick and clumsy, you can use nail paint brush / regular paint brush for a neat application. I have done with the bottle applicator.

Be sure to apply it carefully from corners to corners. Apply double coat and let it dry for 5 minutes.

Step 3: When the nail tips are dry, with the dotting tool/ bobby pin/ hair pin, draw random dots on the painted tips. Try to make small dots as they look nicer. I have done it with hair pin. Do it on all the nails and let it dry.

Step 4: While you wait for drying your nails, soak a side of ear bud in nail paint remover and clean the corners of the nails.

Step 5: Finally apply the top coat and dry it completely.

Tip: To dry a heavy coated nail paint quickly, dip your nails into a bowl of chilled water for 2 minutes.

I wish this nail art was easy enough to try and let me know how did your DIY Polka Dot French Tip nail art turn out. You can wear it with some of your polka dot dresses or scarf and look like a Diva. Have fun ladies.