Tag Archives: Nail Art

Vintage Rose Print Nail Art Tutorial ~ Do It Yourself

Good day amigos!

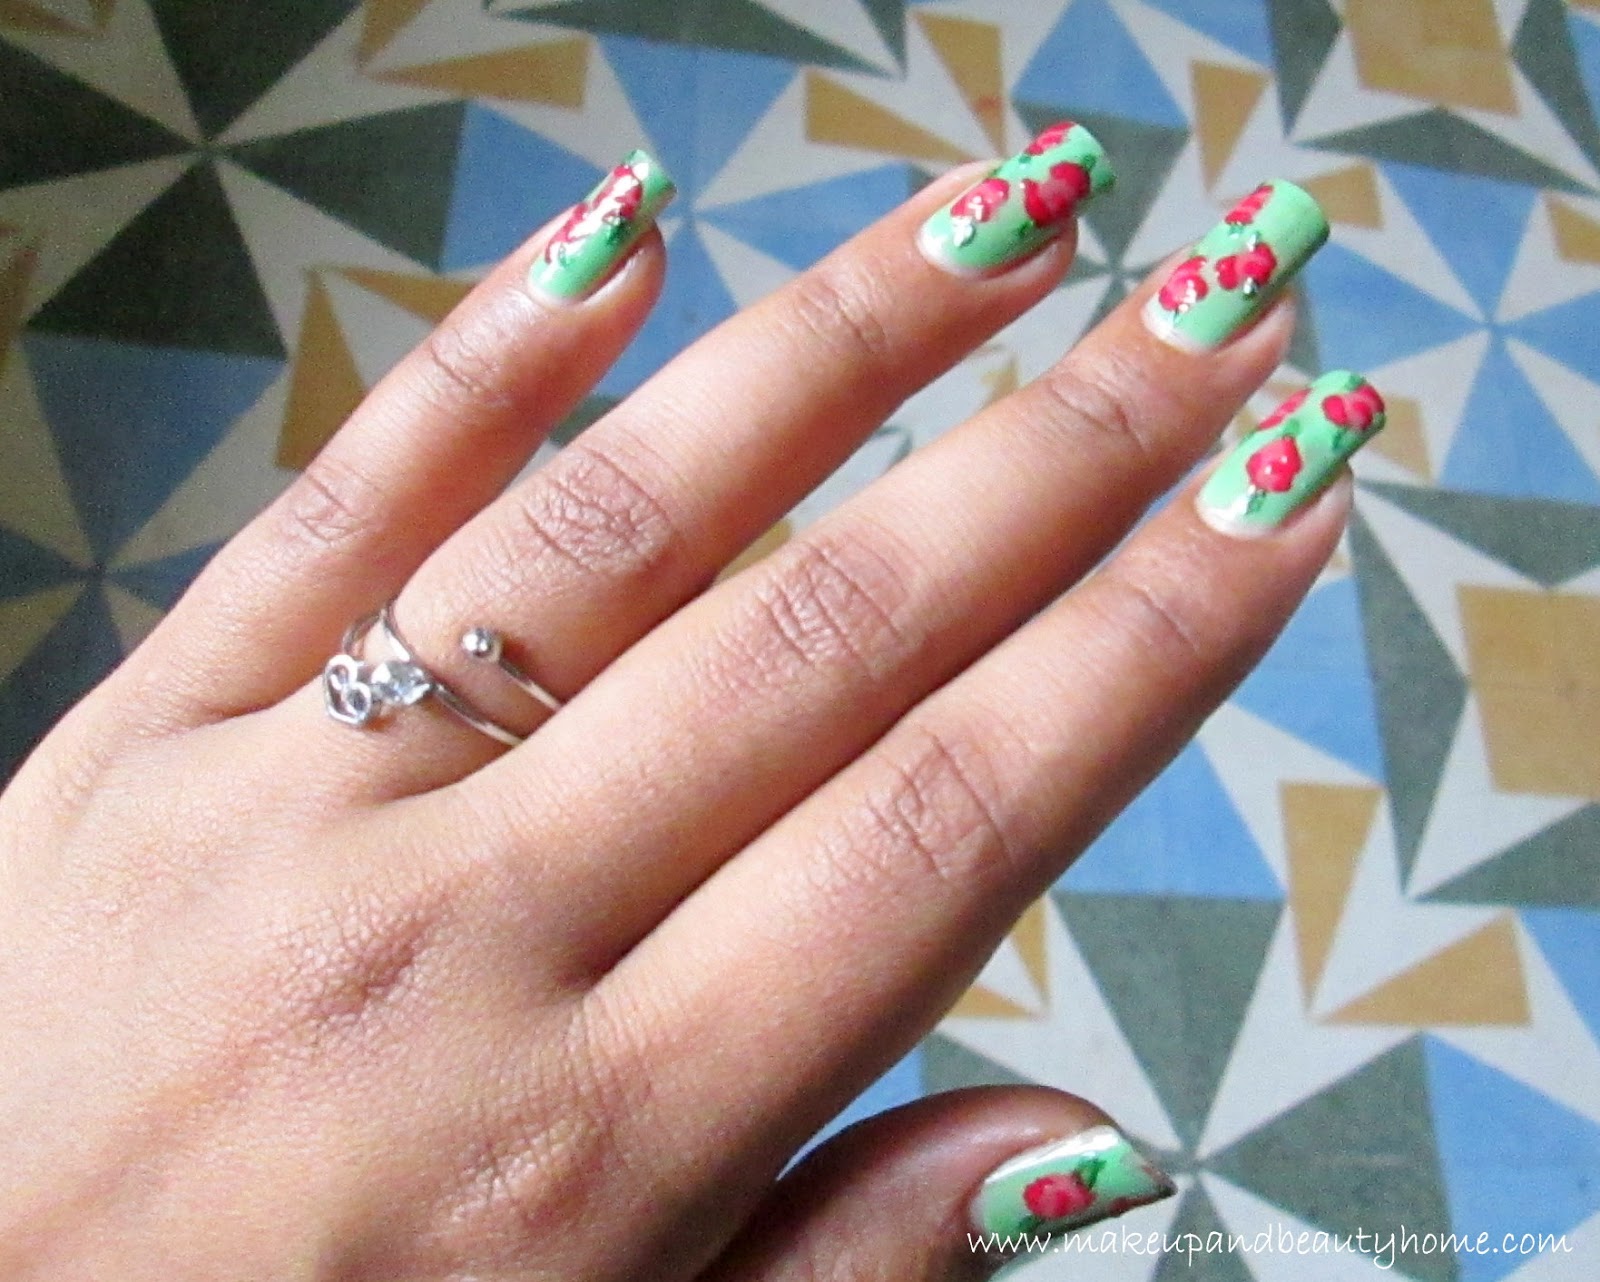
How are you all in this monsoon? Today I present to you one of my favorite nail art i.e. DIY Vintage Rose Print Nail Art. You can do this nail art on short nails also; the print itself is very appealing. Vintage prints are very popular these days, you can see them on scarves, bags, tops everywhere. Why not give an extra touch to your outfit or accessories with this pretty nail-art.

So, here goes the tutorial.
Things You Will Need:

  • One light color nail paint.
  • One red nail paint.
  • One nude color nail paint.
  • One green color nail paint.
  • One top coat nail paint.
  • Nail-art brush/ regular (No.0) paint brush/ bobby pin.


Step 1: Clean your nails and apply the light color nail paint on all the nails. Apply double coat and let it dry.

Step 2: Take the nude color nail-paint and place 3-4 blobs on the nails (don’t worry if it is uneven). Let it dry.

Step 3: Now, dip you nail art brush/regular paint brush or bobby pin into red nail paint and draw a semicircle in the middle of the blobs moving outwards(I have done with bobby pin).

Then, draw two uneven outlines on the blob; one on the top and one at the bottom. Here is your rose. Let it dry.
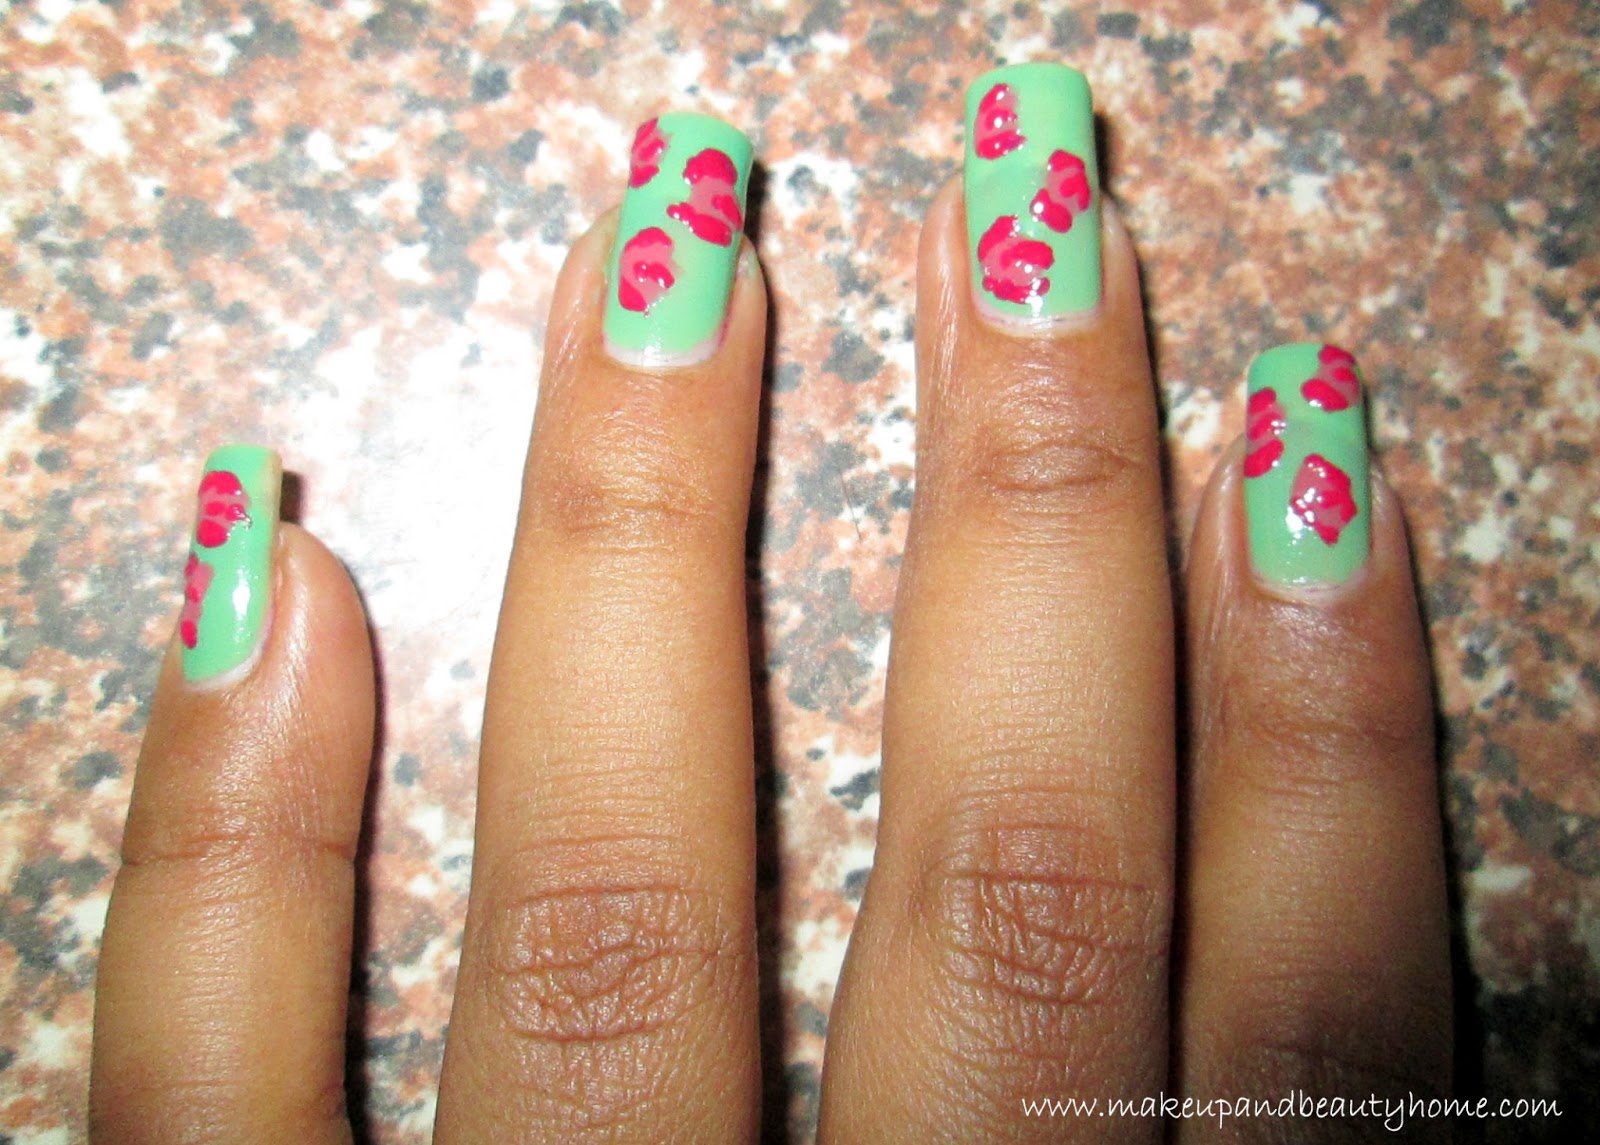
Step 4: Now, take the green color nail paint and draw a short line one on the top of the roses and one at the bottom (these are leaves). Let it dry.

Step 5: Finally, apply top coat and let it dry.

So, ladies, next time you are going for a birthday party or little house warming party or baby showers, don’t forget to do this nail art and catch all the attention.

As I said earlier, it can be done on short nails also, there might not be left any other excuses for you to not do it. 🙂 This Vintage Rose Nail Art is as classy as stylish, and it will look prettier on you beautiful ladies. Give an extra effort to look the best version of you. 😉 Good luck amigos and stay happy & healthy.
Cute Bow Nail Art Tutorial ~ Do It Yourself

Hey dear friends!

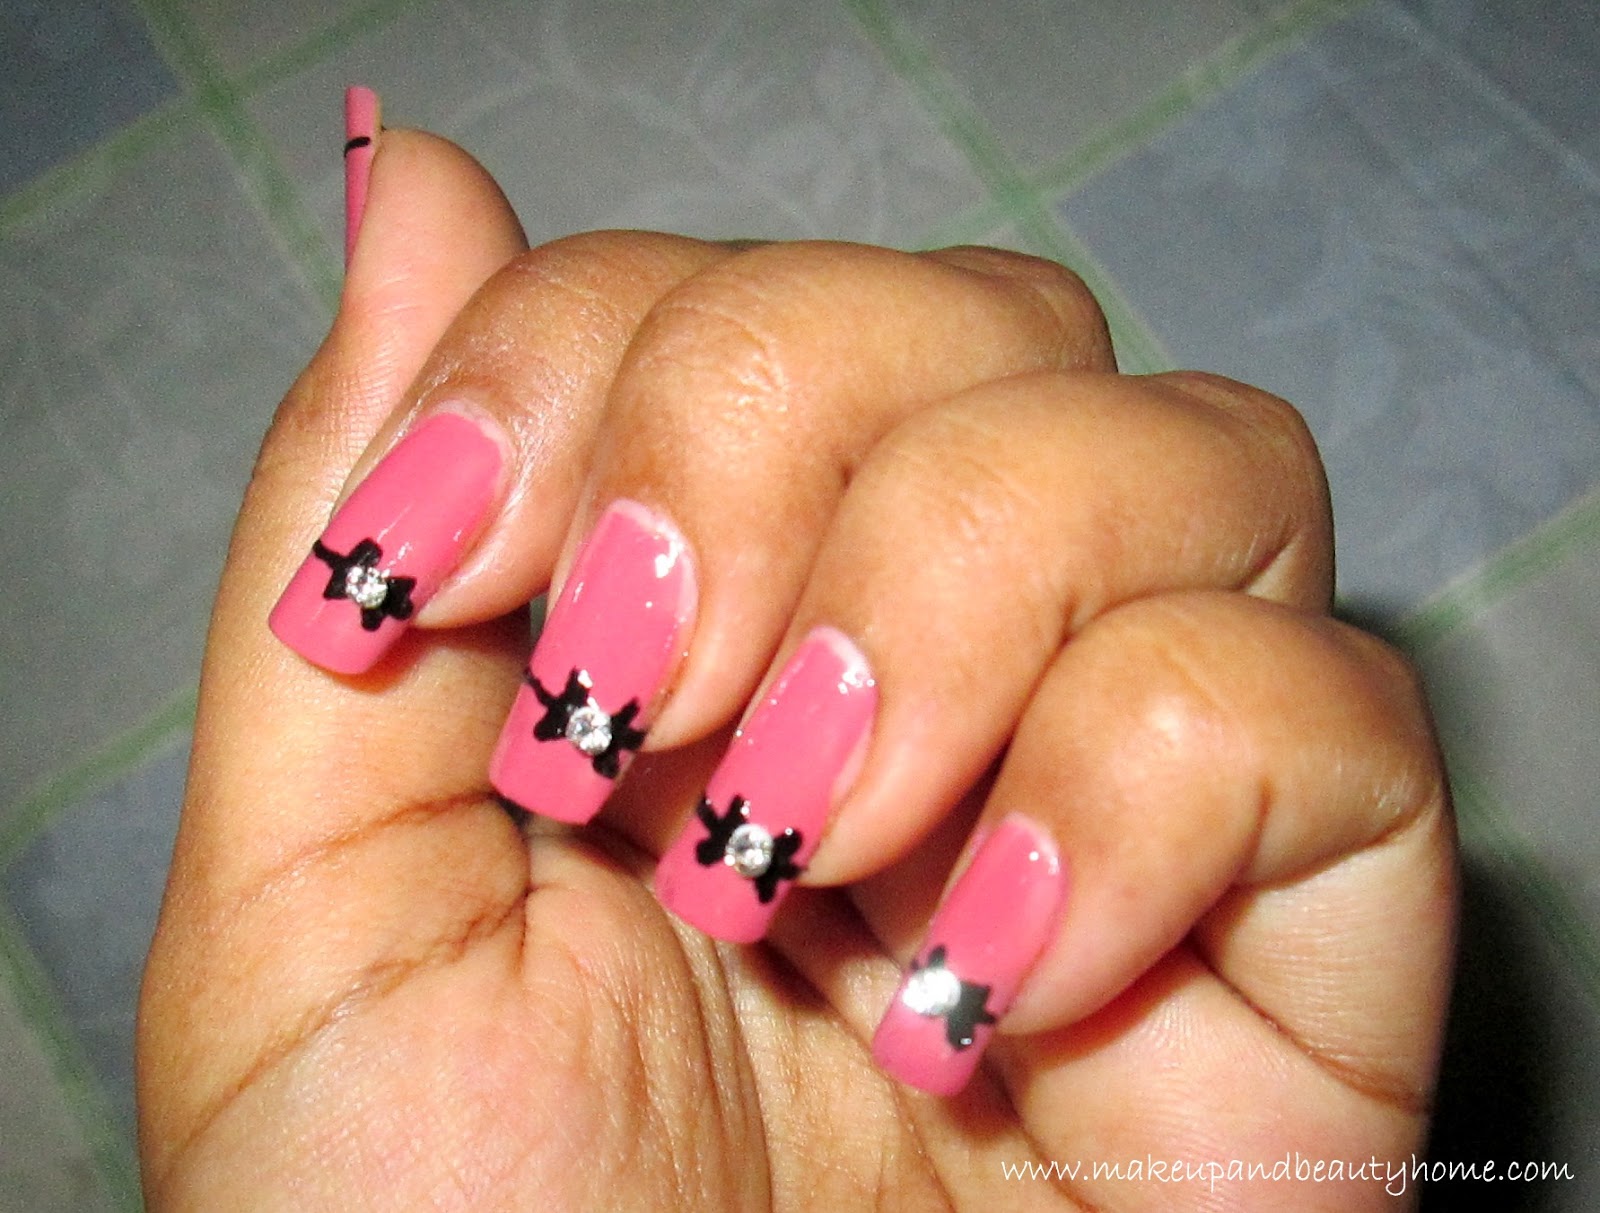
We girls love girly stuffs like cute teddy, bows right? I love bows so much that I keep making everything which must have bows like hair accessories, bracelets; this time I thought why nail art would lag behind. Bows are itself very cute at the same time trendy and stylish. The Hollywood singer Katy Perry had popularized Cute Bow Tuxedo nail Art. Bows are fun and very easy to do on nails.

You can buy ready made nail art bows also from leading online stores. But, I am no pro, and I like to do it myself, so, today I am going to show you my tutorial.

Things You Will Need:

  • One nude color nail paint.
  • One black color nail paint.
  • Nail paint brush/ regular paint brush (No.0)
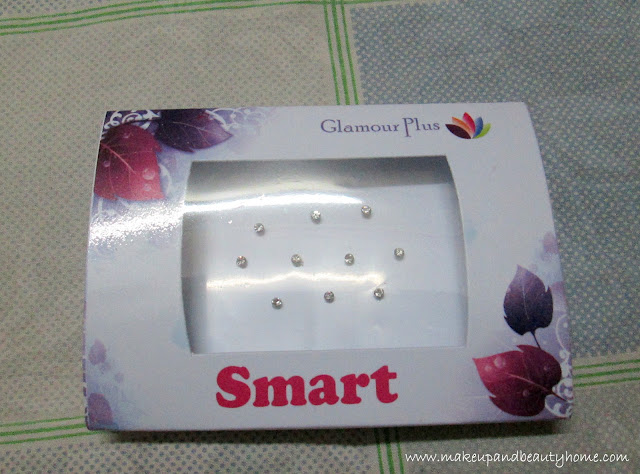
  • Rhinestones or Stone Bindis (optional).

How to Do?:

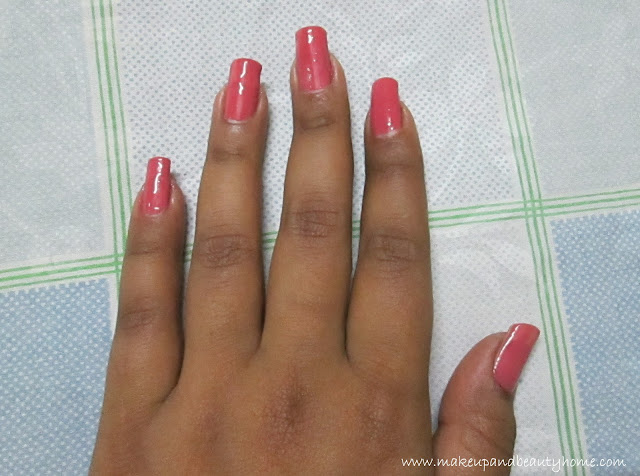
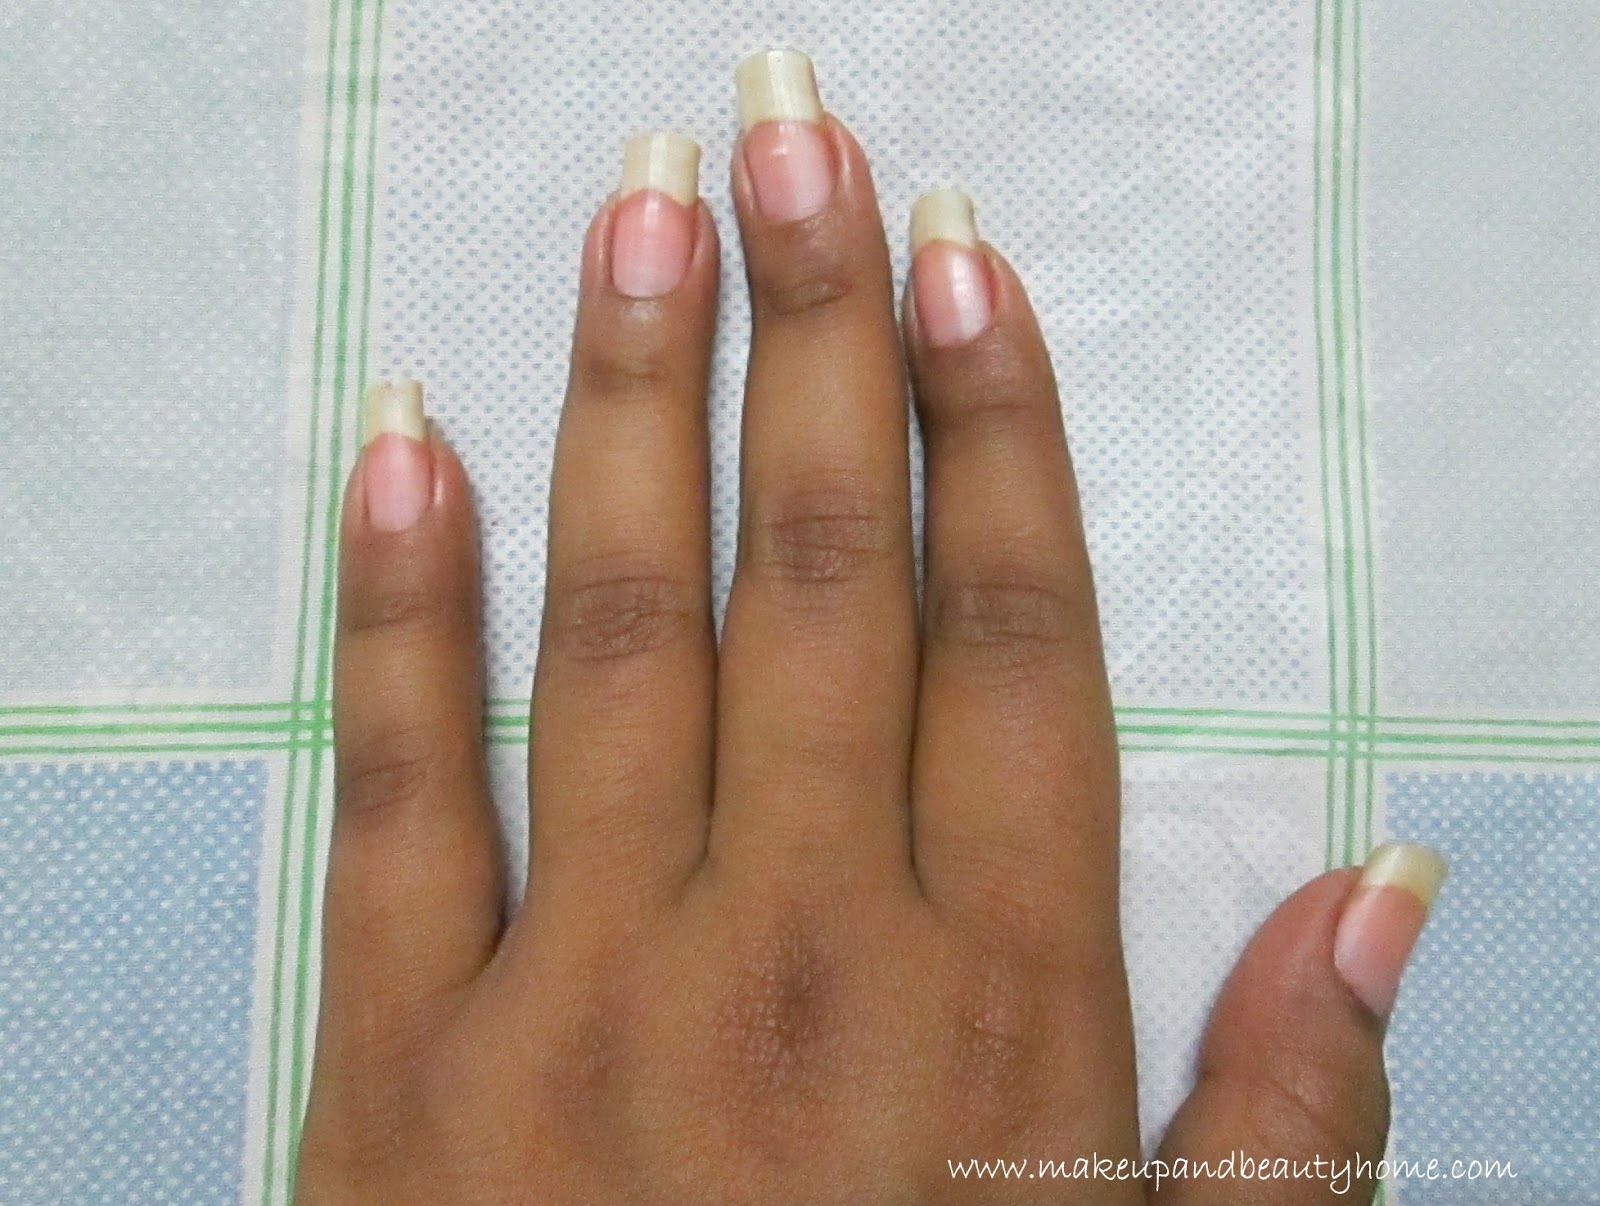
Step 1: Clean your nails and apply the nude color nail paint. Apply double coat and let dry. (If you want, you can use any color you want for the base nail paint.)

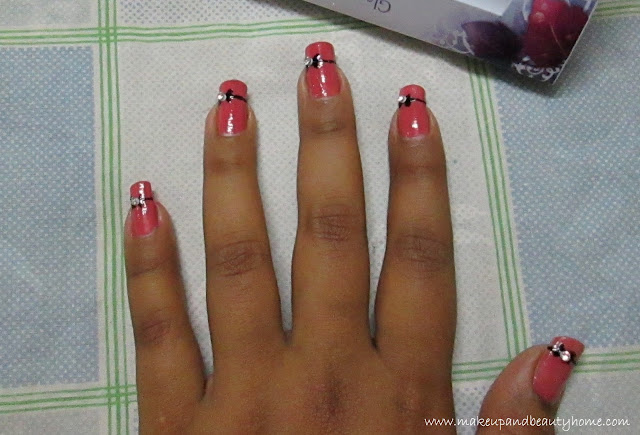
Step 2: Dip your brush into black color nail paint and draw a straight line across the nail tip starting from right to the middle of the nail tip. Then after leaving a space, now draw one small dot on the other end of the nail. This should look like one straight line with a space in between.

Step 3: Now, on the space in the line, draw a small bow. For the bow, in the empty space, draw two vertical lines (||)on the line facing each other.

Then, draw a cross (|X|) connecting the two vertical lines. You will have two triangles; fill them with the same nail-paint.

Step 4: After drying, apply the final top coat and let it dry for 5 minutes.

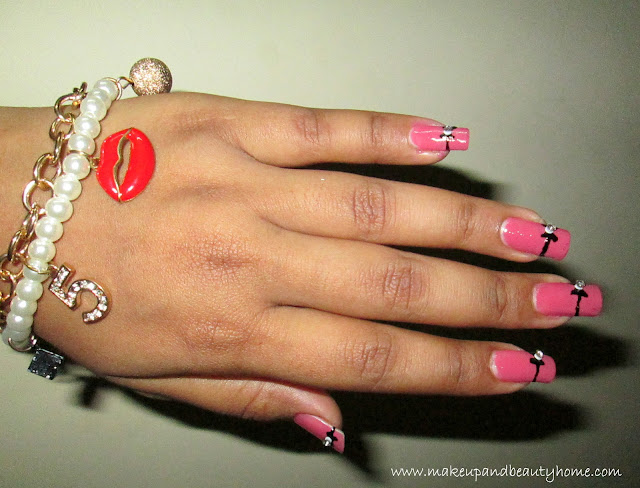
Step 5: Take your rhinestones or stone bindis and place it right on the middle of the bows. If you want to keep it simple, you can also skip this step.

So, try out this simple yet fun and cute nail art; and wear it with your cute dresses. Stand out in a crowd and be a fashion diva yourself. Stay healthy and stay happy amigos.

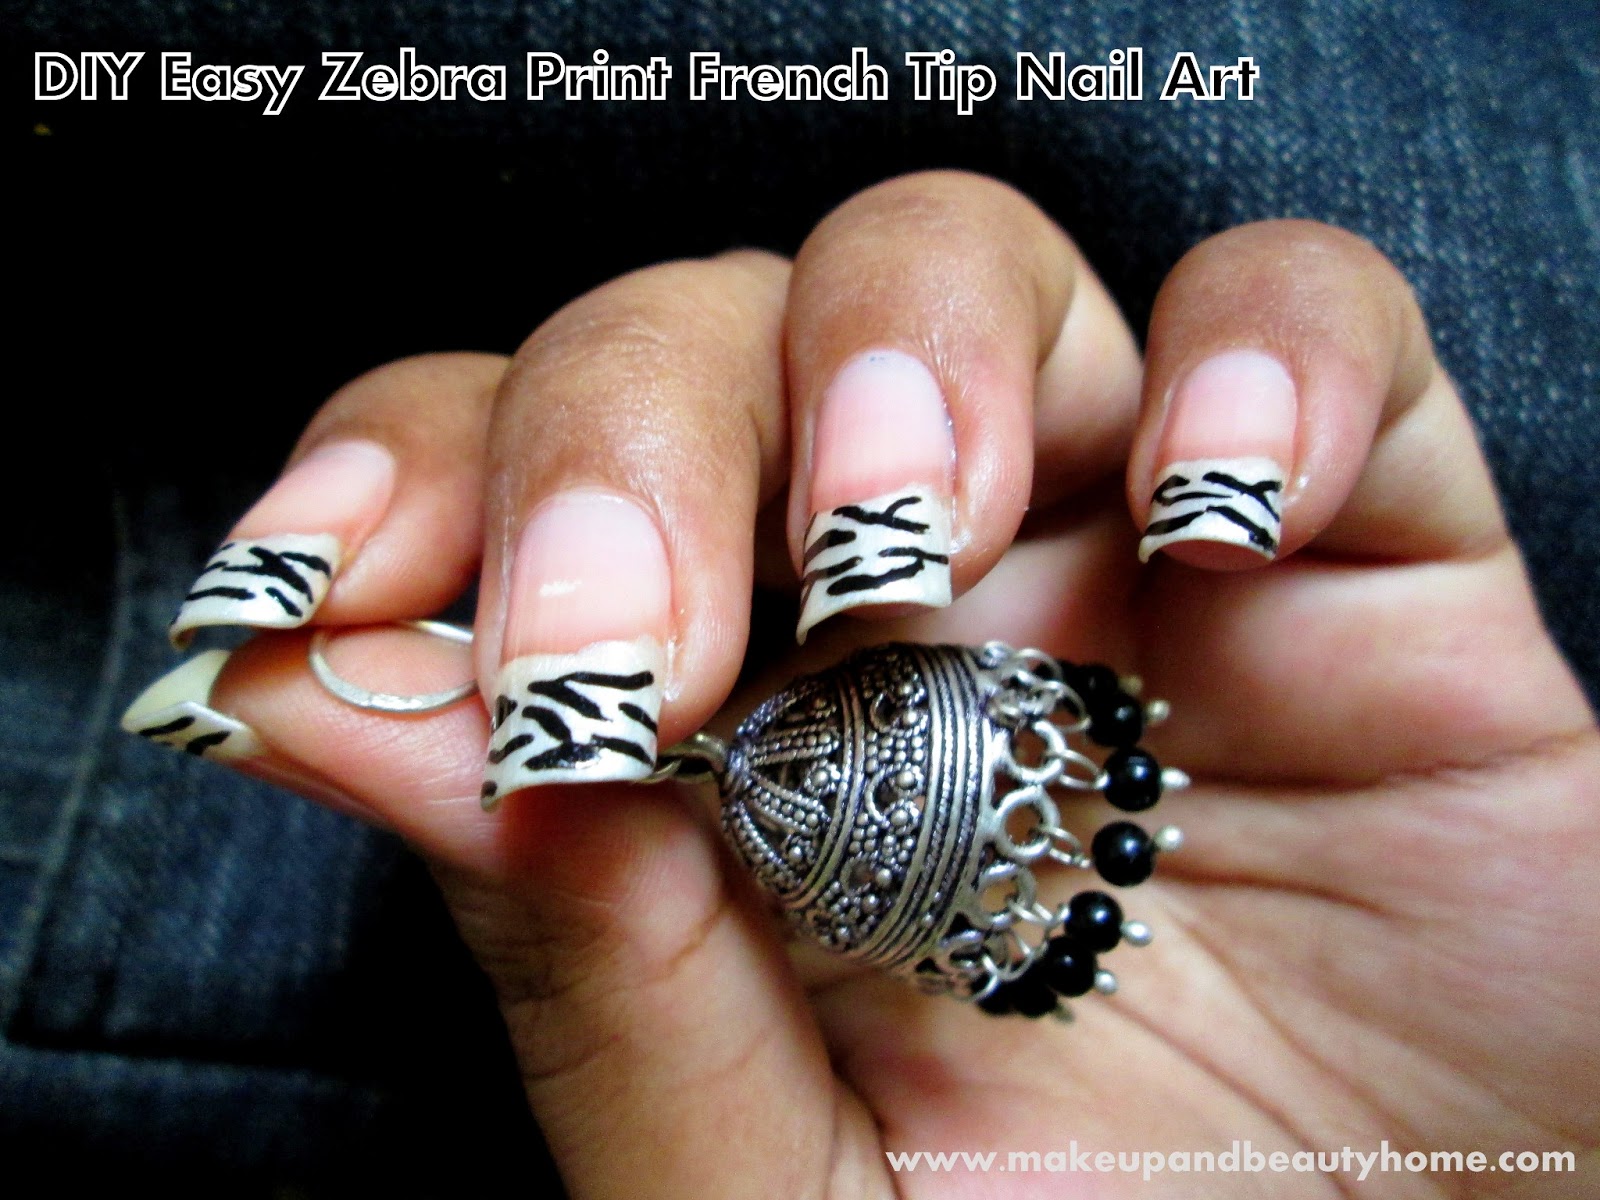
DIY Easy Zebra Print French Tip Nail Art Tutorial

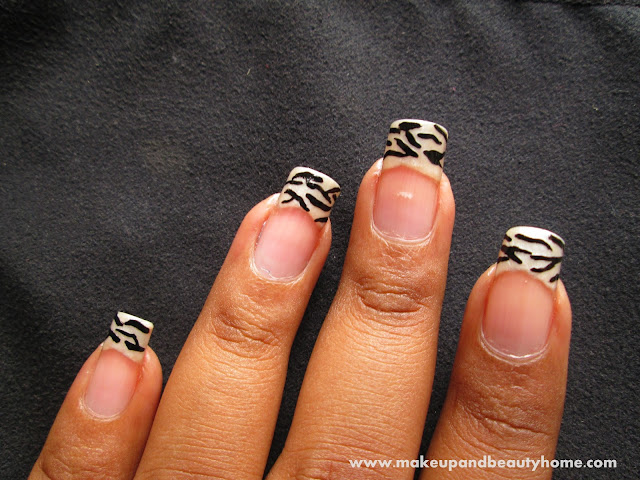
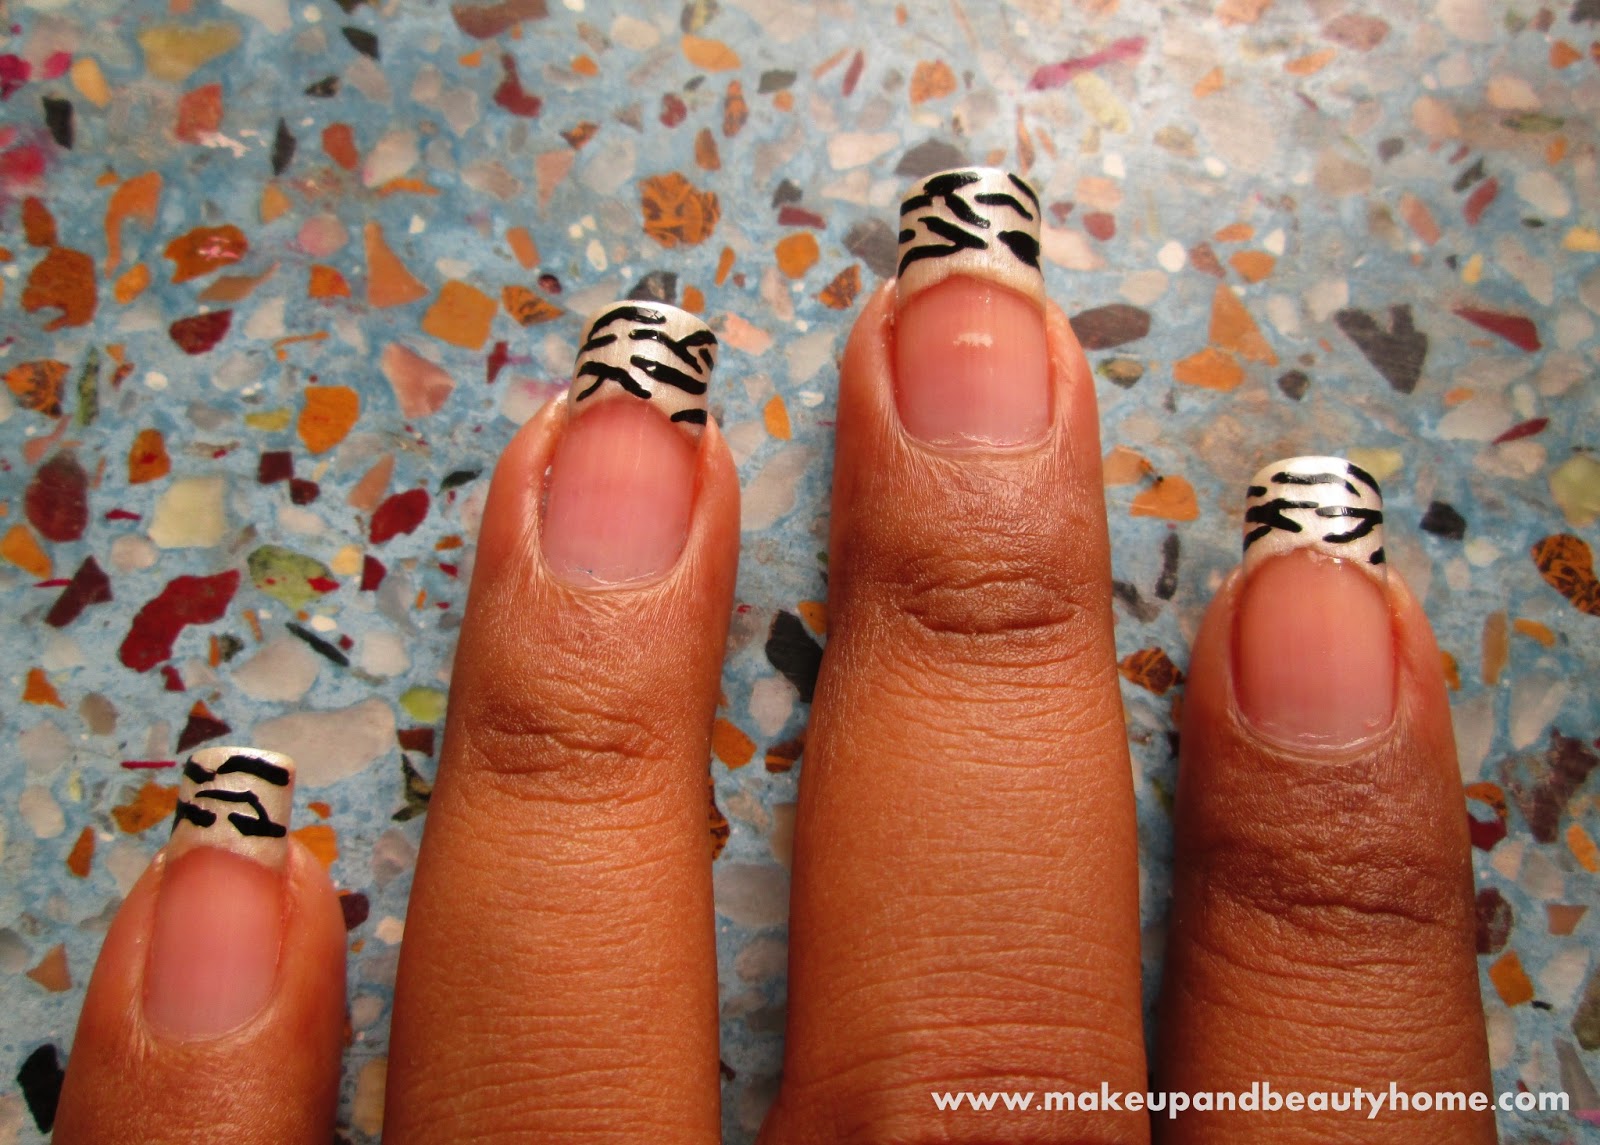
Are you an animal print crazy like me? Then, this tutorial is for you; don’t worry ladies who are not so fan of animal prints, this nail art does look quite stylish and fashionable too. I also love French manicure, and this is the perfect combination of French nail art and animal print. So, here goes my tutorial.

Things you will need:

  • One base coat nail paint (optional).
  • One white/ off-white nail paint.
  • One black nail paint.
  • One top coat nail-paint.
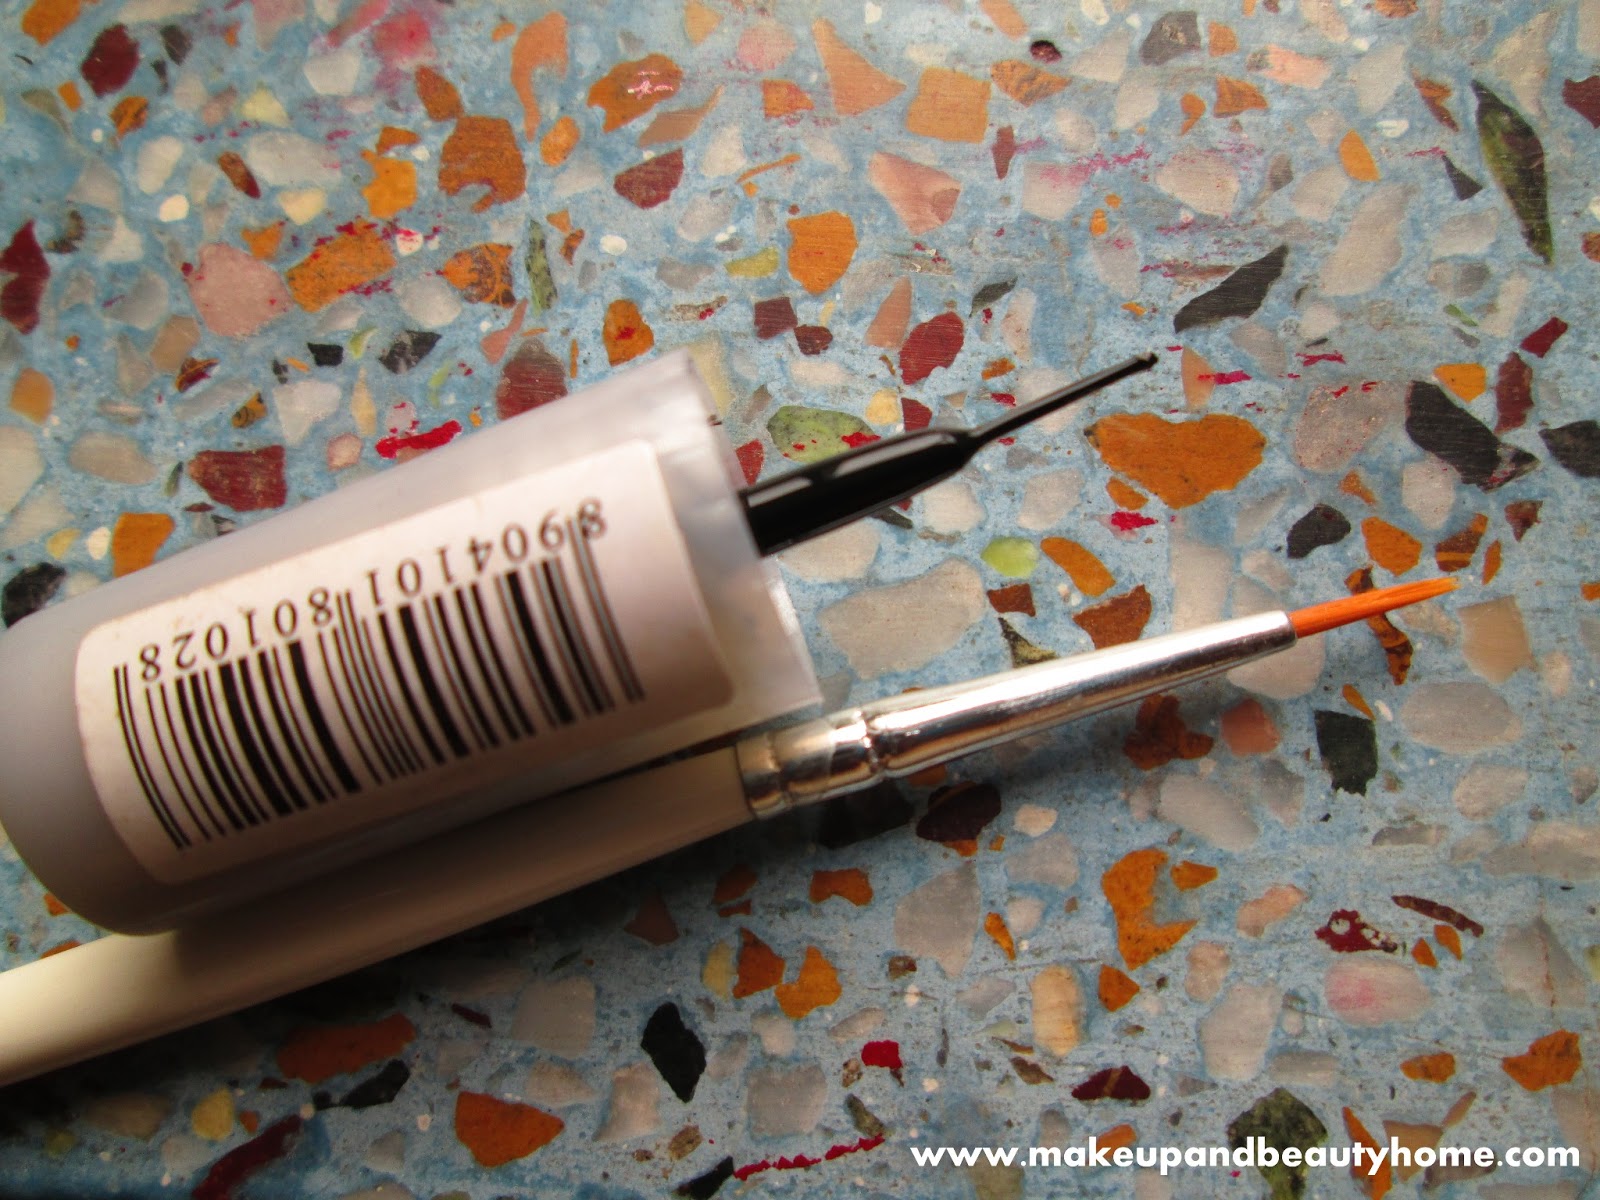
  • Nail art brush/ regular paint brush (No. 0, the thinnest one) or old eye liner brush.

Step 1: Clean your nails and apply the base coat. It is optional; you can skip this part. I prefer applying top coat at base, for that extra glossy effect. Let it dry.

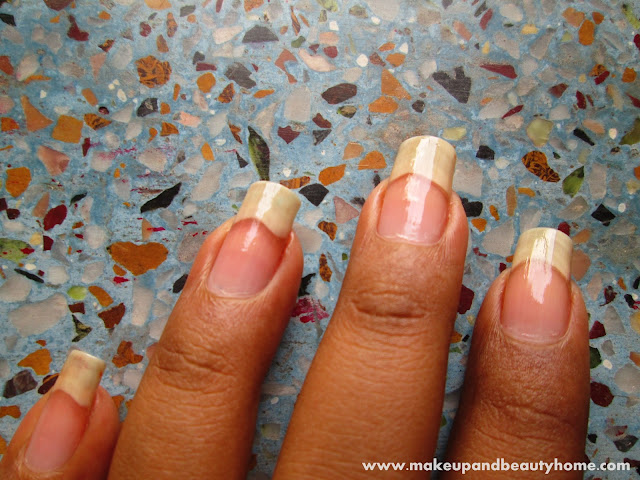
Step 2: Then apply the white/off white nail paint on the nail-tip very carefully. I have used off-white nail-paint for it looks more dramatic. You can do it with the nail paint bottle applicator or you can also use the special paint brush for doing it neatly. I have done with the normal nail paint bottle applicator.

Step 3: Apply double coat of white/off white nail-paint. And let it dry for 5 minutes.

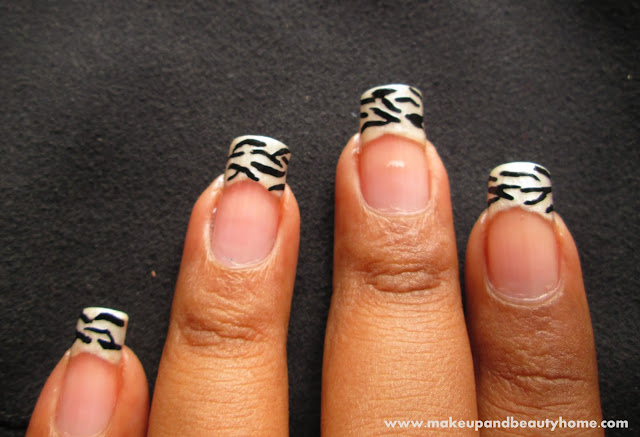
Step 4: Now with the nail paint brush or regular paint brush or your old eye liner brush (wash is thoroughly and dip it in the nail-paint bottle) draw uneven lines, V-shaped lines and Y-shaped lines all across the nail-tip. Make sure they are uneven and not too thin or not too thick lines. Do it on all the nail tips and let it dry.

Step 5:

Finally, apply the top coat, twice.


NOTD: 

Isn’t it the easiest and still very fashionable nail-art? So, try this, beauties and be the centre of attraction.