Tag Archives: EOTD

Kristen Stewart Inspired Smokey Eye Makeup Tutorial

This is my first makeup tutorial ever guys so please bear with me. I love Kristen Stewart’s look in breaking dawn part 1 world premiere in which she teamed up this look with a blue black dress, a messy bun and a killer heal; her eyes were highlighted.

I was inspired and I have the same eyes like her (the shape and size approximately) and I love purple and I had a blue gown with which I wanted to try this look to go for a party or something.

She looks very pale here and I made the color a bit more intense in mine. She has mauve-ish lavender on the inner half and purple and brown on the outer half, lined with a black eye shadow on both lash lines which is blended into the eye shadow. It greatly compliments her green eyes. Since mine are brown I changed the colors only a bit.

This tutorial is done by using only eye pencils (surprise!!!). I will be referring to eye pencil in my description but you can use eye shadows to get this look as well. I love working with eye pencils so you will find I didn’t use much brushes either since eye pencils can be used for precise application so only blending was needed. Also eye pencils are very difficult to blend so you may go ahead with eye shadows.


Products used:

  • Eye pencils from a local brand (ADS) in brown, purple, black, lavender and metallic blue.
  • Lakme perfecting foundation and Revlon compact powder for priming
  • Elle 18 black out liquid liner
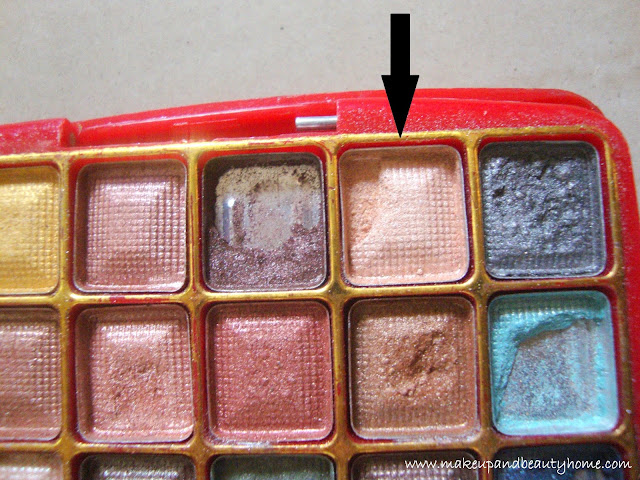
  • A neutral eye shadow from an eye palette locally brought (arrow indicates the shadow used)
  • Blending brush and a fluffy brush form Camlin for blending and highlighter application. (power as well was applied using the fluffy brush)

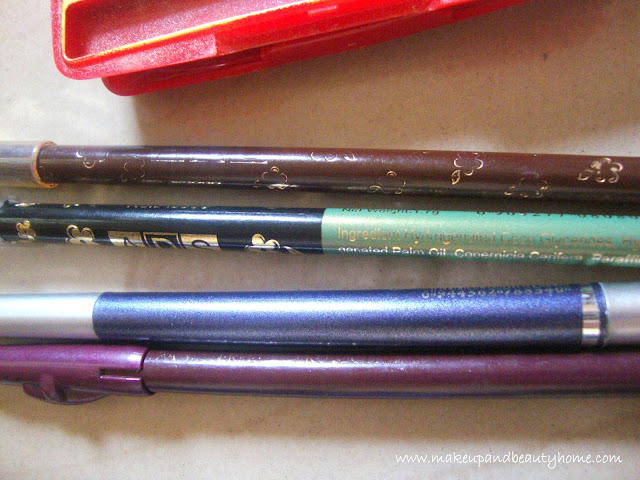
Tutorial ~ Steps:

Step 1: Prime and prep your eyes and fill in you brows as eyes will be the centre of attention in this look.  Conceal ark circles. Apply loose powder all over the eye lid to remove oiliness if any and to hold the eye shadow better and longer

Step 2: As shown fill the inner one fourth of the eye lid with lavender toned pencil.
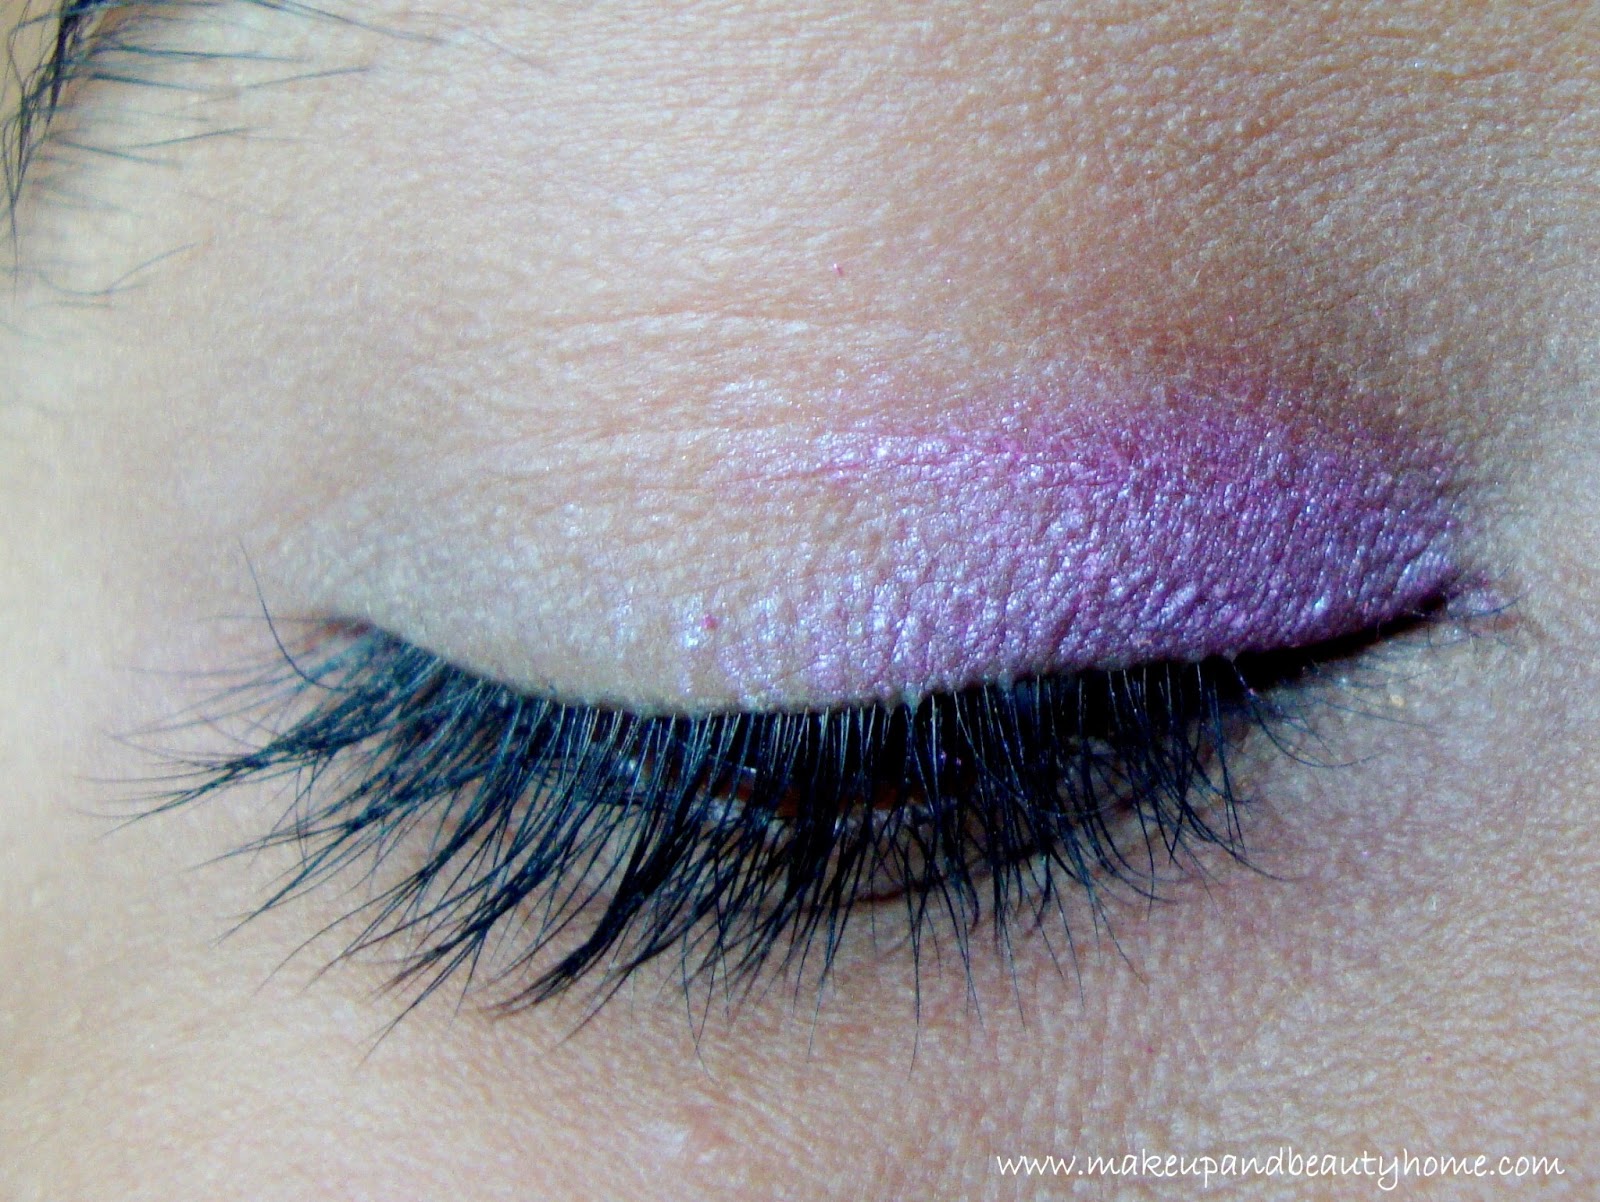
Step 3: Fill the next 2/4th part with a bluish grey eye pencil. (I wanted to get a bit of metallic look and to get a slight blue tone with this look) and blend well. (Keep adding the pencil to get the desired coverage. Here this picture is just the beginning. I added two three times both colors till I got the desired tone)

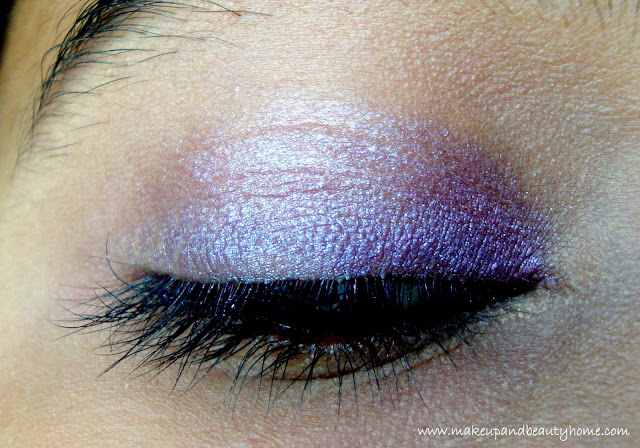
Step 4: Now draw a line with a purple eye pencil from the outer corner towards brow bone like a wing and draw it into the crease. Fill the remaining lid with this pencil and blend everything together. Using a brown pencil, blend it into the purple to give the brownish tone. This will compliment brown eyes really well and adds depth in the crease.
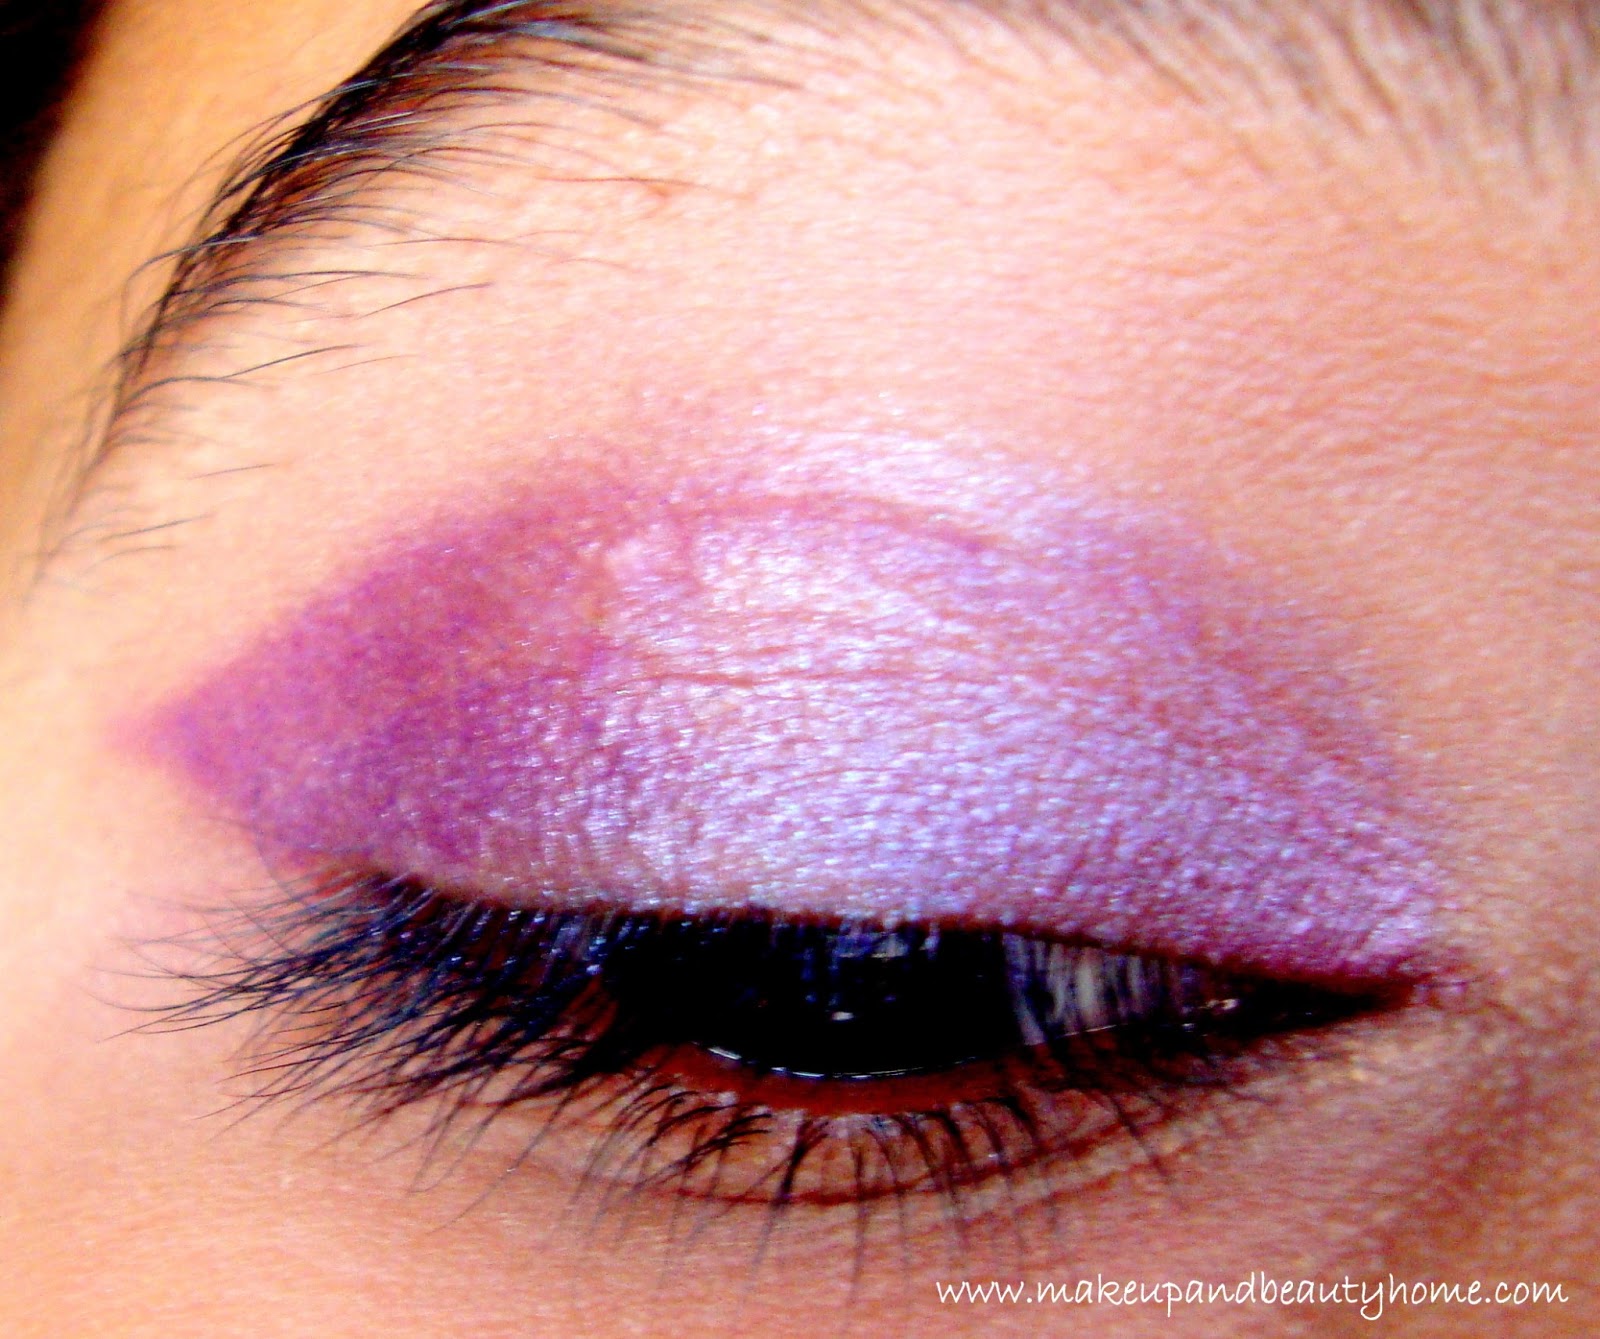
Step 5: Take a black liner pencil and draw a little thick line from half of the upper lash line and extend till where the wing of the purple eye shadow ends (not into the crease, only the outer part). Make sure it doesn’t cross your eye brow end. Smudge and blend upwards on to the eye lid. Here as well I used a bit of brown to give proper blend (You can use more black eye pencil if you need a dramatic eye look. Dark grey also can be used to make it softer)
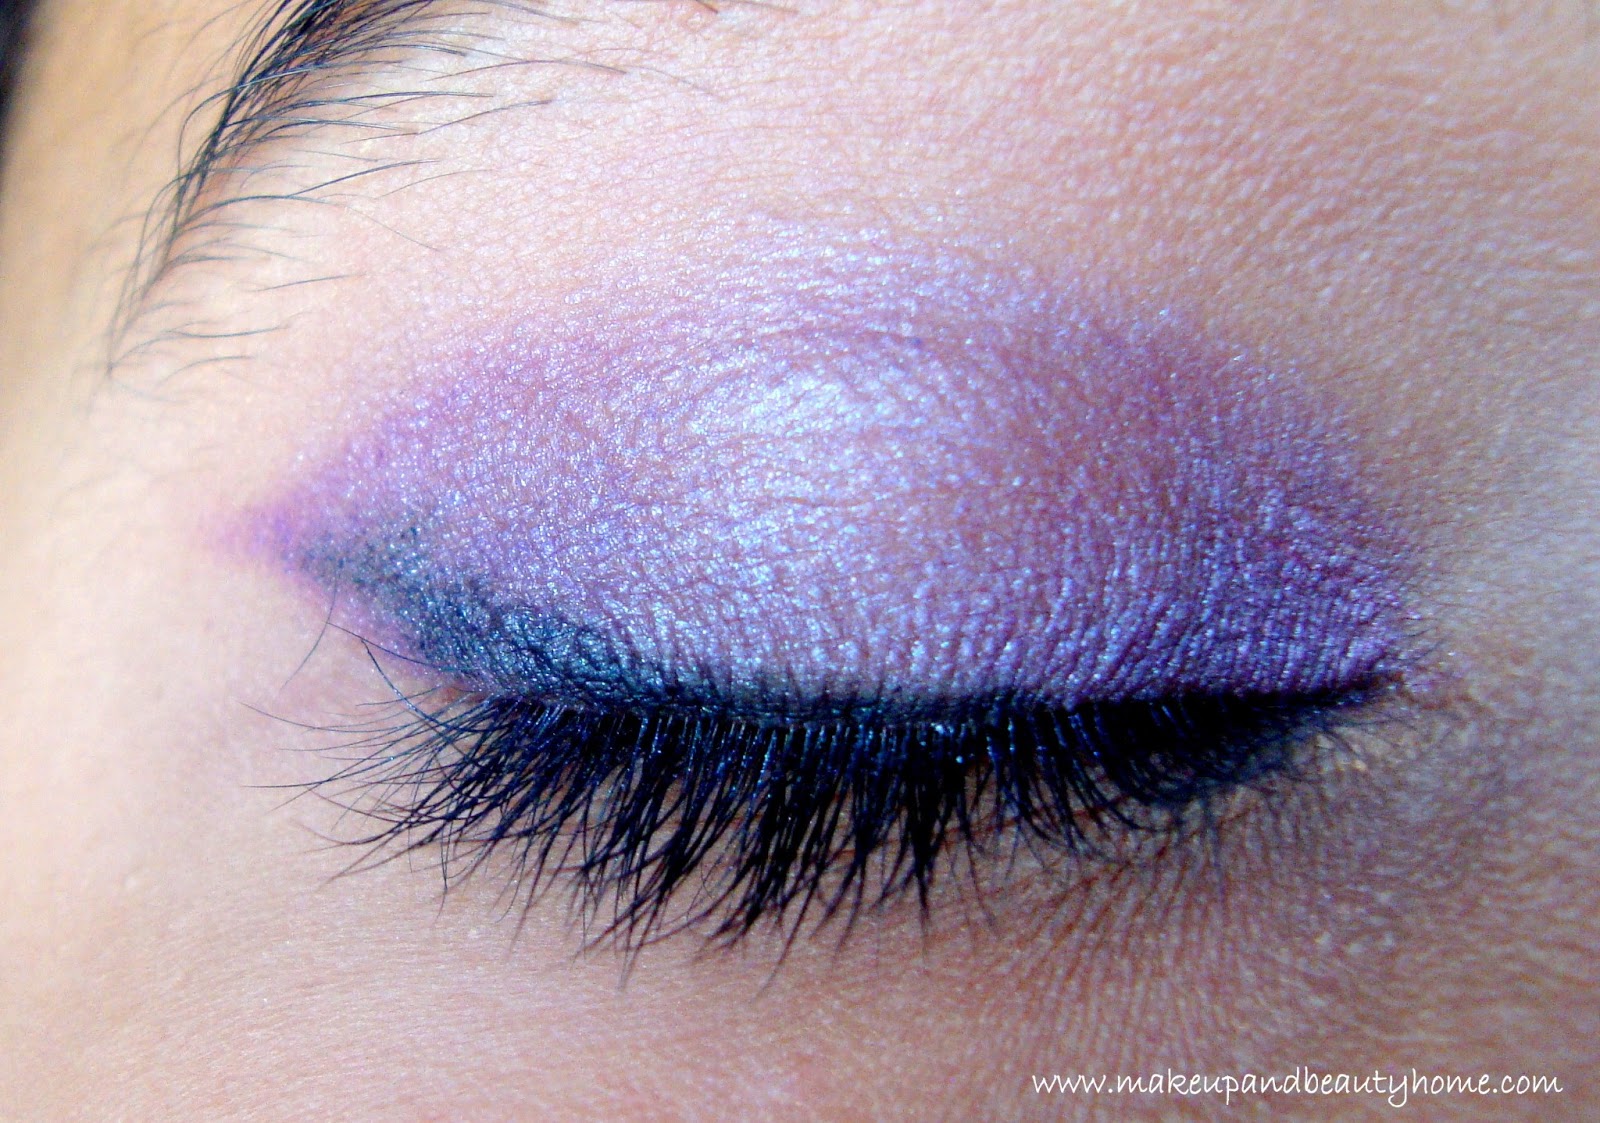
Step 6: Now again with the black pencil draw on the outer half of lower lash line and extend towards the previously smudged black line. Fill the inner half of the lower lash line with the purple eye pencil. Smudge both and blend together.

Step 7: Using a gel or liquid black eye liner draw the thinnest possible line on the upper lash line. Here Kristen used false lashes. You can use them or simply use this trick to make your lashes fuller. Add loads of voluminising mascara. My mascara got over so I just wet my lashes with Vaseline a bit.

Step 8: Add a highlighter eye shadow very near to your skin tone on the brow bone.

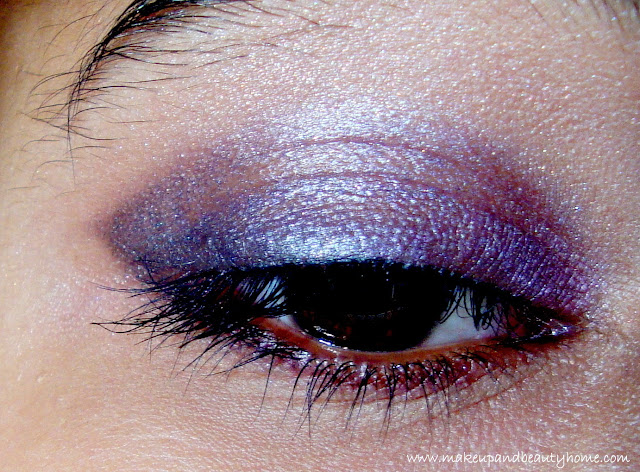
Add a nude lipstick preferably in light pinks with brown undertones, corals or corallish red like the one she is wearing and matte texture and you are done (Since eye makeup is heavy, lips should be done neutral)

Water line here is empty. But if you like to, fill it with your favorite kajal to give more effect. Please bear with the pics guys! I tried my best. I am not good at clicking tutorial pics.
Elle 18 Black Out Eye Liner Review, Swatches and EOTD

Hello Everyone!

This is my very first makeup product. I brought Elle 18 eye liner when it was first introduced in 2002 when I was 14 yrs old and since then have only used that and no other eye liners (liquid) got my attention. Let’s talk about my HG eye liner liquid now.

Price and Quantity:

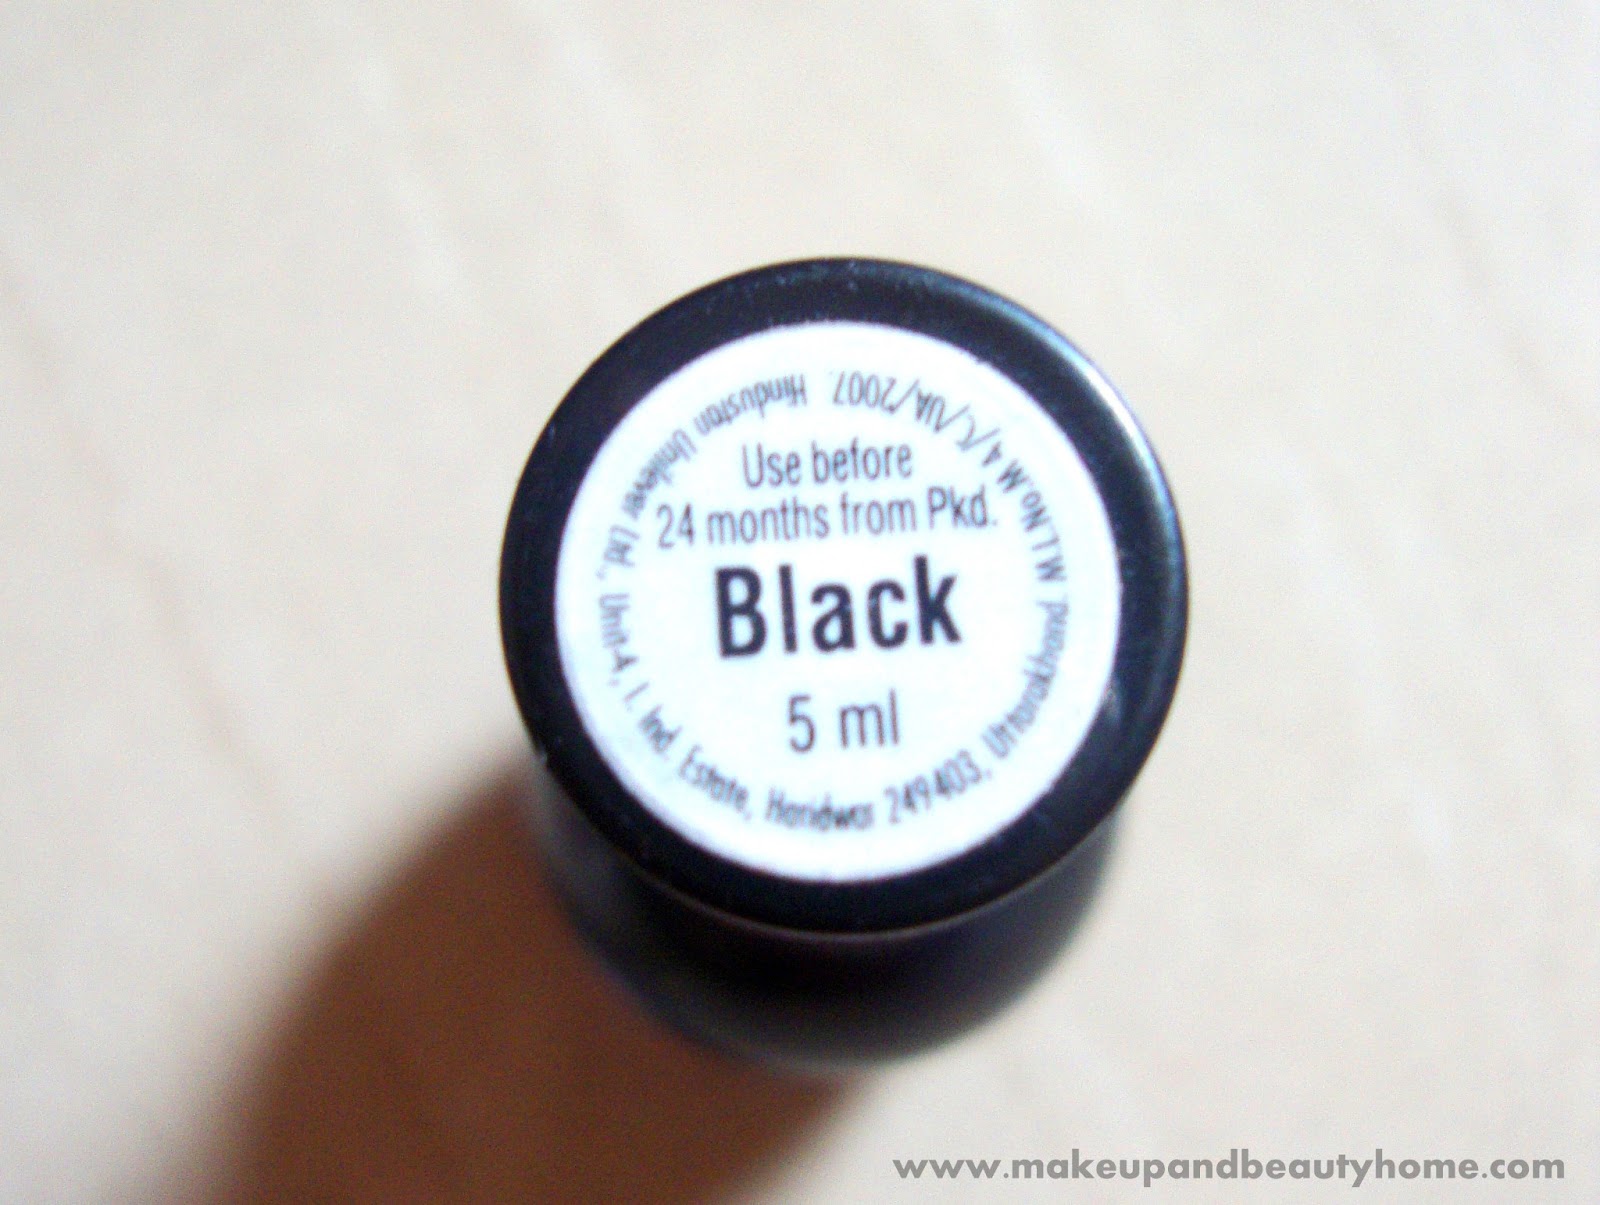
Rs. 65 for 5 ml

My Take:

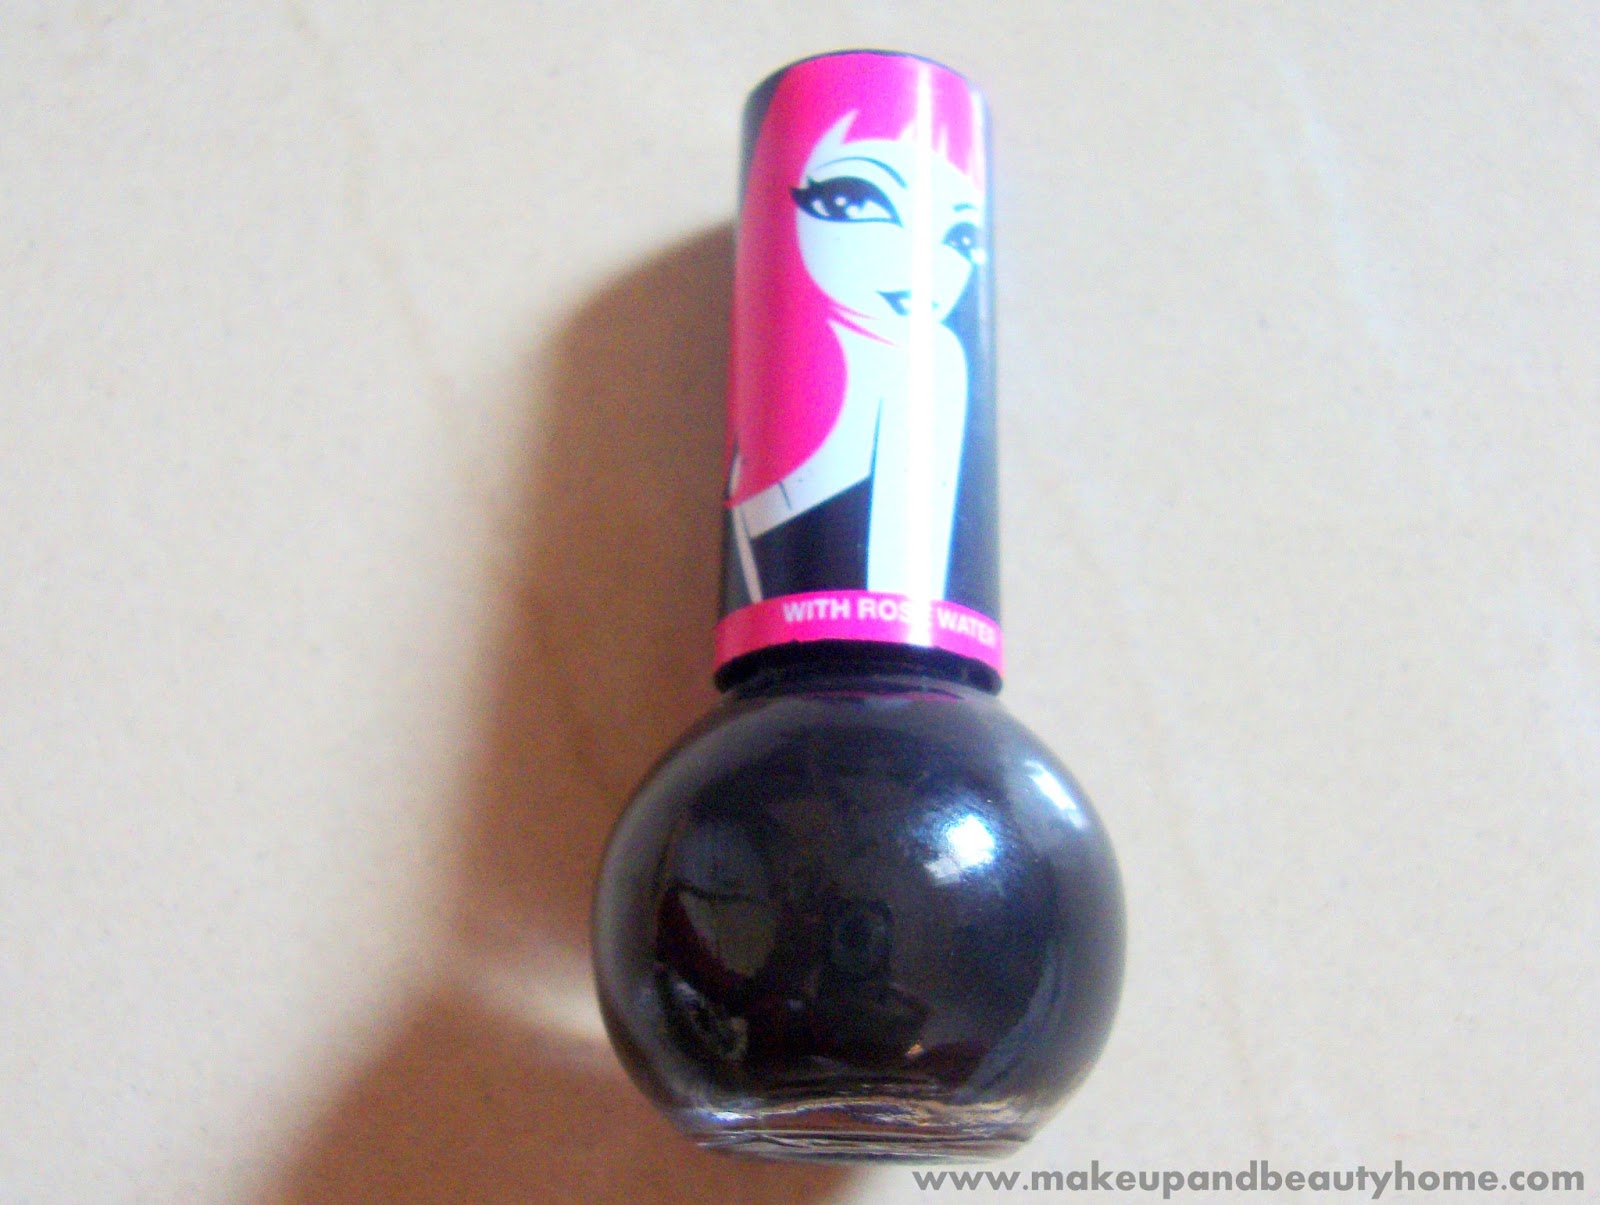
This eyeliner comes in a transparent round glass bottle with a cylindrical cap with a screw opening. It has a really good wand and the applicator is extremely thin to get the thinnest possible line on your eyes.

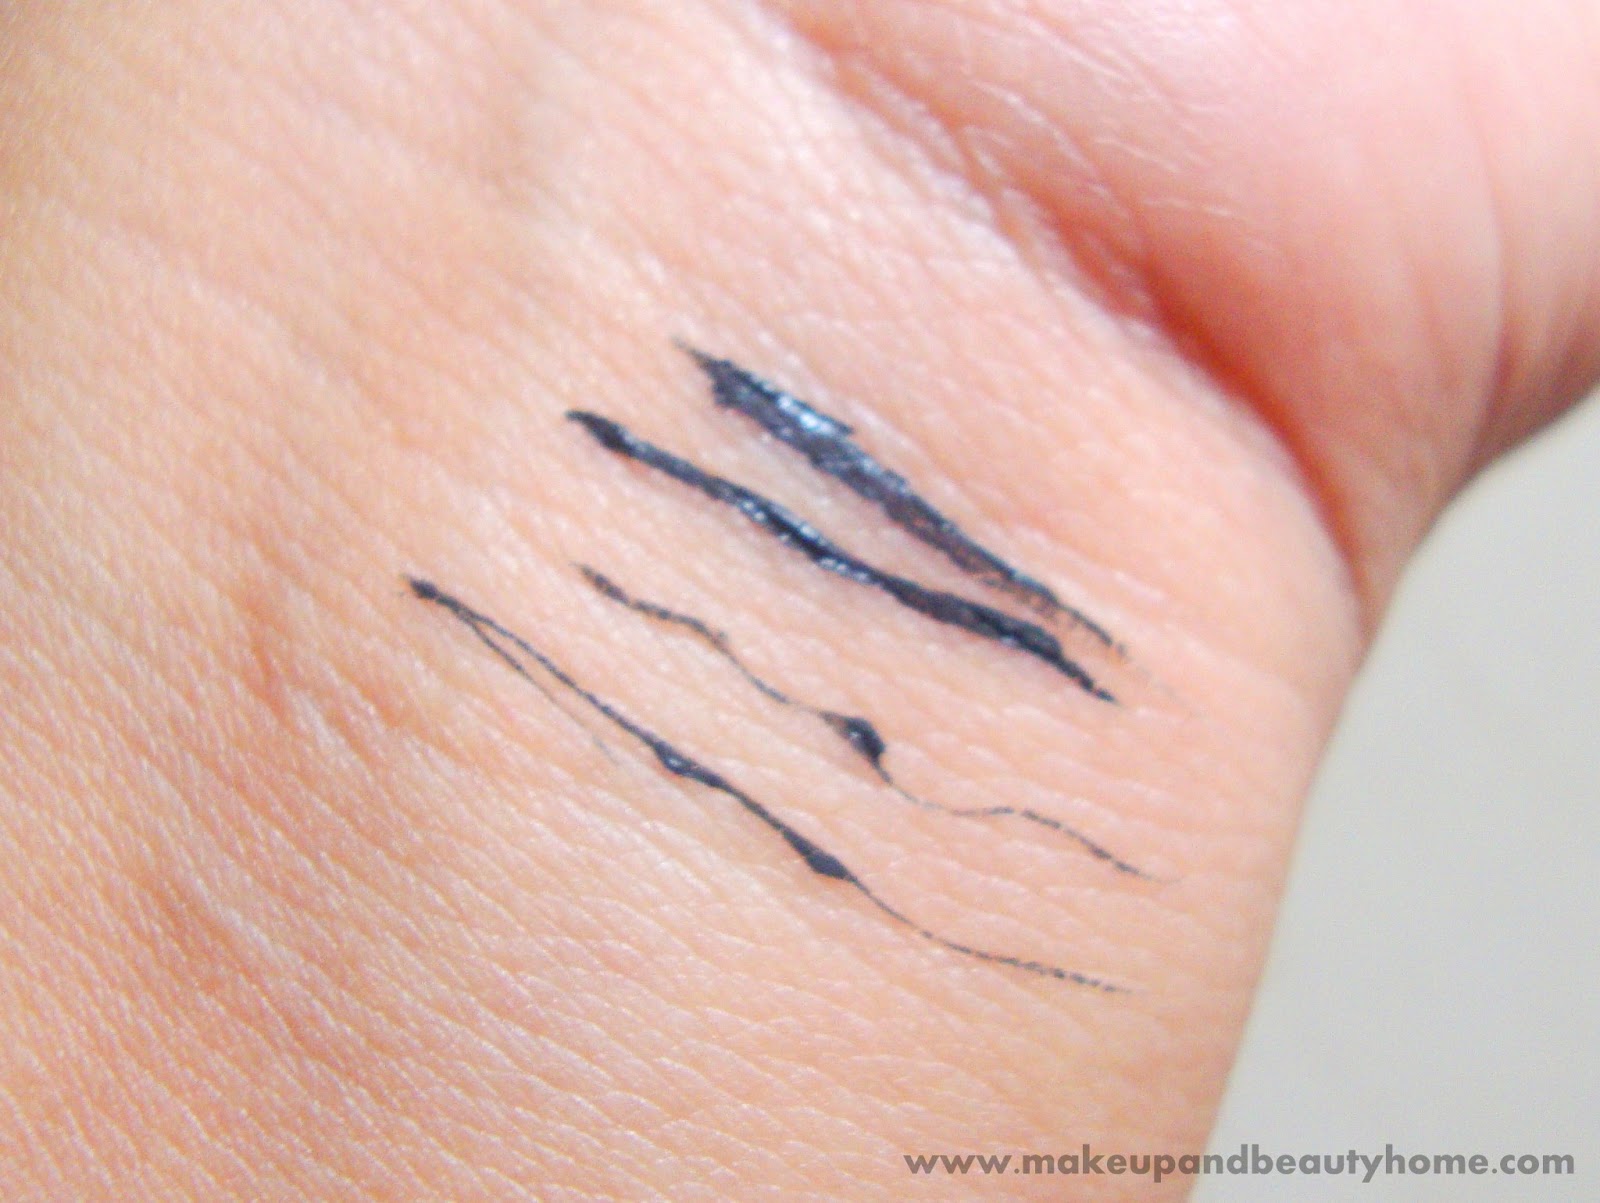
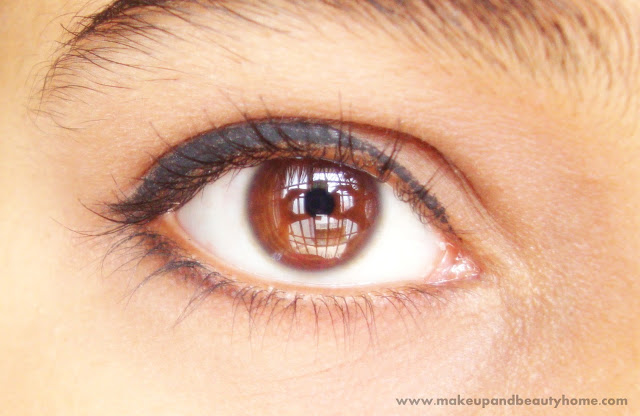
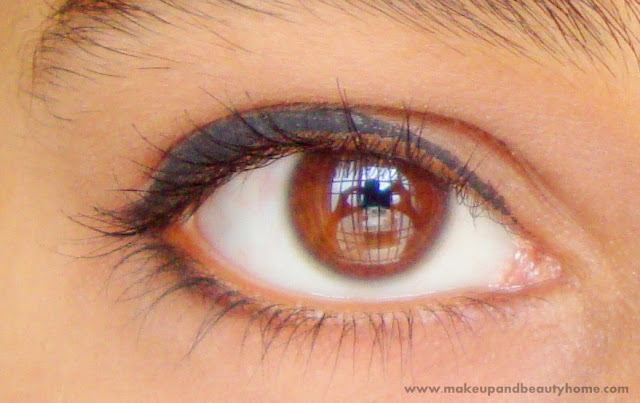
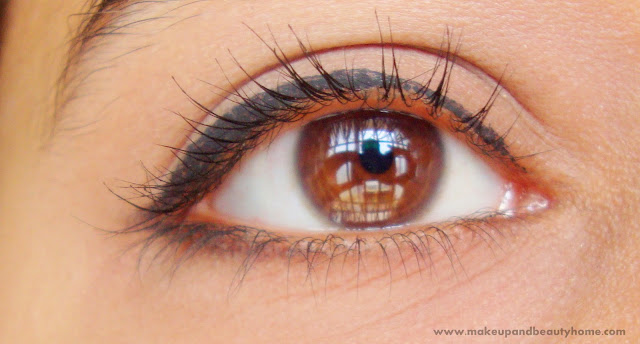
The liner is black in color but not the blackest black. As you can see in the EOTDs below it is more grayish black but black none the less.

This black liquid eyeliner glides on smooth and soft. One single swipe gives extreme rich black and you can layer on if you wish to. It dries extremely quickly so no mess at all. When you splash water it will become gel like but won’t run on your face unless you rub it so its tear proof but not completely water proof.

This eyeliner t stays for as long as you don’t put water on it! That’s why I love it so much. It has no fragrance. A bit mascara type of smell which is not over powering at all. Just really mild.


My Eye Makeup:

First look is winged dramatic line with black eye pencil on lower lash line smudged with a brown eye pencil. No mascara and No Kajal.

Second look is the thinnest possible line on upper lash line with kajal on lower water line with brown mascara to make it look wide. Hope you like it! The second look is the one I usually wear. First look can be built up for Smokey eye looks or party makeup.

PROS:

  • Excellent colour
  • Smooth and soft
  • No allergic reactions till now and i have really sensitive skin
  • Claims to contain rose extract
  • Thinnest line possible
  • Dirt cheap
  • Easily available
  • I can go on and on and on in this list here.. so let me stop!

CONS:

  • Water proof claim is false but well like I care (winks)


Rating: 10/5


Do I Recommend?:

It is a must!


Would I Repurchase?:

I think 25th bottle or something 😀

Triple Copper Eye Makeup Tutorial – EOTD

I like coppers in all form. Nail paints, eye shadows, lipsticks, liquid eyeliners, pencil eyeliners; in all of these categories copper is the shade that suits all skin tones. On fairer skin copper stands out bright and on dusky skin copper blends in to the skin tone without any effort.

This post is all about combining different types and different shades of copper. I feel this type gives an elevation to the shade. (Ooops…excuse me I don’t know what I am talking. I just want to convey that I am so much in love with this type of look.)

I love to do the mixing of different greens, blues and browns too on my eyes nowadays. :-). This just damn simple. No blending is the main feature of this eye make up.

Tutorial: (7 Steps)

Step 1: 

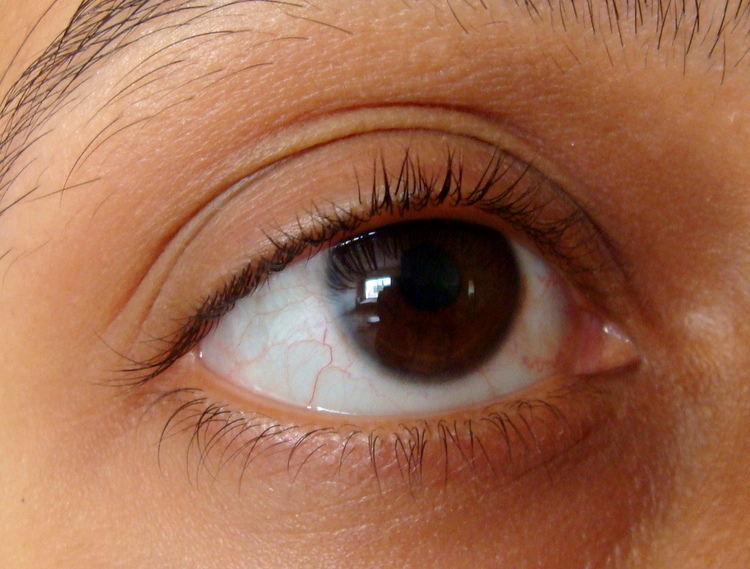
Prepare and prime your eyes the usual way you have been following so far for your eye make up. Below pic is the image of my bare eyes.

Step 2:

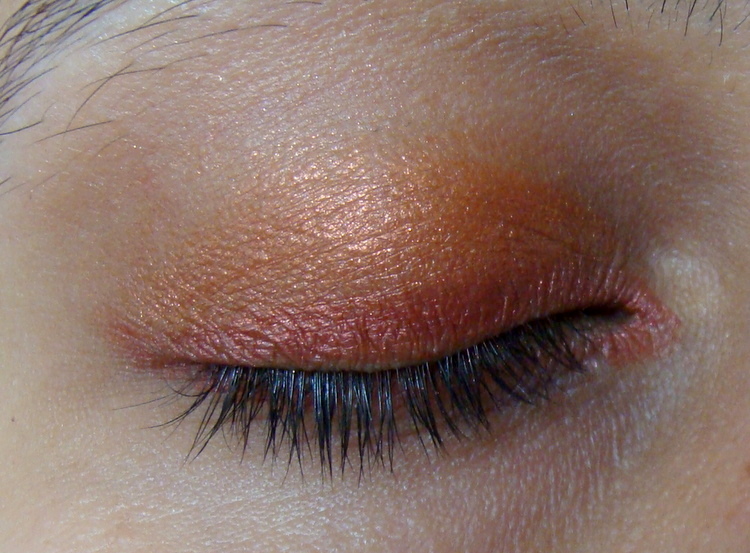
Fill your eyelid with a copper eye shadow. I have the NYX Trio Shimmer Peach Copper Eye shadow (my all time favorite!).


Step 3: 

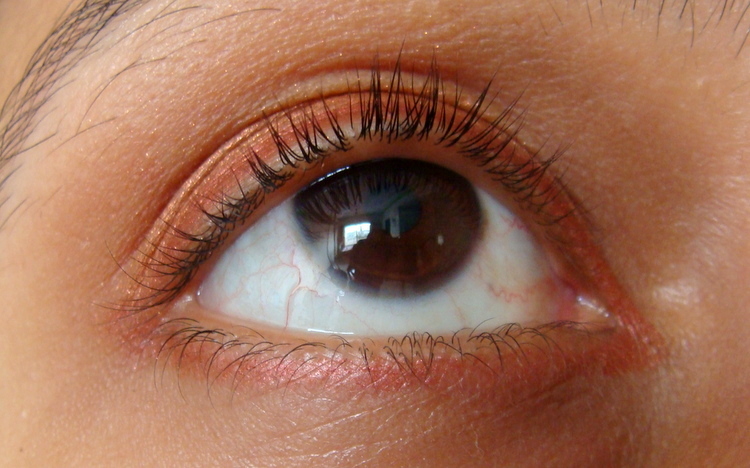
Now take a copper shade in the pencil form. I have used NYX Eye Pencil in Copper. Draw a pretty thick line near the upper lash line. Now, the eyes will look as in the below pic.

Step 4: 

Also draw a line following the lower lash line from end to end.

Step 5: 

Using your favorite Kajal, apply with very light hand in the middle of the lower lash line, over the copper line. Do not go on from one end to other end of the eye. A small line in the middle will do. (Sorry, I forgot to click before smudging)

Now run your ring finger over the small line of Kajal. It will make the black intense Kajal to mix up with the copper line. I did this to tone down the brightness of the NYX Copper Pencil around the lower lash line.

Step 6: 

Apply a copper shade liquid eyeliner. I have used Avon Metallic Eyeliner in Copper.

Step 7: 

Apply Kajal on water line. You are done and ready to go.

Tadaa.. Here’s the final look.


EOTD:

P.S: Sorry, I could not maintain the same lighting for all the images. Some how the natural sunlight kept changing with every click of mine.

Products Used:

1. NYX Trio Eye shadow Shimmer Peach Copper
2. NYX Eye/Eyebrow Pencil in Copper
3. Avon Metallic Eyeliner in Copper
4. Jovees Kajal.