Don’t you ever wish for beautiful youthful skin? All of us do! What do we do to maintain our youthful appearance when we age? Using anti aging creams, wrinkle correcting creams and moisturizers aren’t just enough. There is something called ‘Skin Elasticity’. If our natural skin elasticity is improved, we can enjoy our younger appearance for long years! Let us check how to improve skin elasticity with natural tips at home.
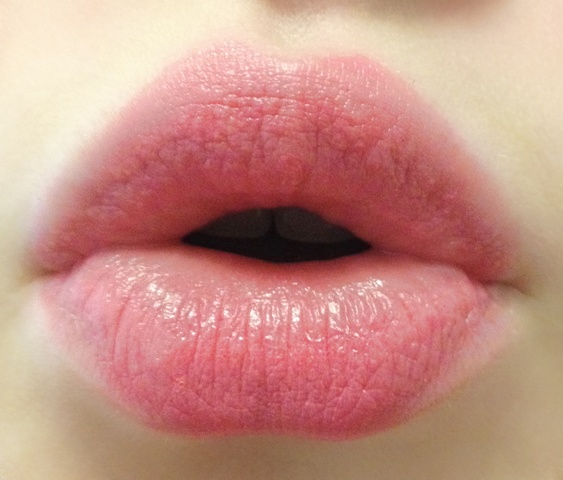
After eyes, lips are the most attractive part of our face. The various tempting lips shades available in the market make those beauties (including me!) sad when they find it not suitable for her pigmented lips. Naturally pink lips are always in demand, and to retain it or to achieve it in a place like India with this hot weather and scorching sunlight is quite a hard work; but not impossible.
So, I am going to share with you all some of my own experienced homemade treatments to lighten dark lips at home.
Before checking the amazing tips to lighten dark lips naturally, let us first see the reasons why we have partial dark or dark lips:
Tanning: The first and foremost reason is tanning; like I said before. Those beauties with a nice pout are mostly victims of tanning. The sunlight falls right over the upper lip and it gets tanned easily, as the upper lip somewhat acts as a shed for lower lip, it stays safe.
Licking: Without our attention or notice, we lick our lips more than 50 to 80 times a day! I understand the dryness of that momentum act, but licking also causes darkening of the lips. This habit must be discontinued at the very childhood; otherwise the result will be very disheartening!
Caffeine intake: Those who drink coffee or tea 5-6 cups a day are totally ignorant to their lips. The more than usual intake of caffeine causes darkening of teeth as well as lips.
Smoking: This I hope knows everyone! Chain smokers must be aware of this fact that if they continue smoking, they are causing hazard to their health as well as their looks!
Lip products: Not all lip products are safe. Whenever buying any lip product, make sure it has a list of ingredients. Products with no ingredients list are supposedly not worthy. Using too much lip products can also be harmful for your lips.
Natural Treatments for Dark Lips:
Honey & lemon pack: Mix one teaspoon honey with one teaspoon lemon juice and apply it on the lips. Do not wash or remove it until you need to. Whenever you are staying in, apply this pack. Both honey and lemon works as bleaching agents, they will help in removing the tan on the lips and getting out the pink lips with daily use. It is one of the at-home remedies to lighten dark lips.
Vitamin E Capsule: Cut open a Vitamin E capsule and squeeze out the oil; apply it on the lips. Every night, before going to bed, apply this. This treatment might take a good time to lighten dark lips but the result will worth it.
Oil Scrub: Mix equal quantity of olive oil and coconut oil, and then add one teaspoon sugar. Scrub your lips gently with this mixture for at least 15 minutes. Use this scrub twice a week regularly to get soft and pink lips.
Herbal Treatments:
Mash 6-8 coriander leaves and squeeze out its juice. Apply it directly on the lips, reapply in every 2 hours. This will help you get that pink tone on your lips.
Cut a small piece of beetroot and gently rub it on the lips in order to make them pink. Daily or regularly using these herbal treatments will give you your baby lips back soon.
Mash 4-5 rose petals in to a paste and apply it on the lips. Do this at least once a week to lighten the pigmented lips.
Take one or two drops of yogurt and massage it gently on the lips daily before taking bath. The best bleaching agent, yogurt will remove all the tan and pigmentation from the lips.
Fruits in Help:
Apply the fresh coconut milk directly on the lips (daily if possible) to lighten the dark lips.
Make a fine paste of pomegranate seeds and apply it on the lips, this will help you get pink lips sooner.
Apply either cucumber or lemon juice to lighten the lip color.
Take one tablespoon of orange peel and make it a paste mixing with raw milk and apply it as a pack on the lips. Orange peel is very essential and helpful to lighten the skin tone.
Additional Tips:
Always try to wear lip balm that has SPF.
When you are doing facial, also apply lip packs (mentioned above) on the lips.
Even if you are not experiencing chapped lips, do not forget to wear lip balm to keep the lips balanced in moisture.
Wear lipsticks as much as you need as they might also be the reason of the pigments.
So, I think it is enough for this time. I hope you guys find these tips helpful. Please share your comments and views about it with us. 🙂
French manicure is the most popular and demanded all over the world. I myself do not get normal manicure anymore, now my manicurist knows what I want exactly. But, I do not always get two hours in the saloon plus the extra journey time in my hand just to get my nails done. Thus, I do it on my own with my own products.
So, today I am going to share my very own version of french manicure at home with very simple and affordable way.
Things Used in French Manicure:
Hot water.
Mild soap.
Foaming cleanser.
Scrub.
Mud pack.
Massage cream.
Nails and cuticle crème (optional).
Nail buffer/emery boards/nail file.
Towel.
Duct tape.
Neutral color nail enamel.
White nail enamel.
Top coat enamel.
One big flat bucket to soak hands.
Tutorial:
Step 1: First, remove the leftover nail paint from your nails and in the mean time boil half a bucket water.
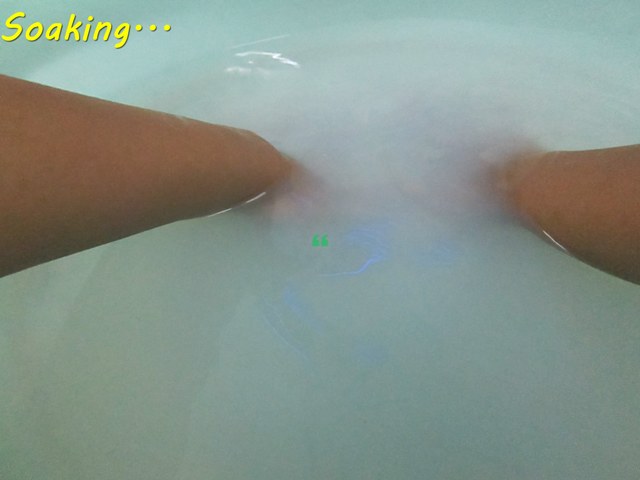
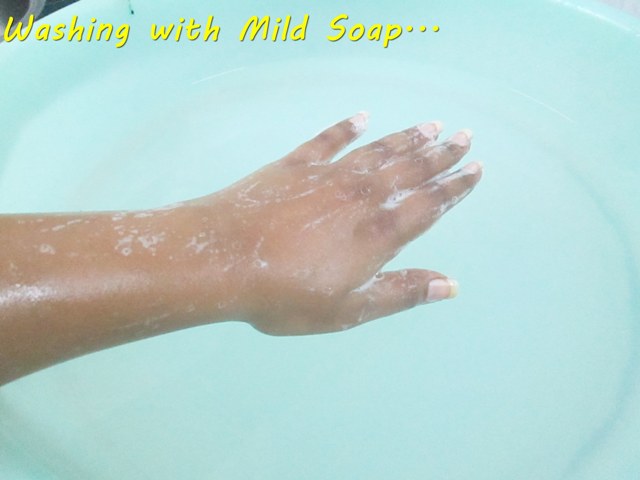
Step 2: When the water is boiling, bring it down and pour it in a flat bucket and mix it with room temperature water. Then add mild liquid soap or your favorite hand wash in the water and mix well. Now, soak your whole hands (up to your biceps area) in to it for 10 minutes.
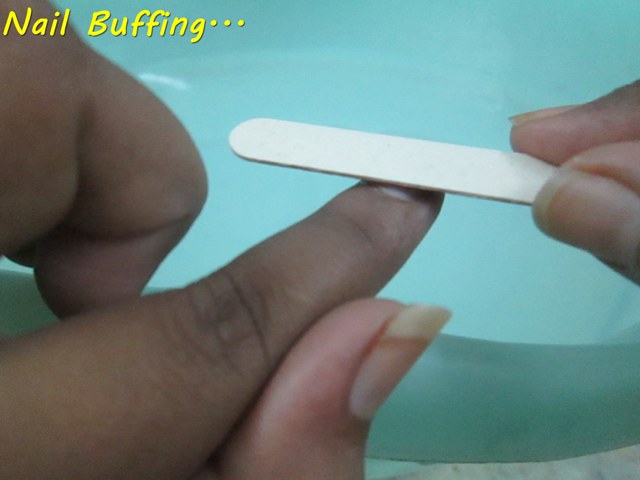
Step 3: Take out your hands and wipe it with the towel. Now, with your nail file or buffer shape your nails. You can do any shape you want, like square tip or oval tip. I am fond of square tip. Buff your nails all over to bring the fresh white color of your nails.
Step 4: Now, wash your hands with the mild soap to get it ready for manicure.
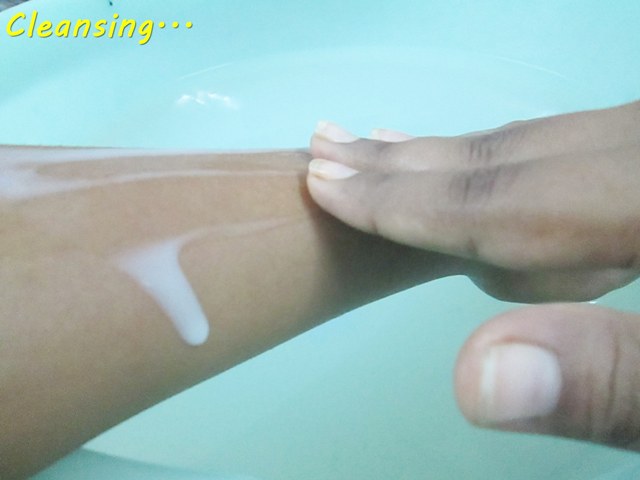
Step 5: Take a good amount of your foaming cleanser and apply it on to your hands and gently massage. Do this for 5 minutes on both of the hands. Then to remove it, you can use cotton balls or just wash it with water.
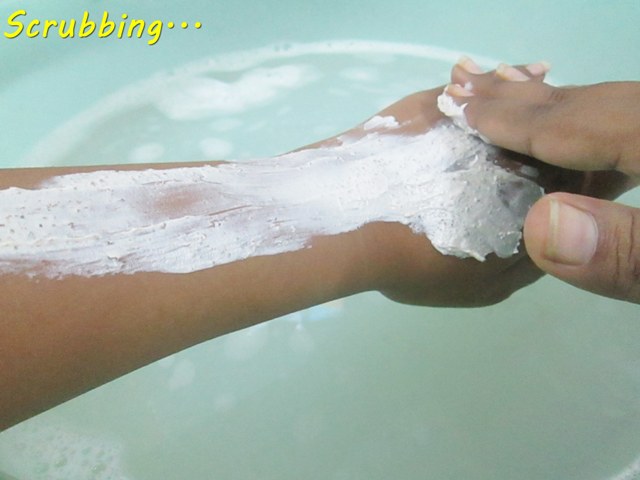
Step 6: Now, apply scrub and start scrubbing your hands one by one. Take a lot of time to scrub as the dead cells need a swipe off. Add a sprinkle of water while scrubbing to do it smoothly. And do not forget to work on the elbow and the fingers with special attention. After 15-20 minutes of scrubbing, wash off your hands.
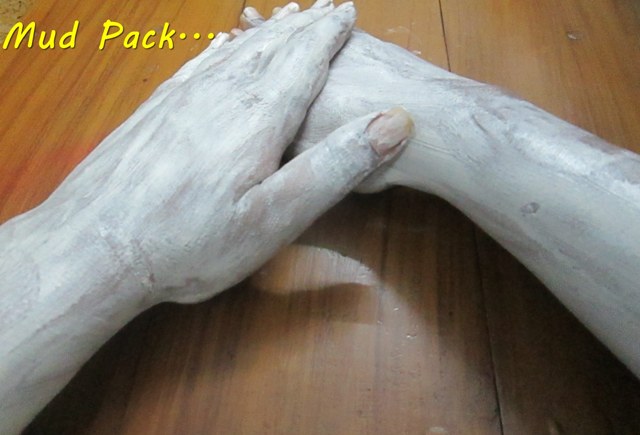
Step 7: After towel dry your hands, apply mud pack on all over the hands evenly. Then, sit back and relax for another 20 minutes. After drying it completely, wash off very carefully.
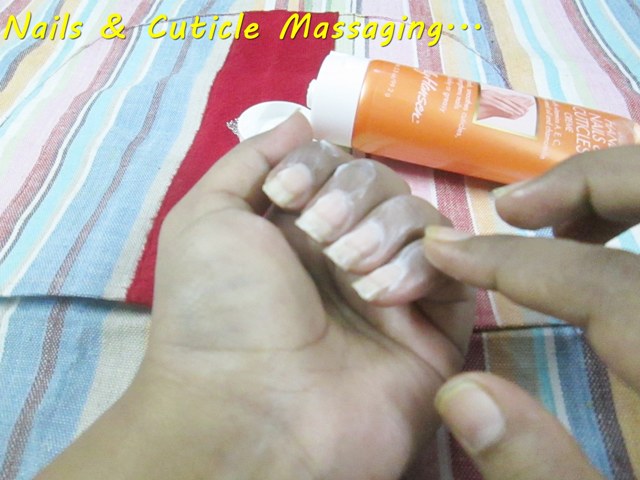
Step 8: Now, apply a massage cream and start massaging your hands one by one. First massage your upper hands, gently working down the elbow and then fore arm. Also massage the palm and the fingers. For your nails, you can use a good nails and cuticle creme to make them strengthen and healthy. Make sure you massage each of your hands no less than 15 minutes.
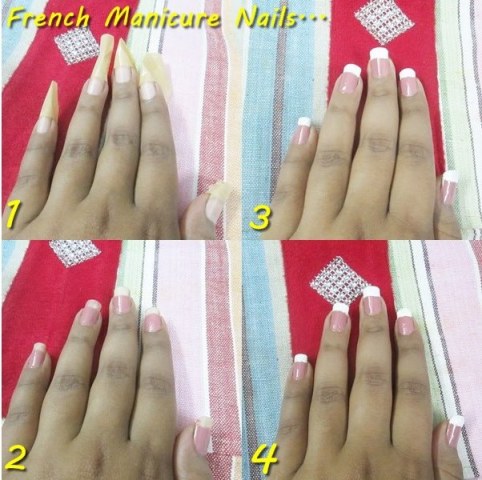
Step 9: Now, for the main attraction of French manicure i.e. the nail art, cut ten strips of duct tape and place it on the tip of your nails. Now, apply the neutral color nail paint on the nails. I have used Elle 18 Color Pops Nail Enamel 07.
Then, remove the duct tape and apply the white nail enamel on the tip (where the tape was placed). Finally apply the top coat and you are done.
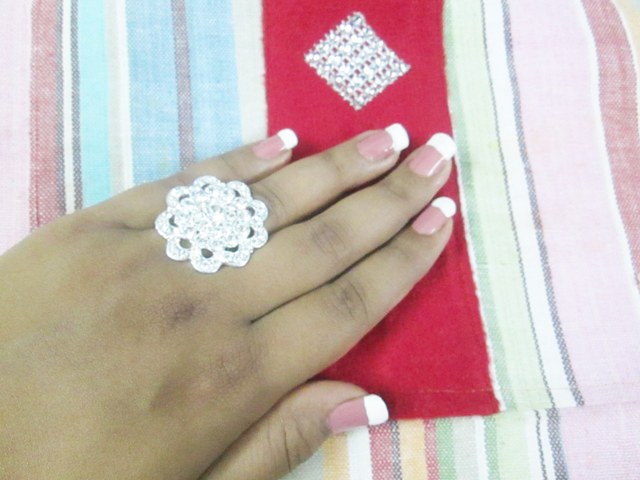
Step 10: Glam up your freshly done French manicure with a nice ring and you ready to rock!
This process may need your energy and time but the result will worth it. You can do it yourself or you can also take someone’s help for the massage. The one great thing about doing it yourself is that you can use your own products instead of saloon’s cheap quality cleansers, scrubs and massage creams. So, in my opinion, take out one afternoon from your schedule and do it yourself.
I hope you guys find it helpful and do share your valuable comments below. 🙂