Category Archives: Do it Yourself

Make Your Own Skin Toner from Cucumber and Red Boiled Rice

Toners play a very important role in everybody’s skin care routine. They help in every possible angle for the well being of the skin. Todays’ kitchen ingredients for preparing the toner are Cucumber and Red Boiled Rice. These two are usually available at any given point in any kitchen.

Do It Yourself


Cucumber needs no introduction in its magical work on  the skin. There are so many brands which provide cucumber face and skin care products. So, naturally the cucumber juice is even more effective on the skin, especially during summers. When a small piece of cucumber is grated, a fistful of grated cucumber will give at least 4-5 spoon of juice.

Do It Yourself Skin Toner

And rice!!! This is in the list of old granny’s recipe. The dusty texture on the rice is an excellent solution for the pigmentation on the skin. It also helps in achieving a bright glowing skin. When the rice is washed with water, the water turns a little  milky or muddy in its color. The first washed water might be a little too much for use. So, use the second wash of water. This seems perfect for use. I always use the water that is used for the second round of wash.

Do It Yourself Skin Toner

As mentioned earlier, take a spoon of cucumber juice and another spoon of water that is used for the second wash of boiled rice. Mix them well. Your skin toner is ready.

Do It Yourself Skin Toner

2 spoonful of this skin toner is more than sufficient for entire face and neck. Dip a cotton ball and apply across the face and neck.

If you prepare the toner in excess quantity, then refrigerate the mixture for later use.

I hope this was useful. Initially I was very skeptical in using the rice washed water. But, after trying once, I have not hesitated to continue using this toner. I have been doing this whenever possible; though not daily. It has not caused any harm to my skin. It has not broken my skin.

Two Awesome DIY Skincare Recipes with Sugar

Hello All!

Do you love sugar? Can you live without sugar? No kitchen in this world will be without ‘Sugar’.  Sugar is a food sweetening ingredient and yes it can so sweetly help you to beautify your skin as well.  Let us check 2 sweet beauty recipes with sugar now.


The first one helps in facial exfoliation and the last one helps to scrub away the rough dead cells from harder parts of the body. Make sure to choose fresh and clean sugar for these recipes and the sugar should be grainy enough to do the exfoliation part well on your skin.

Olive Oil & Sugar Facial Scrub:

Our facial skin shed dead cells everyday and they should be removed at least once in a week, as to maintain clear glowing skin.  A quick sugar facial scrub can remove the dead skin layer, without drying out your skin.

How to Make?: Mix ¾ teaspoon of sugar to 1 teaspoon of olive oil and scrub your cleansed face with this scrub recipe for about 5 minutes.  Then wash off your face with clean cold water or with your cleaning milk.

This scrub recipe removes the dead skin cells, refreshes skin and nourishes it with its moisturizing olive oil extracts. Whether dry, normal or oily, anyone can use this recipe but it is advisable to use a face wash to cleanse face in oily skin types after scrubbing with this recipe as it tends to change oily skin types even more oilier. Use this scrub once or twice in a week to get rid of dead skin formation and uneven skin tone.

Sugar & Citrus Knee Scrub:

Knees and elbows turn rough, dry and dark without proper exfoliation. Leave your worries, mix lemon juice and sugar together to make your instant knee scrub. Scrub your knees with this recipe for about 5-10 minutes and leave on for 10 minutes on the skin; so that the lemon extracts naturally bleaches the dark knees.  Wash off with cold and clean water then moisturize knees with a cold cream.

The sugar granules scrub away the dead cells well while the citrus extracts bleaches the dark areas of knees and elbows to bring out an even complexion. Use this DIY knee scrub recipe atleast twice a week to get rid of darkness and roughness on the knees faster.

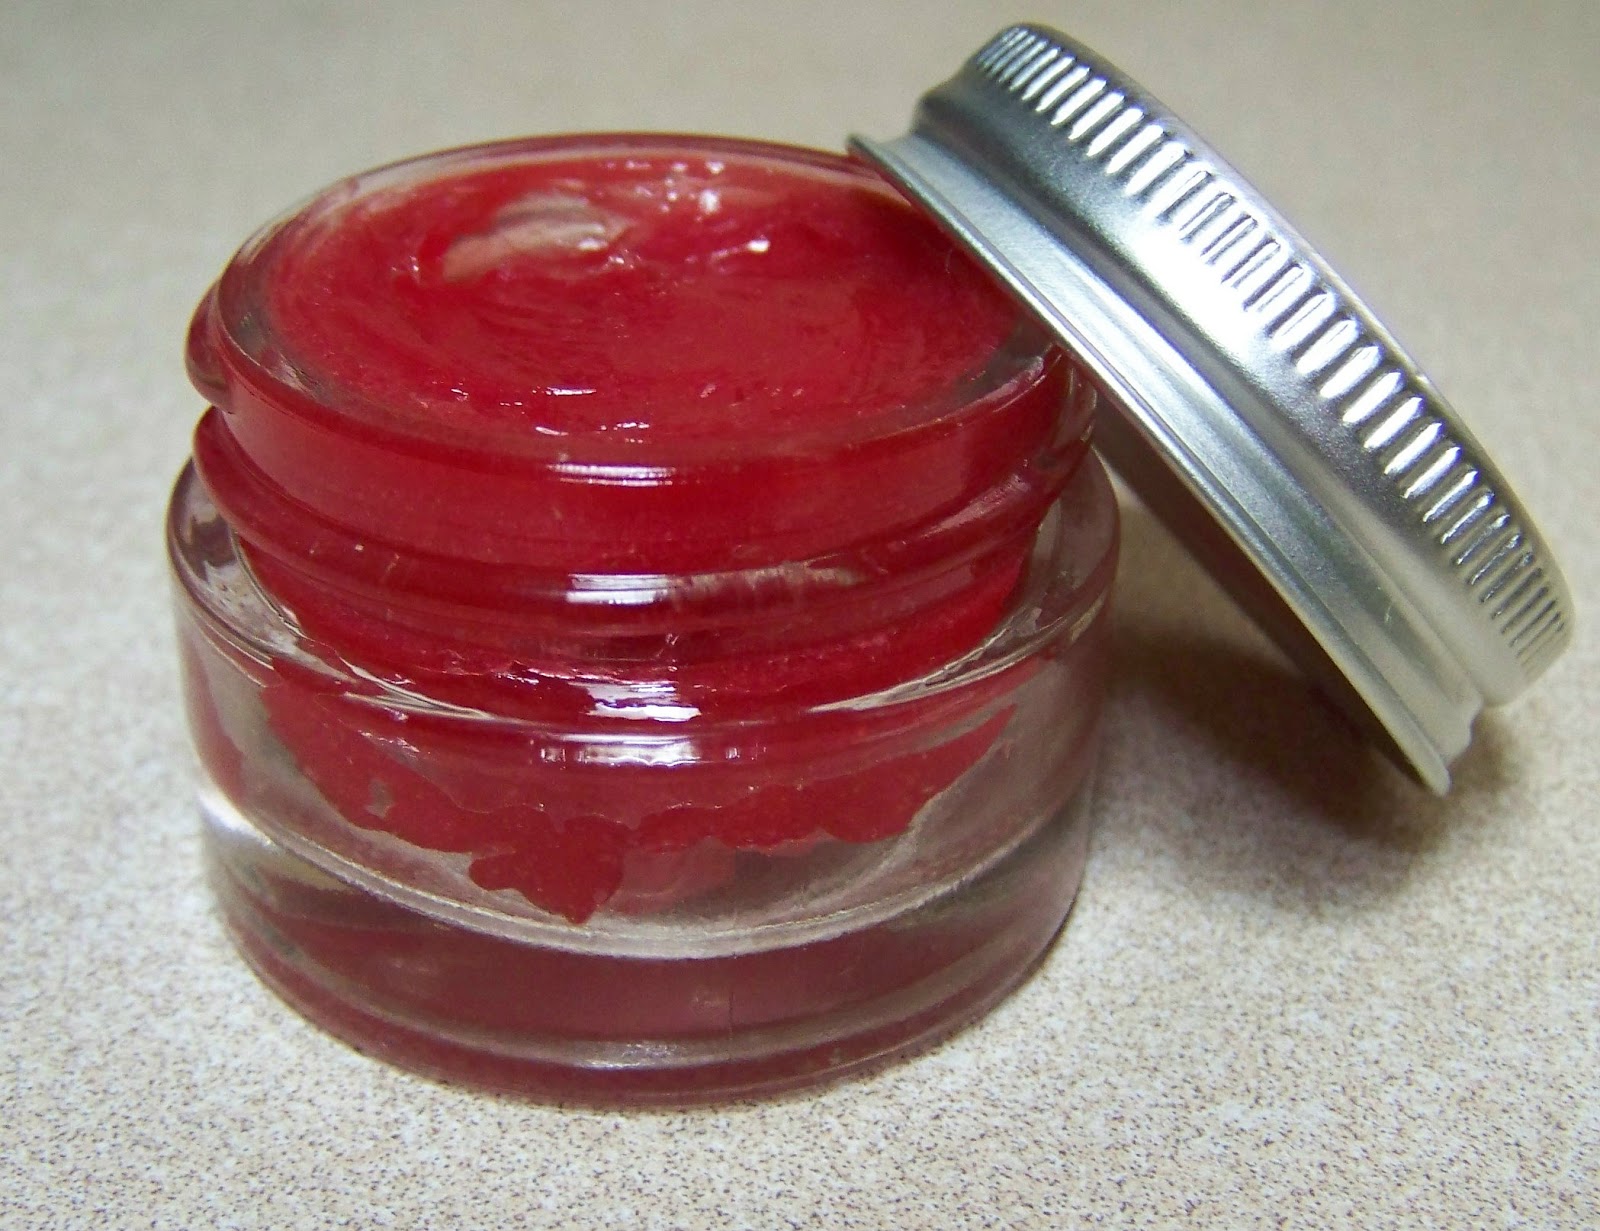
How to Make Tinted Beeswax Lip Balm at Home?

In all the seasons, especially in hard drying winters, we everyone need a good lip balm to cover and protect our precious, soft lips from dryness. If it is a tinted one, that is even better about it for adding some natural colour to the lips without looking artificial. Not only in winters, summers too give us dry lips.. Don’t you agree? My lips were in a very bad condition due to this hard Chennai summer and that’s how I got a thought to prepare this DIY recipe home.


We fall for several store-bought tinted lip balms claiming to heal lips faster than any other but all left with us are no results, or low results. Some of them might not show up the tint properly or might also irritate your sensitive lips due to their artificial fragrance, colors and preservative contents. Here is a DIY lip balm recipe for you which you can prepare and store at your home in an easy and safest way with Beeswax. All you need for the tint is your favorite lipstick, that hasn’t irritated your lips before, to make your own tinted lip balm in minutes.

Recipe:

When you are not in a mood to go for a thick lipstick, still need that lipstick tint with moisturization, a tinted lip balm made of lipstick helps. It is not that hard to make a own tinted lip balm with your lipstick. The recipe takes just 2-3 minutes.

Things you will need:

  • An old lip balm container
  • 1 teaspoon of Beeswax
  • 2 teaspoons of Peppermint oil
  • Your favorite Lipstick

How to Prepare?

1. Melt the beeswax and peppermint oil together in a double boiler and switch off the stove soon after the mixture turns liquid.

2. Slice a small piece of your favorite lipstick and add to this melted mixture. Blend well with a spatula quickly without any lumps.  The amount of the lipstick varies depending on the pigmentation you need. Whether it is orange, deep plum or a bright pink, the lipstick you use here should have been experienced by you with no irritation or side effects.

3. That’s it. You made your own tinted lip balm.Now store this in your refrigerator and use whenever needed to add that natural, beautiful and subtle tint to your lips!

Tidbits to Remember:

1. Tub may be unhygienic to store when it comes to lip balm. No one likes to dip their finger every time to take the product out. Hence, if you are not comfortable with the tub, fill the lip balm in your old and clean lip balm tube

2. If you have extra dry lips, squeeze a vitamin E capsule and add the oil to this lip balm for nourishment and moisturization.

3. Usage of this lip balm more than 3 weeks is not advisable as it has no preservatives. Better prepare a small amount and finish it off within 3 weeks. You can make another new one easily within minutes for next batch.