Category Archives: Do it Yourself

How to Moisturize Your Hair Without Hair Oils? 3 Best Alternatives

Moisturize Hair without Oils – Alternatives of Messy Hair Oils

Hello girls!
How many of you here hate applying oil to your hair and scalp? Raise your hands!.. Ah.. I could see many. Include me in too. Though I realize the importance of oiling hair, my heart (and nose!) refuses to love hair oils. I have been great hater of hair oils, especially coconut oils from my childhood. Though hair oil helped me a lot in growing out my hair longer, I am sorry hair oil, I don’t like you.

Recently, I tried TBS Rain Forest coconut oil and loved it but still, I need alternative ways to moisturize my hair and scalp other than using oils at times when I feel my oils weigh my hair down. Hair oils also run down to the face and makes it look all oily dull. Right? So today I am going to share with you all MABH girls few helpful alternative ideas to moisturize and nourish your hair without messy hair oils.

Aloe Vera Gel Hair Moisturizer:

Aloe vera contain huge amount of proteins and vitamins that are needed for healthy hair growth. Fresh aloe vera gel has the ability to retain moisture in hair roots. It conditions hair, repairs the damages and nourishes the hair from within. Using aloe vera gel instead of hair oil to moisturize your hair is not a bad idea at all.

How to Use Aloe Vera Gel to Moisturize Hair?:

Take two teaspoons of fresh aloe vera gel, rub it in your palms and gently massage it on your scalp and tips of your hair. Leave on for 30 times to one hour and rinse off your hair. One more good thing about the aloe gel in moisturizing your hair.. It is water soluble and hence leaves no residue even without a shampoo 🙂

Milk Hair Conditioning:

Milk! It is a boon for dry hair types. Good fat, moisturizing properties and vitamins present in the milk adds glossiness and bounce to your hair. Milk cream can also be used to moisturizer hair but it is the best fit to use in your nourishing hair packs and masks. Today, we are going to check how to moisturizer your hair with milk in a smarter way, i.e the quickest and easiest way.

How to Use Milk to Moisturize Hair?:

Take an old spray bottle. Rinse it and sterilize it. Fill 1/2 cup of fresh raw milk in the spray bottle. Comb your hair without tangles before starting the spray treatment. Now spray the milk to your scalp and hair. Comb gently and continue spraying until you cover the entire scalp area with milk. Don’t leave the hair tips too as they are prone to split ends. Leave on the milk to penetrate deeper into your scalp and moisturize it. After 20-30 minutes, rinse your hair with fresh water and a mild shampoo. Do not use milk on your hair if you are allergic to milk. If you are allergic to cow milk, you can use coconut milk instead to moisturize your hair.

Hair Lotions and Creams:

Alright. I told you how to moisturize your hair naturally with aloe vera and milk. Now, last but not the least, here comes the easy alternative to hair oil. No mess; no preparations. Choose a moisturizing hair cream or lotion that suits your hair type and use it to nourish your hair. Hair creams and lotions are a boon for hair-oil-hating girls and guys. Its safe is you choose paraben and silicon free ones.

How to Use Hair Cream to Moisturize Your Hair?:

Take adequate amount of hair cream in your palm. Rub it and apply it on your scalp. Massage gently for 1-2 minutes. After massaging your scalp with your hair cream, take some more and run across your hair strands and tips. Leave on! If your hair cream is light and non sticky, you can leave it on. If you want deep nourishment, apply more hair cream, massage well, leave on for few minutes and rinse off.

Though using hair oil alternatives to moisturize hair works well in nourishing your hair, it is advisable to deep condition your hair with hot oil treatment at least once in 15 days to maintain the natural moisture and health of your hair. Using hair oil, though being messy at times works like a charm in growing out your hair longer and strong. Coconut oil is one of the best secrets of Indian women’s beautiful hair. I tried oiling my hair every week in my one year hair growth challenge and it worked very well to grow my hair fast. Hope you enjoyed this hair oil alternatives post. Share below if you have any alternative idea!
Mud Mango Tan Removal Face Pack at Home – Do It Yourself

Hello everyone!

Mangoes! Do you love em? I had a huge craze for mangoes when I was a kid. I used to eat mango fruits with my grandpa every other day in mango season. Somehow, I don’t like eating mangoes nowadays for unknown reason. But I still love drinking mango juices and drinks. I love its delicious sweet flavored smell.

While surfing the net, I came across few natural beauty benefits of mangoes and suddenly got a thought why not to make my own face pack with mango? This Do It Yourself Mango Face Pack recipe is a result of my thought! 🙂 And I am happy that it really helped removing my facial tan.


Things You Will Need:

  • 1 Ripen Mango Fruit
  • Multani Mitti or Fullers Earth
  • A Small Bowl
  • A Clean Spoon
  • Cold Cream (Optional)

How to Make?:

Step 1: Take a small bowl and make sure it is clean. Be ready with the other ingredients as well. Make sure that the mango fruit you use  in this homemade de tanning face pack recipe is in good condition, and moreover well ripen.

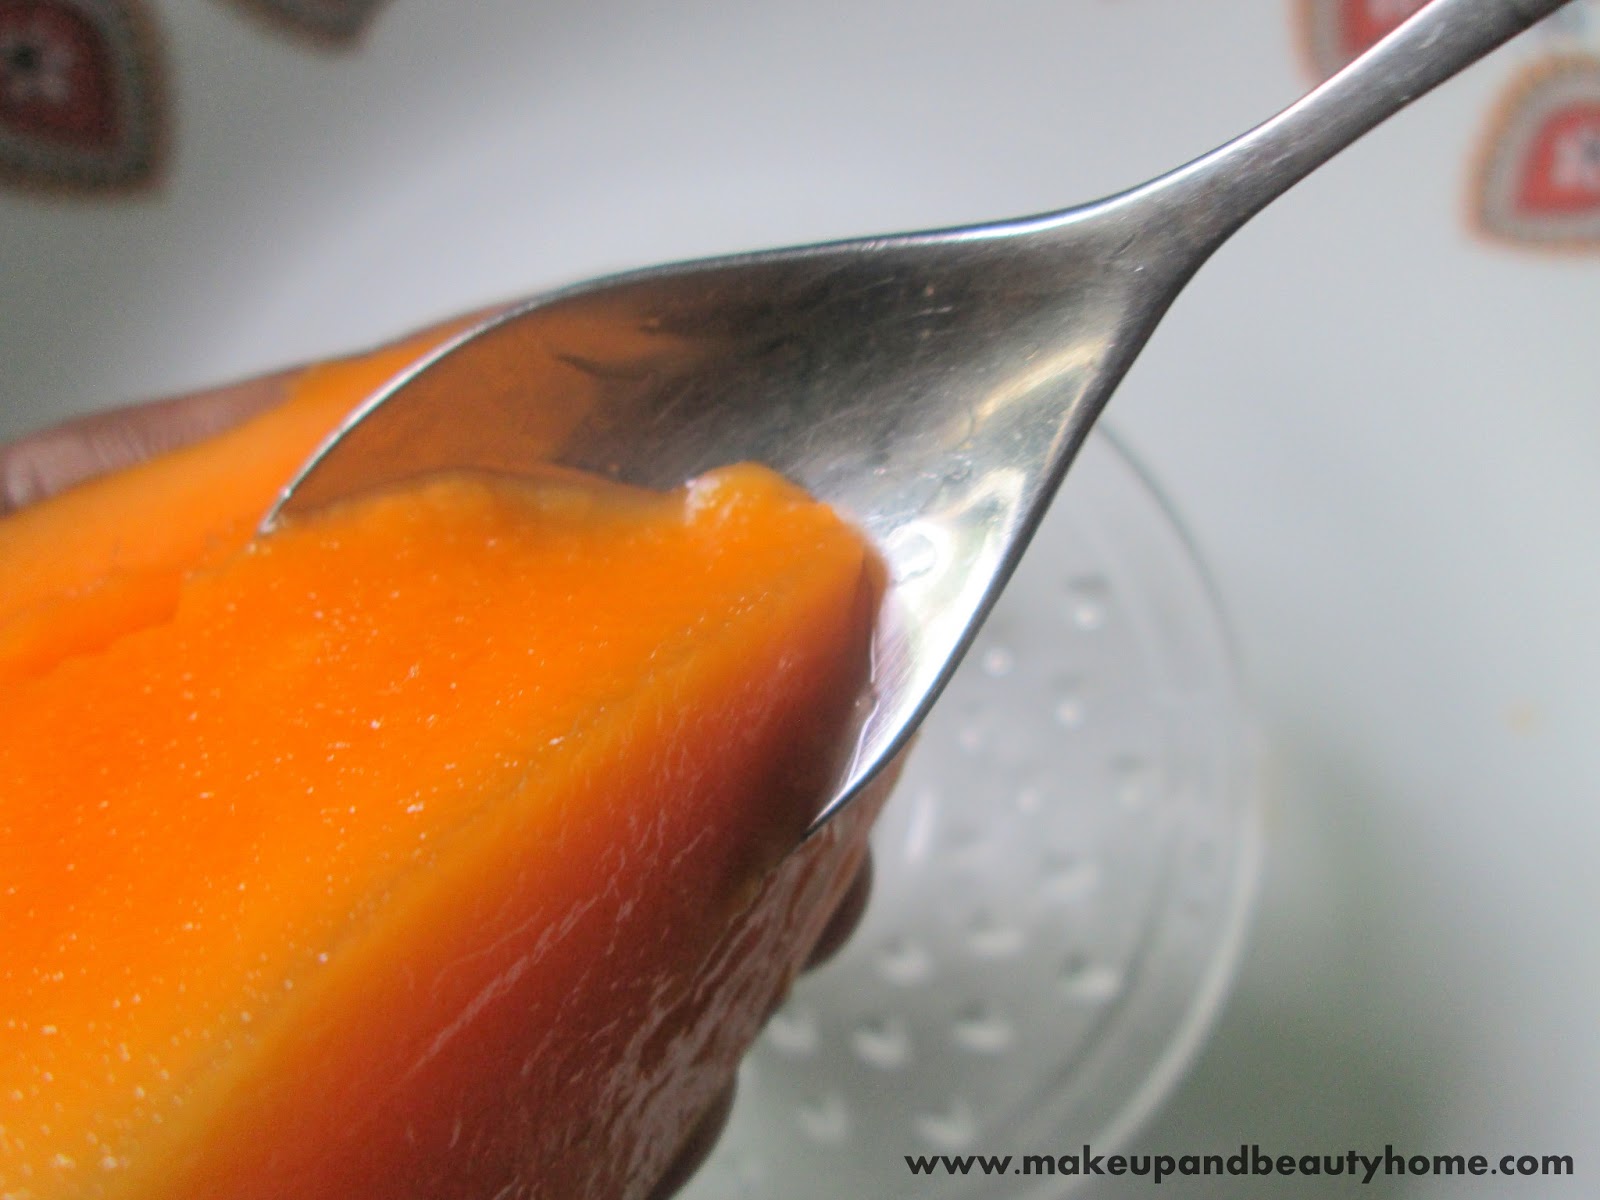
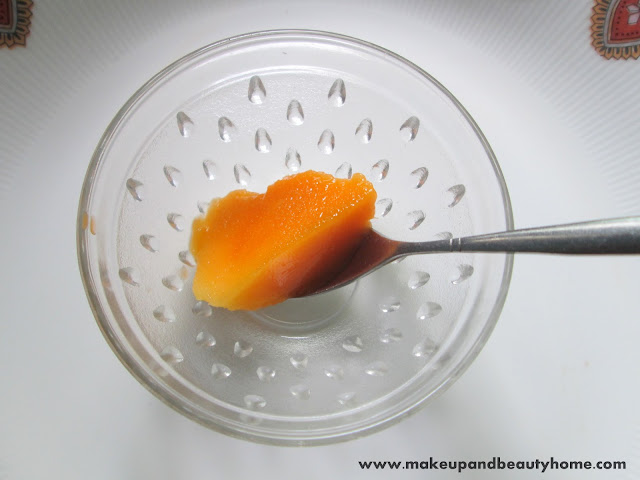
Step 2: Cut the mango into few moderately big pieces and take one slice from that. Eat the other ones 😀 Now scoop the pulp from the slice with the help of your spoon. Collect it in the bowl.

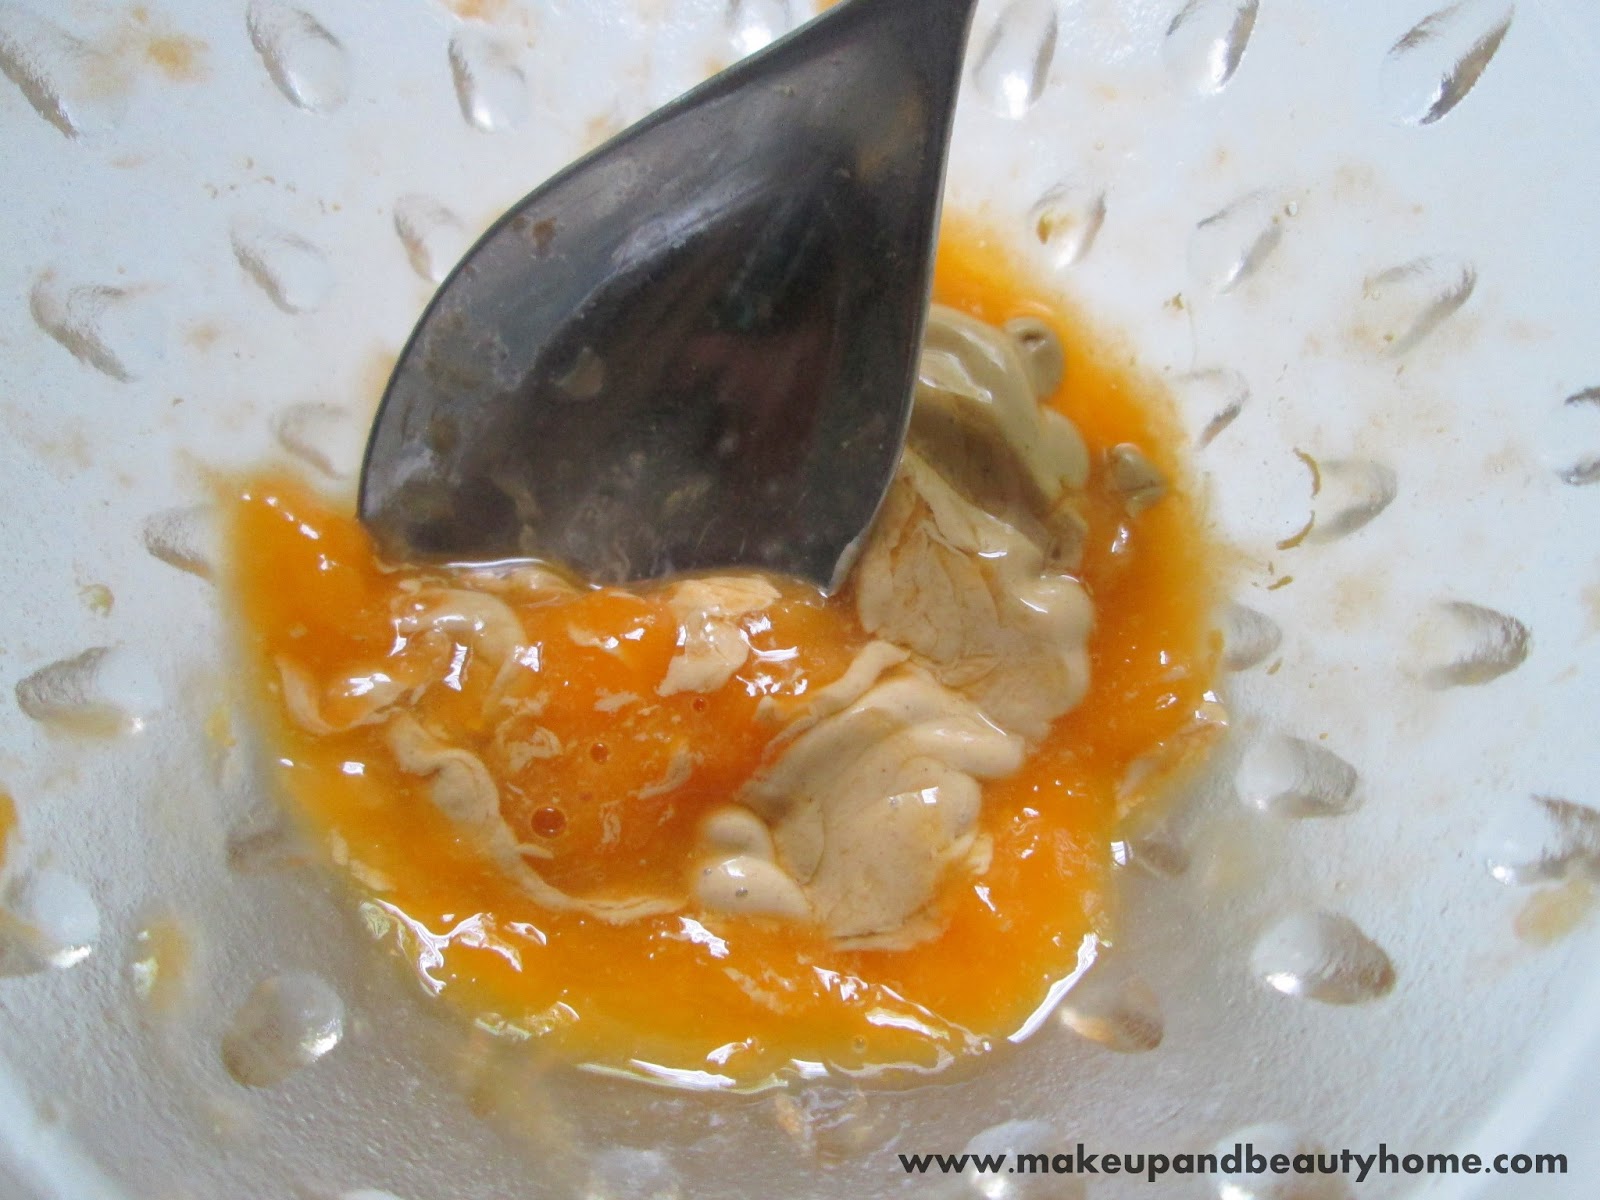
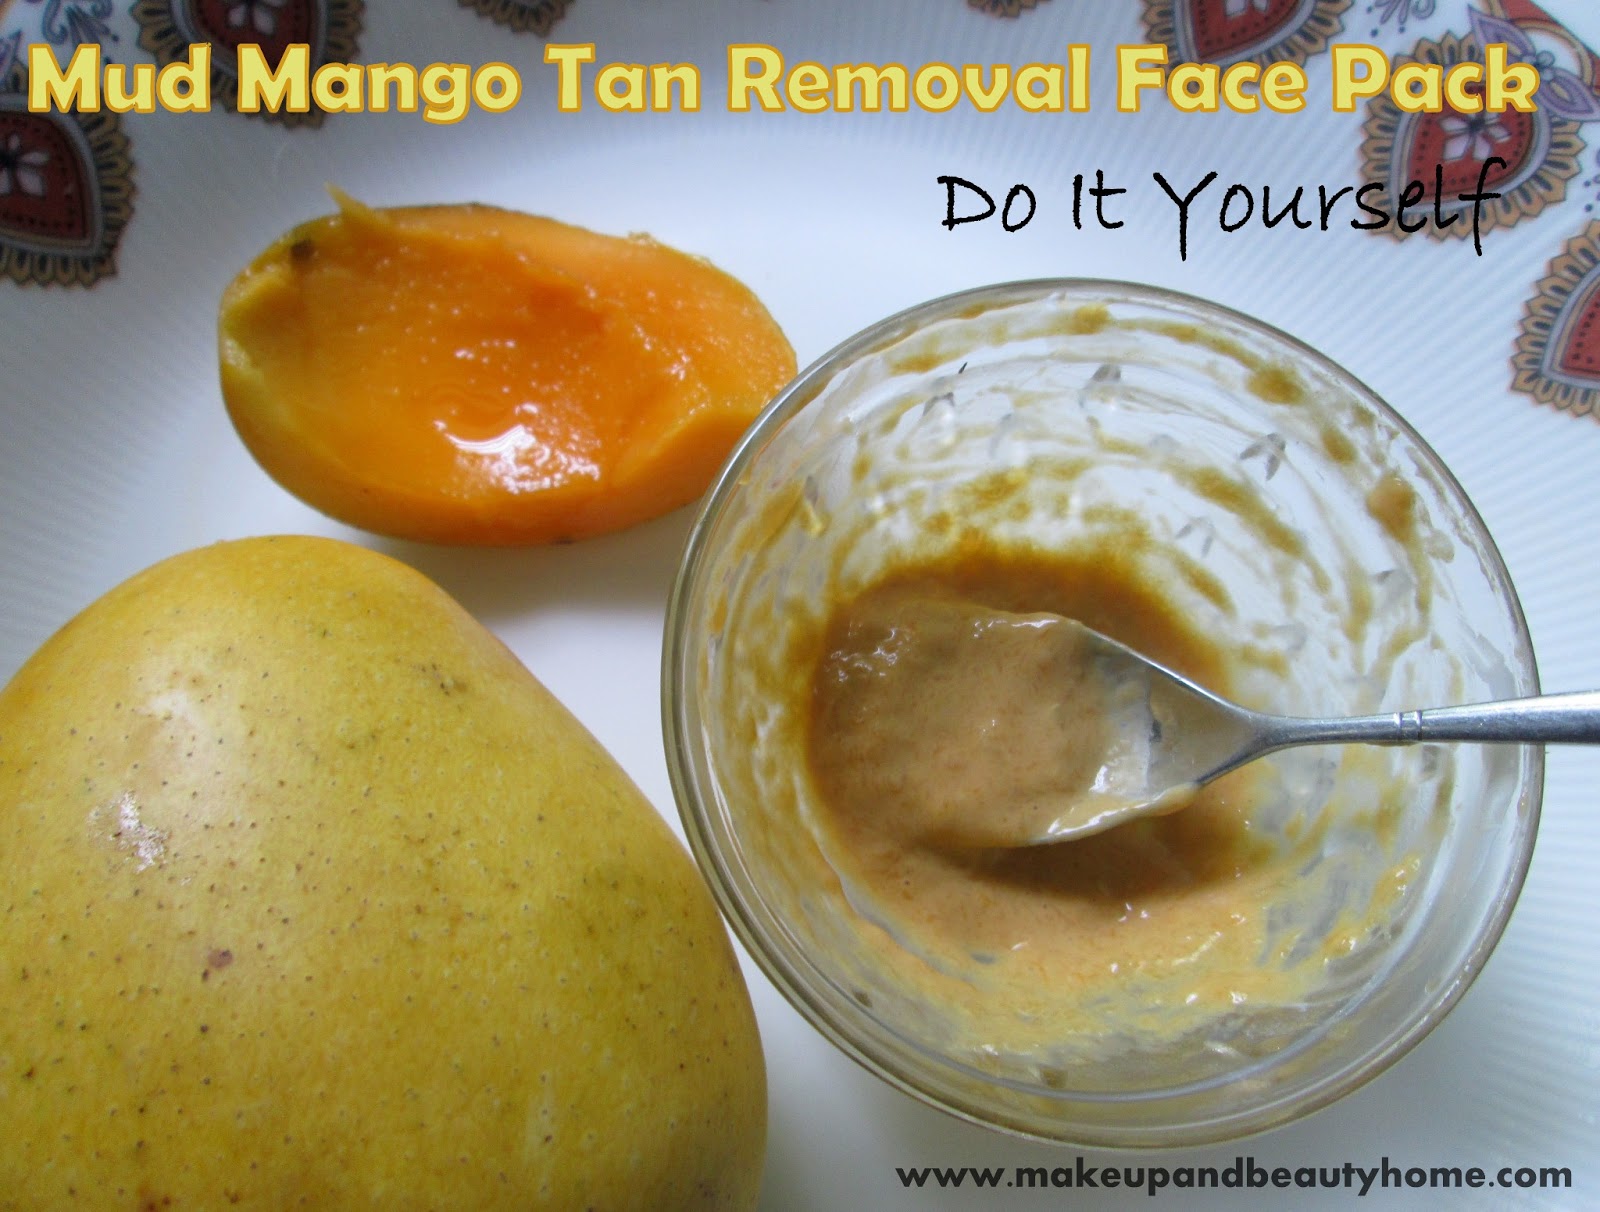
Step 3: Mash the mango pulp to puree with your spoon. If your spoon doesn’t help, get the help of a fork. Mash it well as shown in the picture below. This mango puree is the key ingredient of our tan removal face pack.

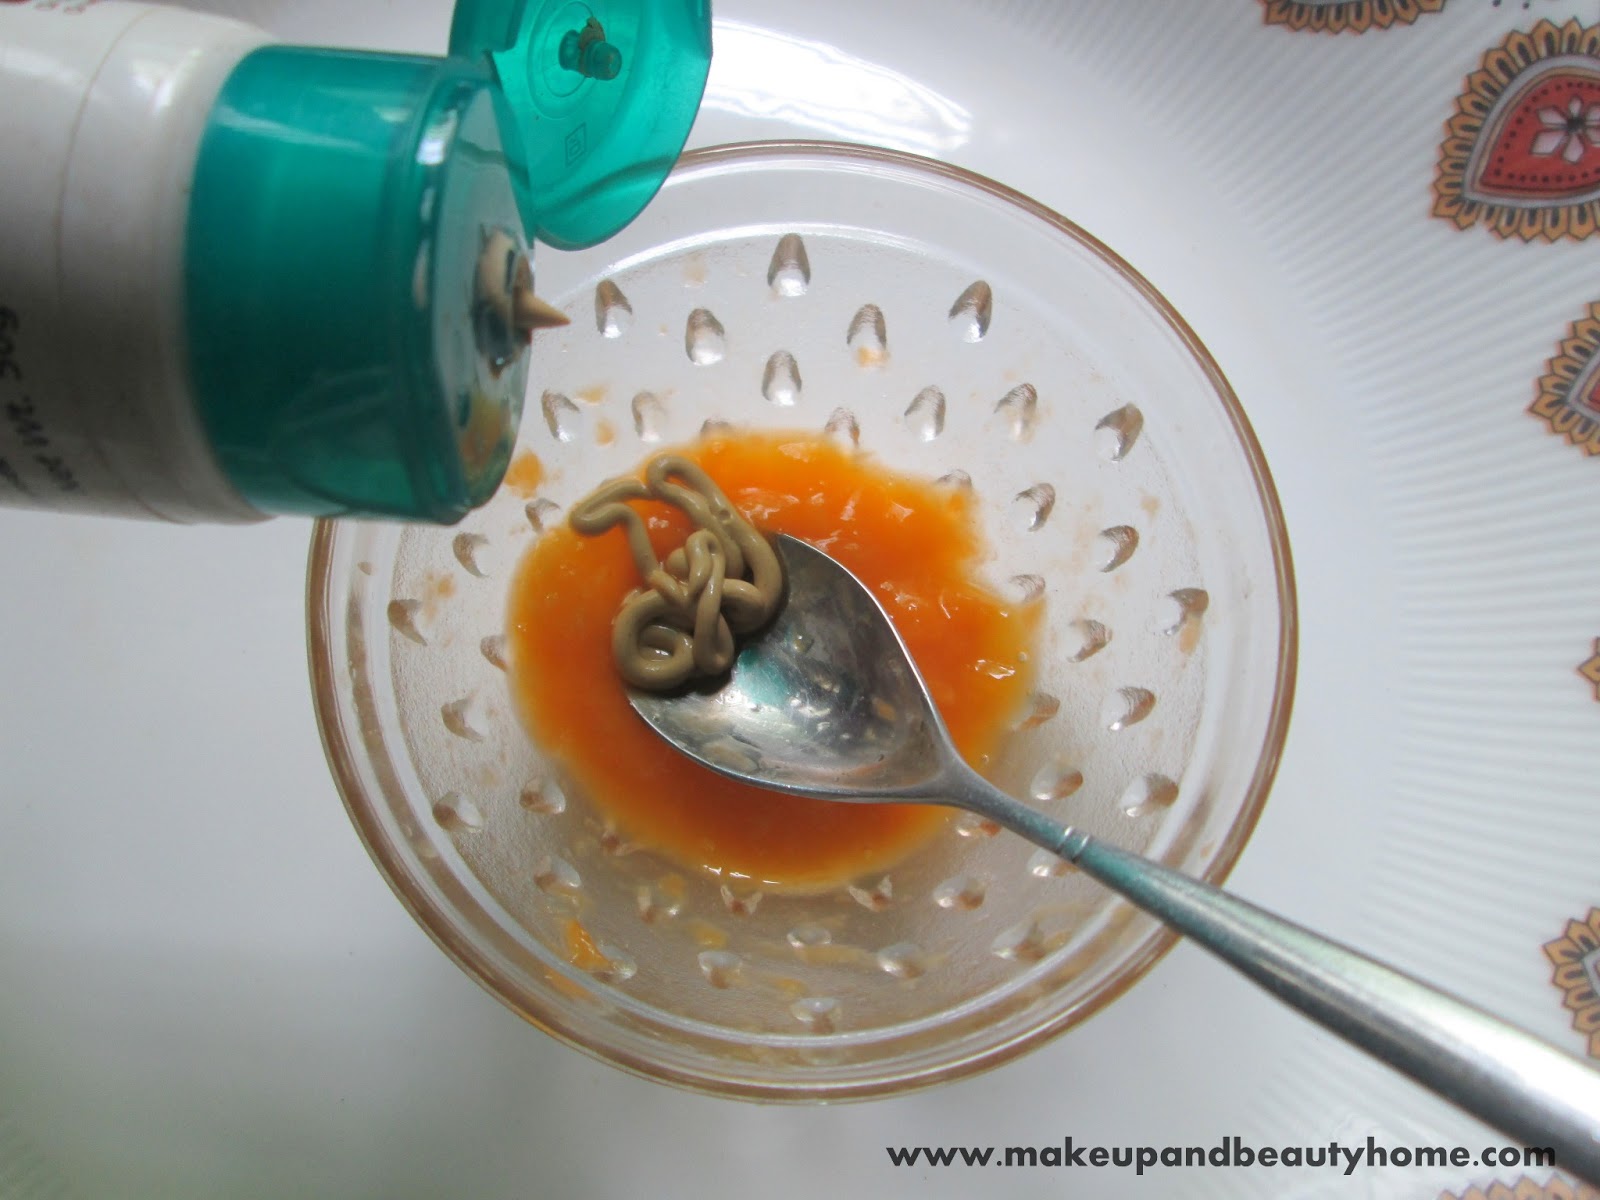
Step 4: After you made the mango puree, put it 1 teaspoon of fullers earth. If you don’t have fullers earth, use any clay/mud based face pack. I have used the Himalaya Herbals Mud Face Pack here. You can also use besan in case if you don’t have both.

Step 5: Blend both the mango puree and clay/mud well with the spoon until they turn smooth and creamy.

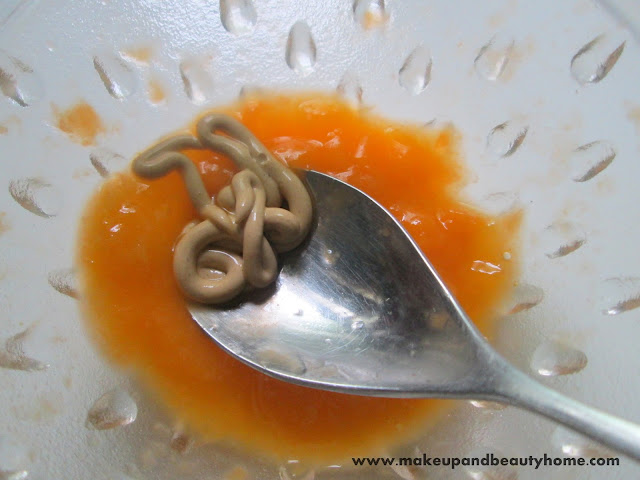
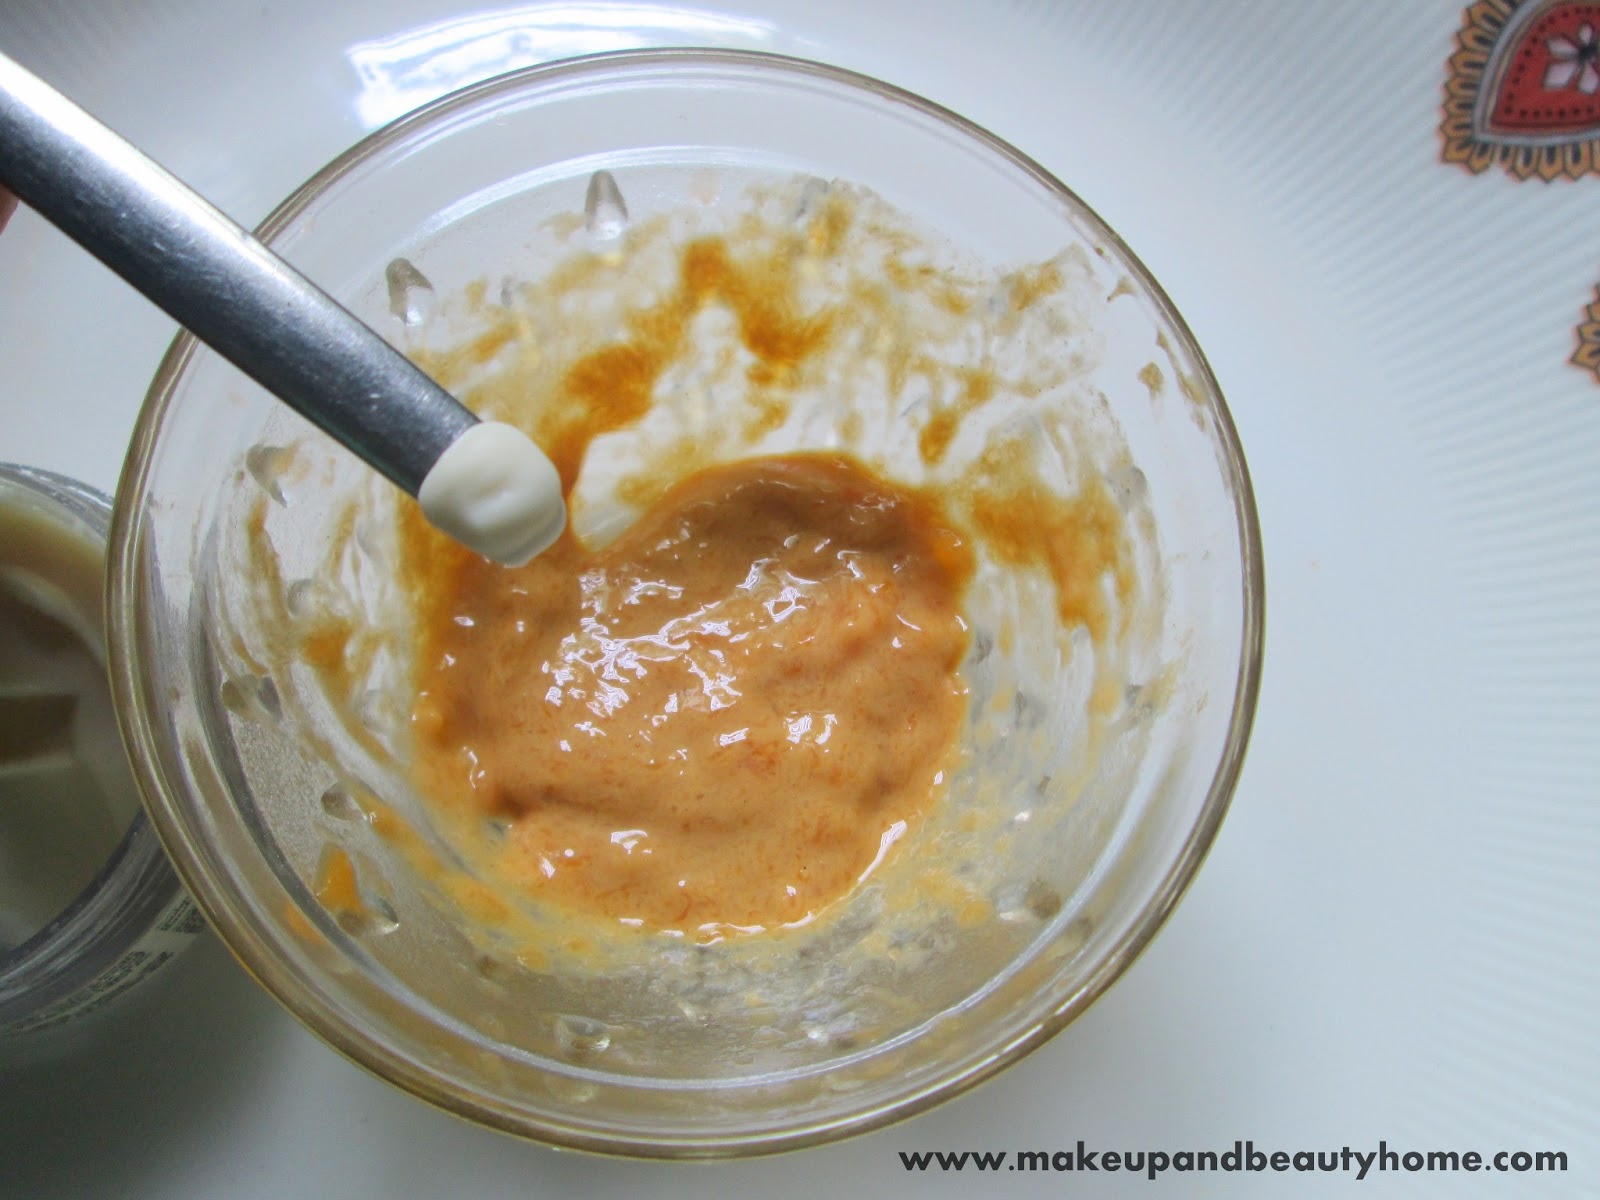
Step 6: This step is optional but a must for dry skinned women. Add a tiny bit of cold cream or any other heavy moisturizing cream to the prepared anti tan mango face pack. Only a tiny winy bit, as shown in the pic. This is to balance the natural moisture of your skin. If you don’t have cold cream, go for fresh milk cream or two drops of olive oil.

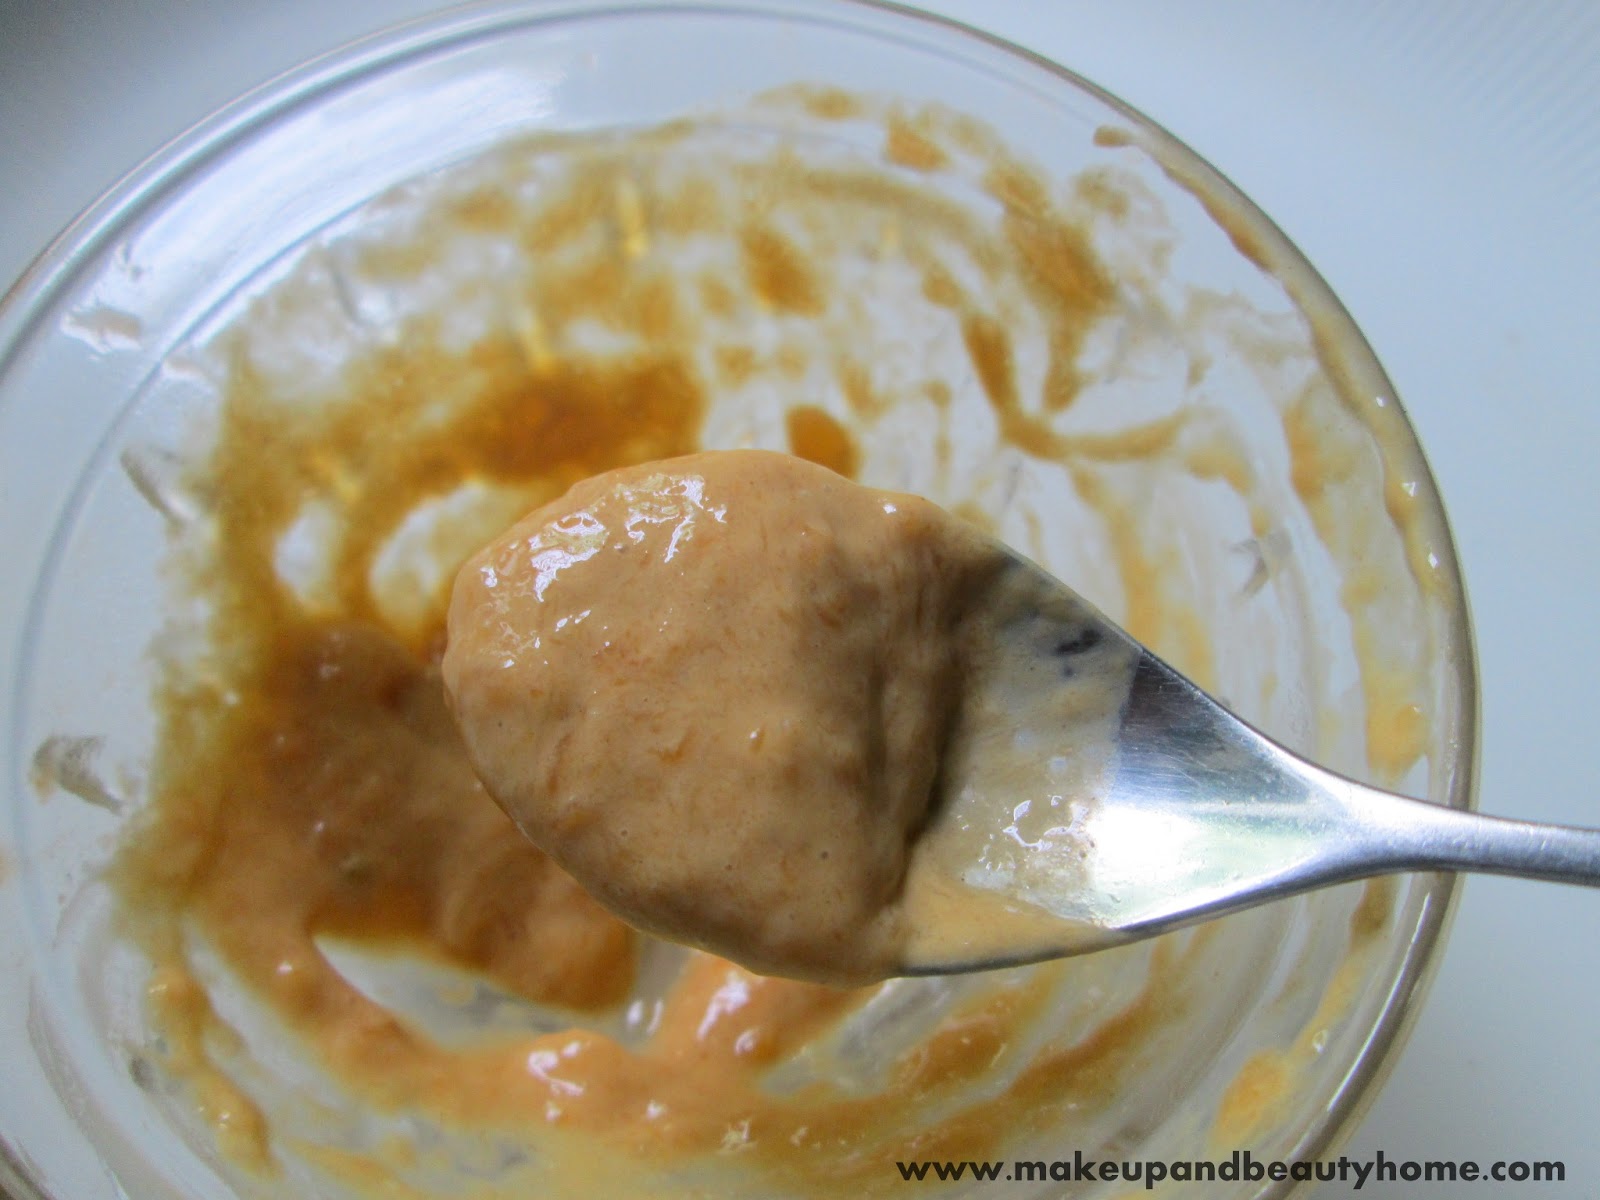
Step 7: This is the final blend. Blend all the ingredients together well with the spoon and store this tan removal face pack in refrigerator for a cooling, pore tightening effect. If you feel that you might catch cold, then don’t refrigerate this mango pack.

How to Use?: Cleanse your face with a mild cleanser and pat dry. Using your face pack brush or your clean fingers, smooth this creamy mango mud face pack over your facial skin. Cover your neck and ears too. Leave this mango pack for 10-15 minutes and not more than that as it is a clay based face pack. Wash off with warm water followed by a final cold water rinse. Towel dry and moisturize skin.

Results: Mangoes contain abundant amount of vitamin A and anti oxidants which are meant for younger beautiful skin. Along with the clay benefits, this DIY Mud Mango Tan Removal face pack effectively removes the epidermal sun tan with regular usage. This mango face mask also minimizes the pores and softens skin, reducing fine lines and wrinkles. Use this tan removal face pack for at least thrice a week for two weeks to notice results.

Using a high SPF sunscreen whenever you step out is a must too, to notice visible lightening effects on skin. You can store this mango face pack in refrigerator for 2-3 days. And its best to use this face pack after returning home from school/college/work. This mango face pack also helped me with calming down the acne eruptions along with tan removal 🙂

Do It Yourself Easy Flower Nail Art : 6 Easy Steps

Hello ladies,

How many of you thought of getting nail art done and did not have time to go to the parlor? Well, you need not worry now; I will show you some of my tried and tested easy step by step nail arts that you can do at home without expensive and hard-to-get nail-art supplies. Today, here I present a easy flower nail art tutorial.

Things you will need:

  • Semi transparent/off-white/nude color nails paint
  • Two bright color nail paints
  • One light color nail paint
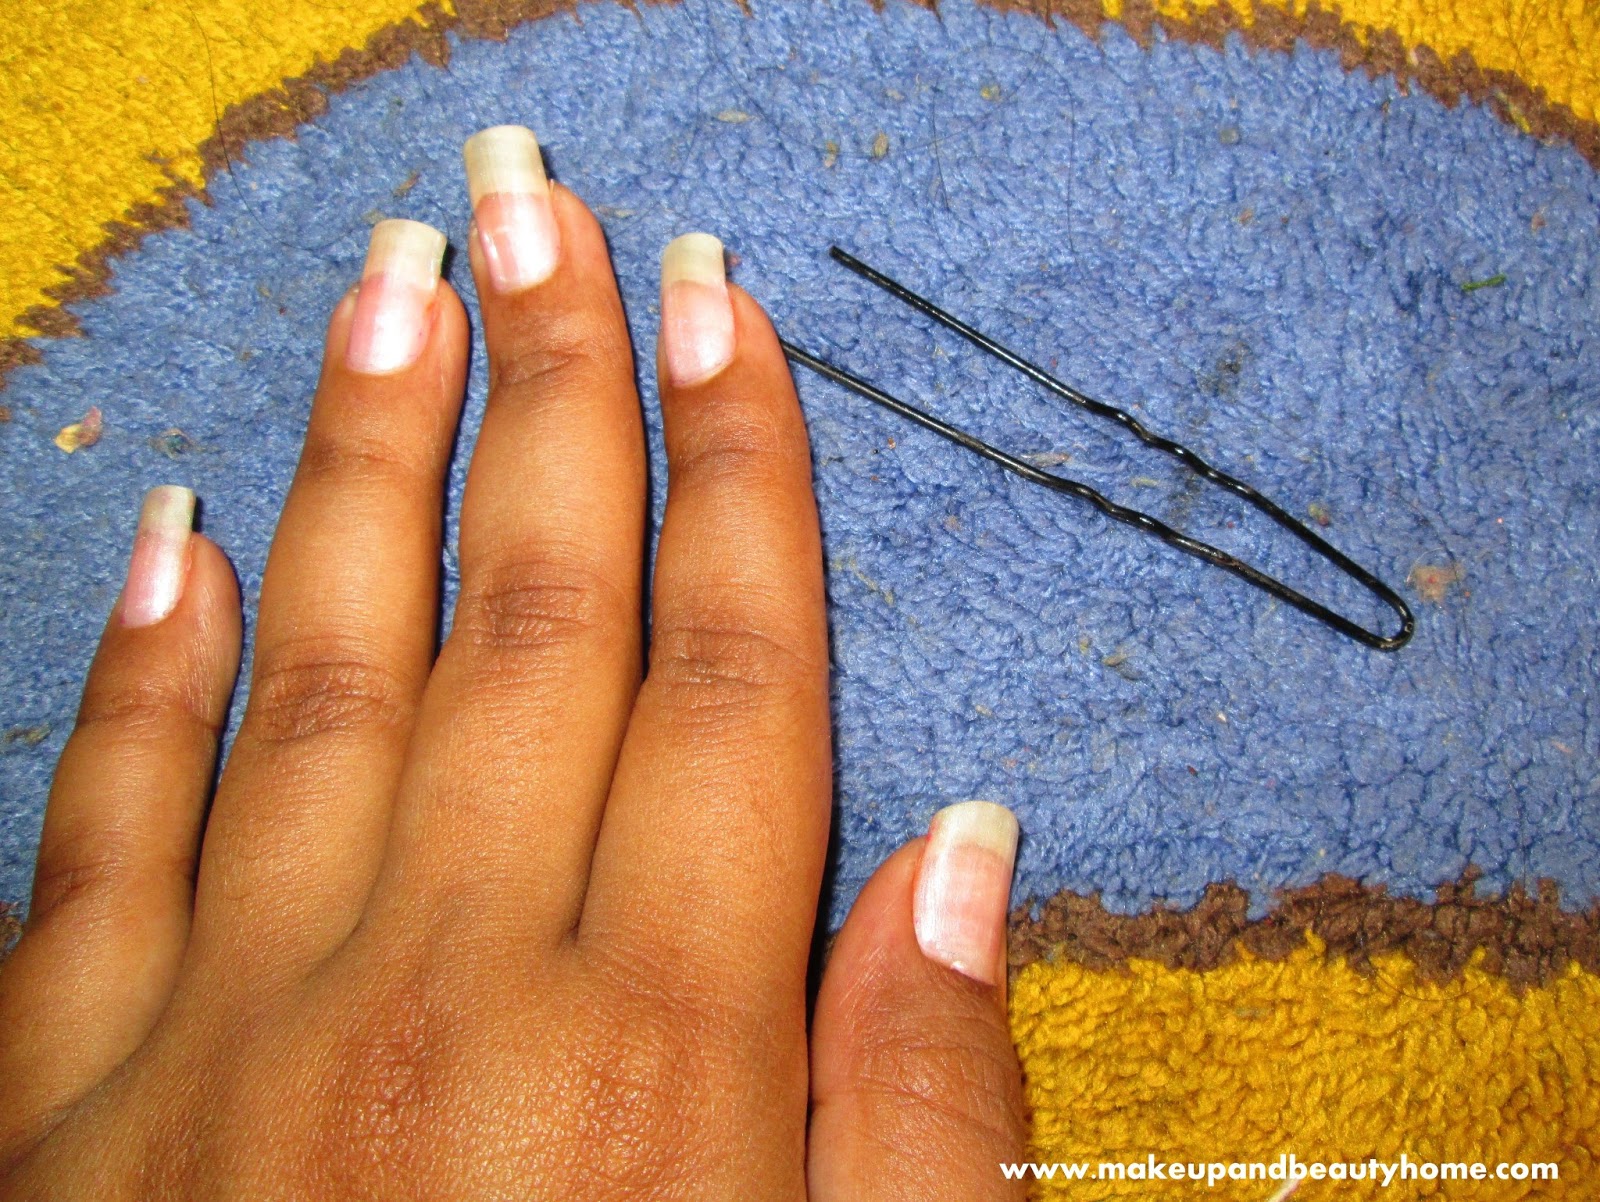
  • One pointed tool like bobby pin or hair pin or if you have nail art dotting tool
  • One top coat nail-paint
  • Ear bud and remover

How to Do?:

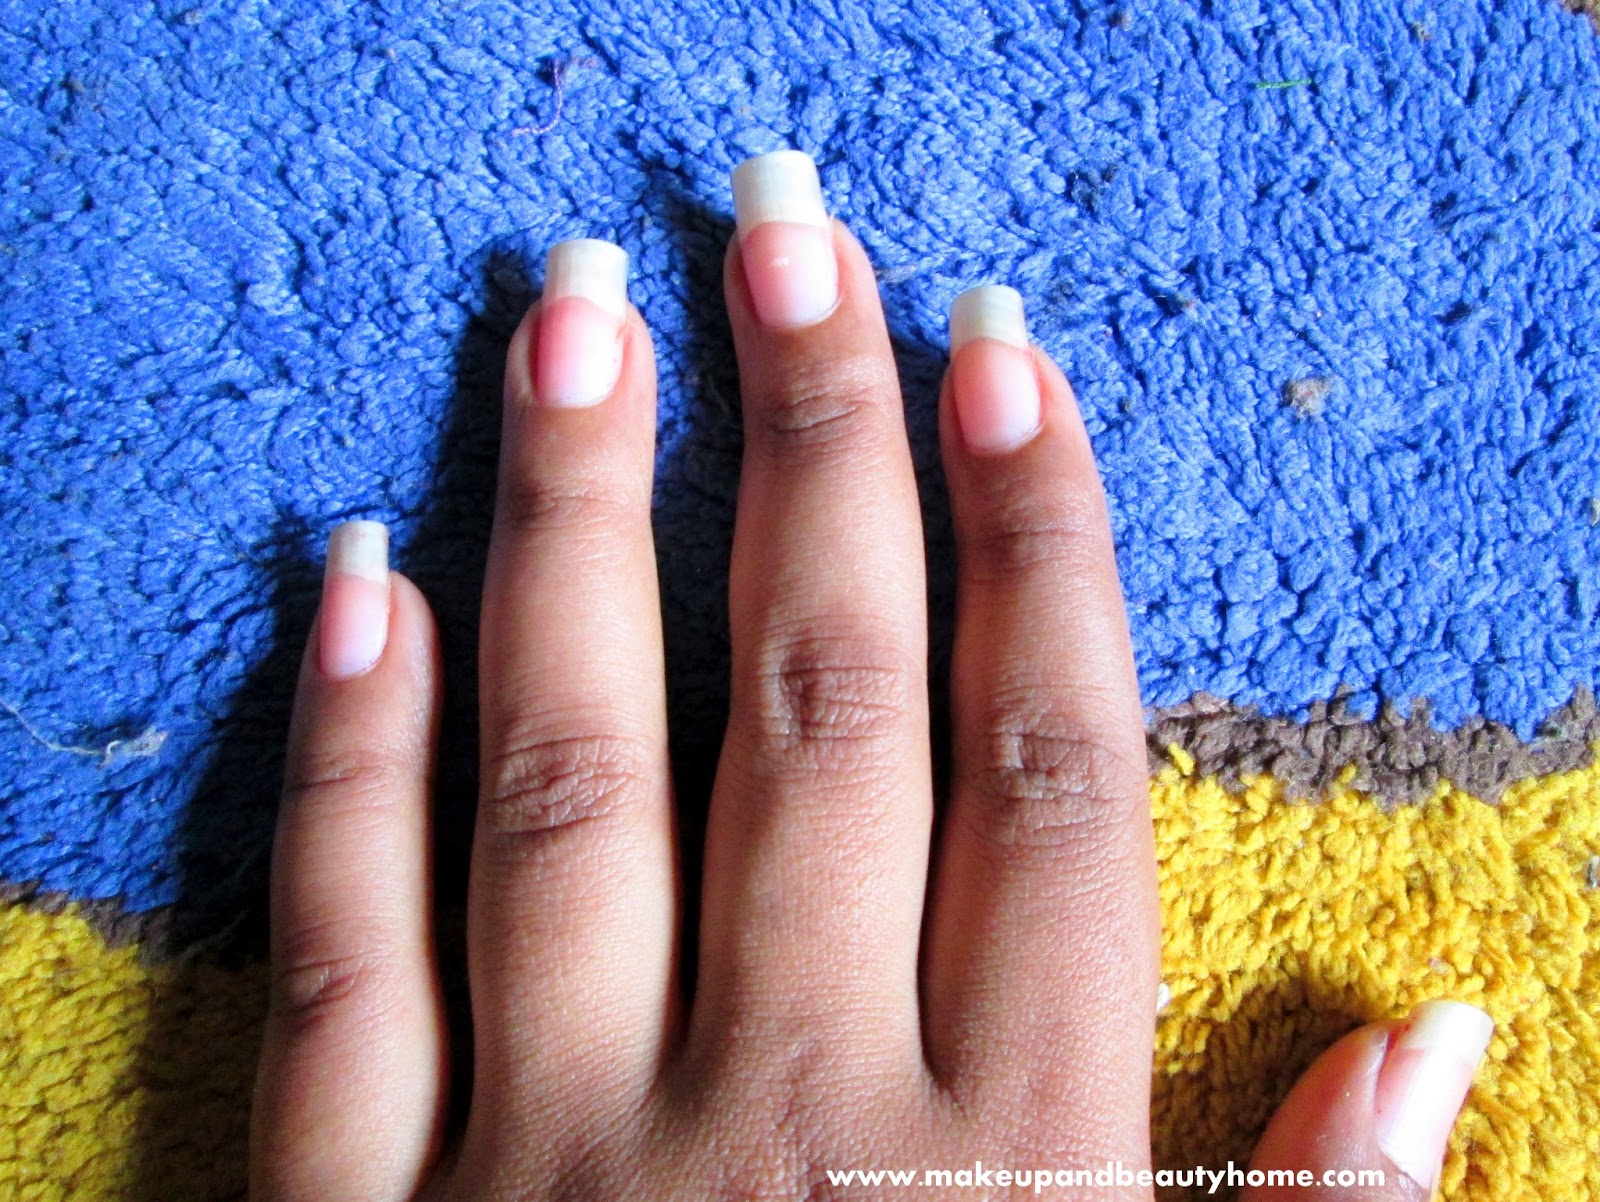
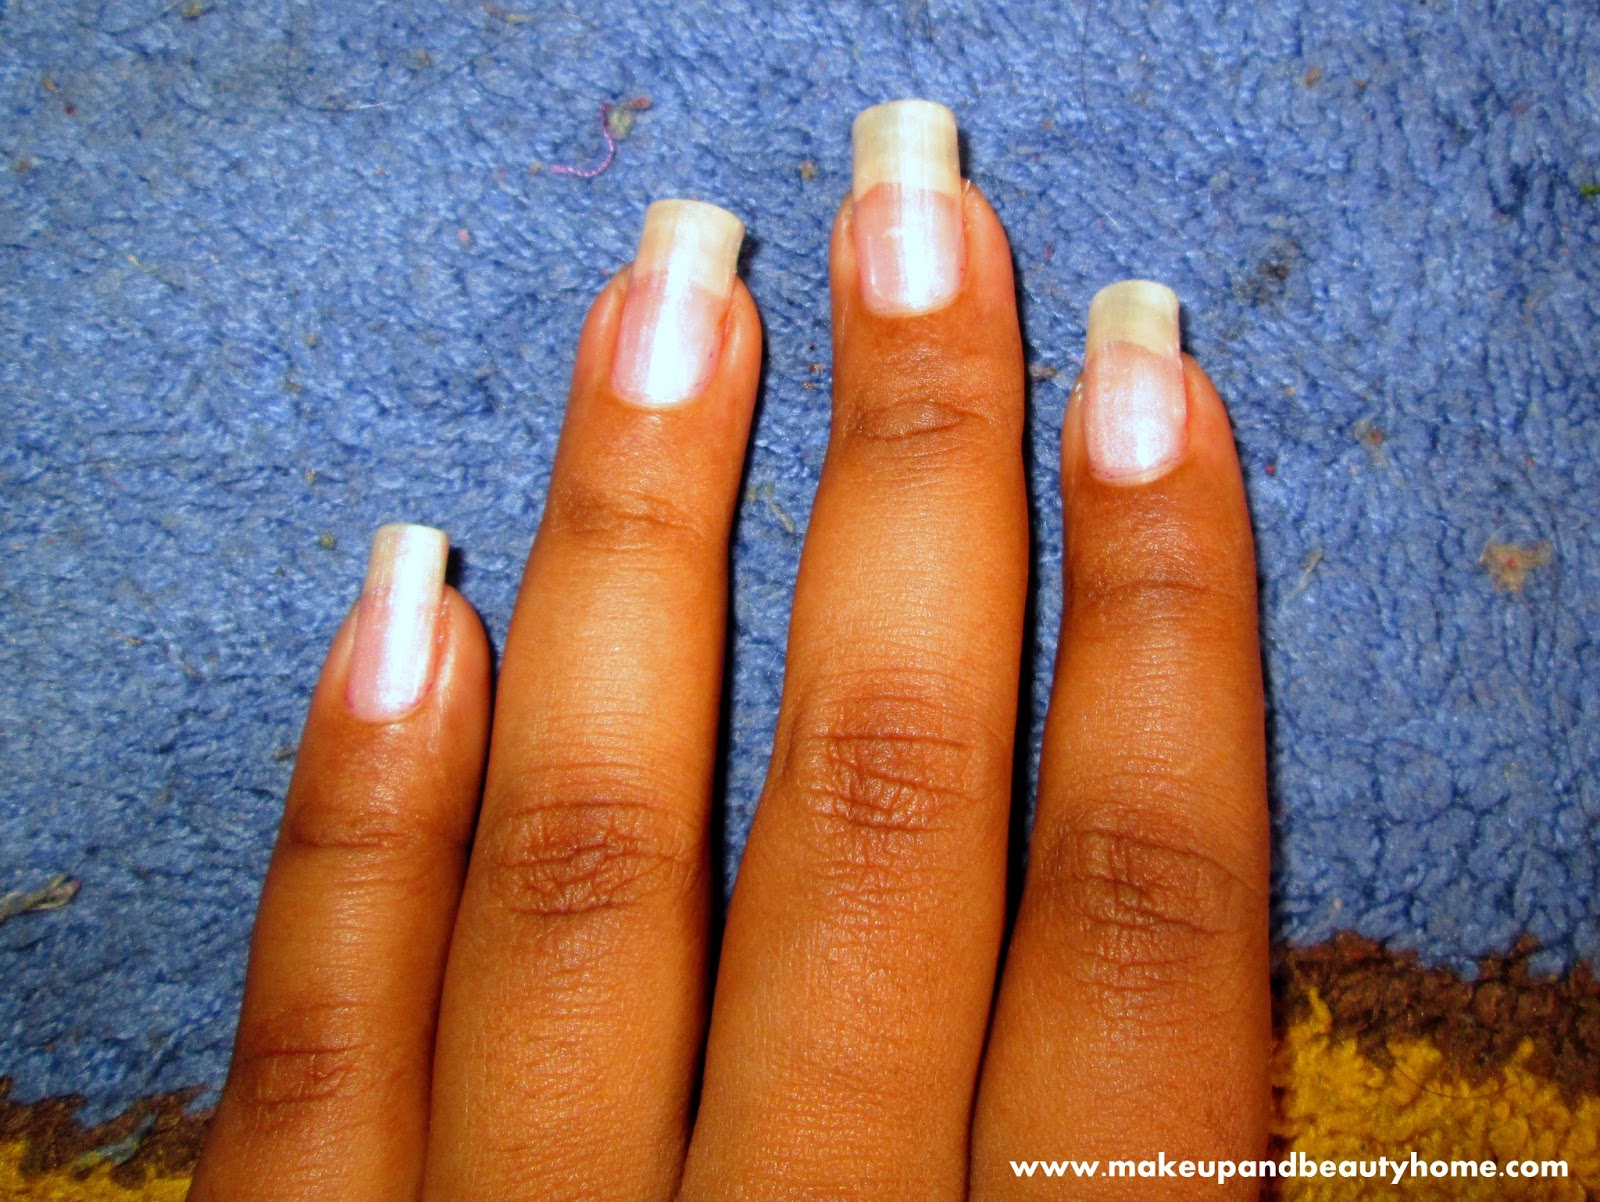
Step 1: Clean up your hand and nails (if there is any leftover nail paint). Now, apply the semi-transparent/off-white/nude color nail paint (off-white in the pictures) on all the nails. Apply two coats for proper color. Let it dry for 2 minutes.

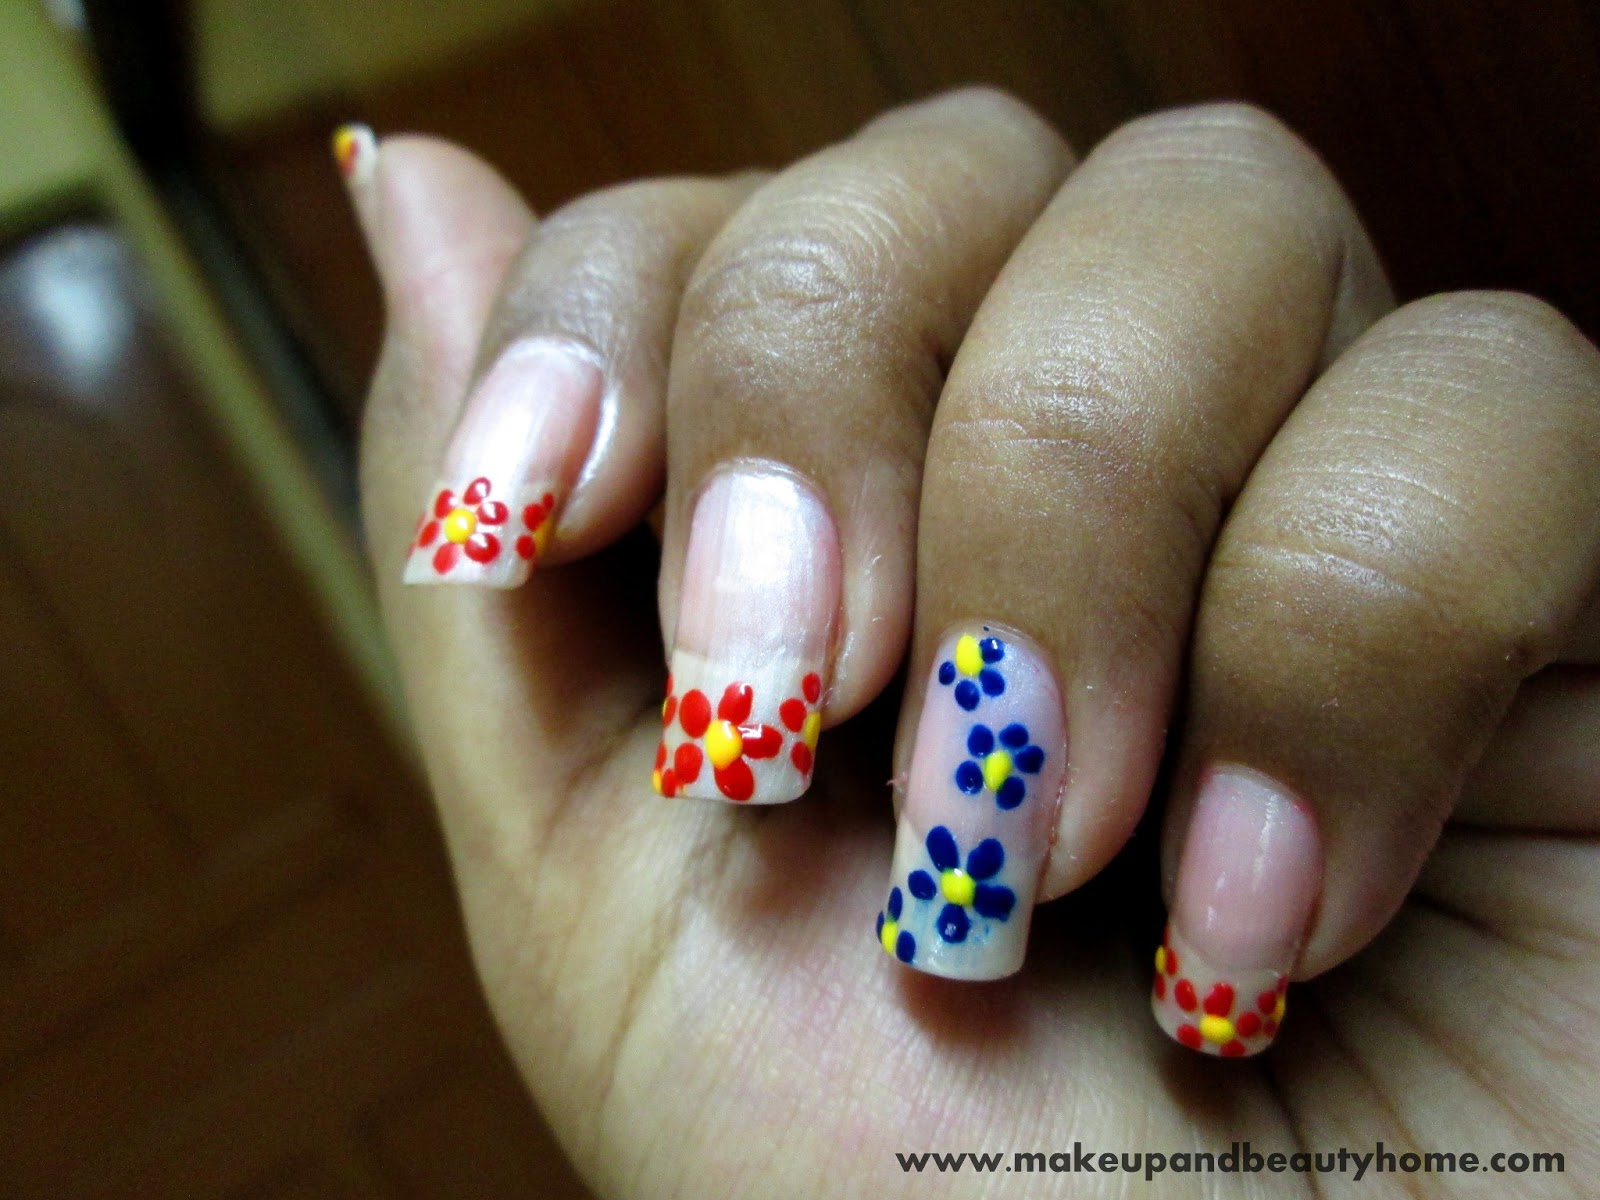
Step 2: Now, take any of the bright color nail paint (red in the pictures) and dip the bobby pin/hair pin/dotting tool into the nail paint and draw five dots forming a circle on the tip (preferably middle) of the nails.

After drawing one circle of five dots, you may not have much space to draw five dots on the rest of the nail-tip; so draw four or three dots forming semi circles on the rest of the nail-tip (covering the sides of the nail-tip).

Do it on all four nail-tips except for the ring finger. Let it dry for 5 minutes.

Step 3: Take the light color nail paint (yellow in the pictures) and carefully dot right in the middle of the dotted-circle. Now you can see how it is taking shape of flowers. Be very careful and keep your hand steady. Do it on all the flowers and let it dry.

Step 4: Wipe off the remaining nail paint from the pin/ dotting tool and take the second bright color nail paint (blue in the pictures) on it. Now, draw a five-dot circle on your ring finger right on the tip but little bit upwards (as in the picture).

Now here is the trick, you have to draw the flowers in a semi circular line across your nail. Once your first and big flower is done, do one more on the end (I have drawn three dots). Then do a smaller five-dot circle above the big flower. And do one again on the top (I have done four-dots). So, on your ring finger, you will have four flowers, in a semi-circular line.

Step 5: Again with the light color nail-paint, dot on the middle of all flowers on your ring-finger nail.

Step 6: Finish off your nail art with the top coat.

If some nails are looking messy around the corners, use ear-bud soaked in nail-paint remover to clean it.
Try this simple and easy nail-art and flaunt it like a star.