Category Archives: Do it Yourself

My Homemade Black Kajal – Preparation Steps and Photos

Hello everyone!

We all know kajal from our childhood days. Well actually our moms applied kajal when we were babies but we don’t remember that. But Eyetex was the most famous brand for kajal that time. Now a days we have so many but of course none of them can give a run for money to eyetex in herbal kajal.

But, ask yourself. Are you sure the kajal you use is safe? None of the kajals today are herbal and most certainly not the non smudging ones. So here I got an idea to make a completely herbal kajal from home. This is the oldest recipe of kajal since from the ancient times written in ayurveda (well my grandfather read them in Vedas). Here is the procedure below!

Things You Will Need:

  • A copper plate with upward edges
  • A silver box (proper silver not steel)
  • Pure castor oil
  • Cotton threads made directly out of cotton which you use in pooja
  • Ghee
  • Spoon
  • A bronze deepam
  • camphor

Procedure:

1. As shown in the figure, fill the castor oil around 100 ml into the bronze deepam. You can see the cotton deepam I used in the second pic. Take 3 or 4 and use this to light.

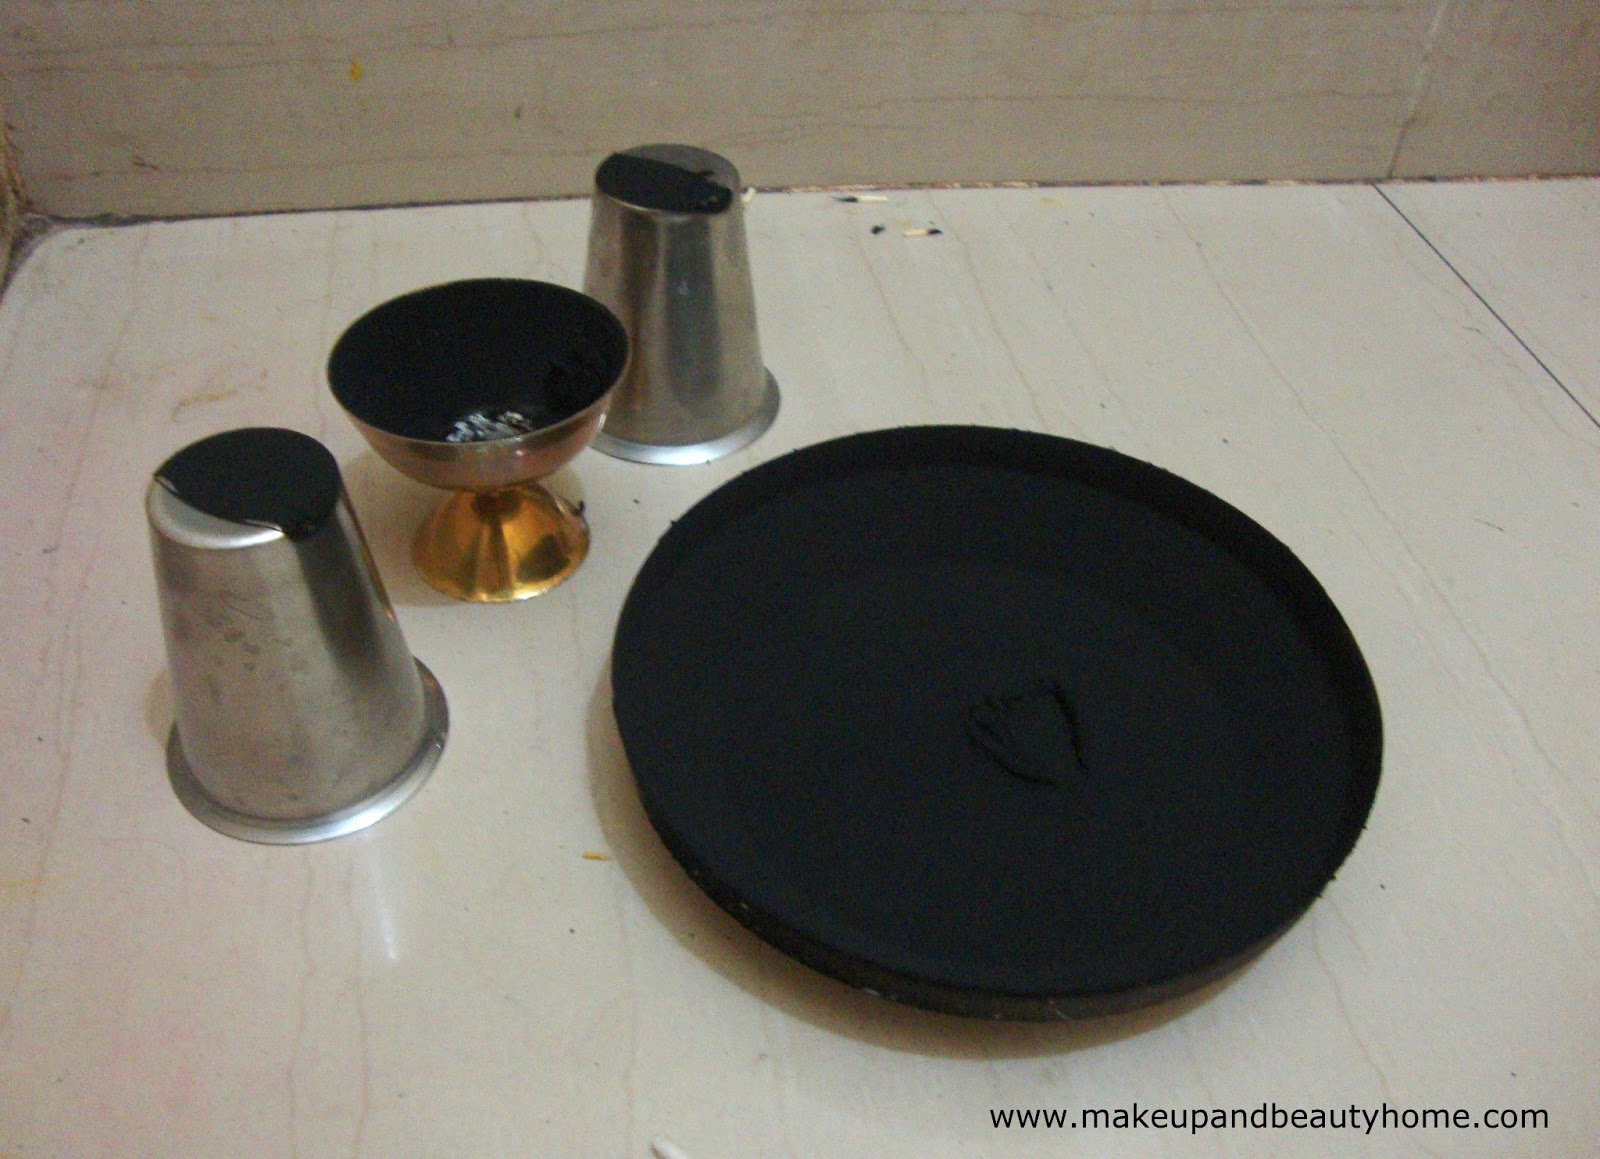
2. By using two tumblers, support the copper plate on top of the deepam and light it. (As shown in the first pic of this post!) Make sure the plate is a bit more in height than the deepam.

3. If you lie down and observe you can see the fire lapping at the copper plate making it blacker and blacker. Wait till it consumes the whole oil. Be careful as it will be very hot.

4. Now you see the ash collected in the plate and in the deepam? Collect as much as you can into a mixing plastic bowl.
5. Using little ghee, mix this into a paste. Add camphor sparsely. Don’t use more than 4 to 5 smallest beads the size of sugar crystals.

6. Transfer it into a silver box


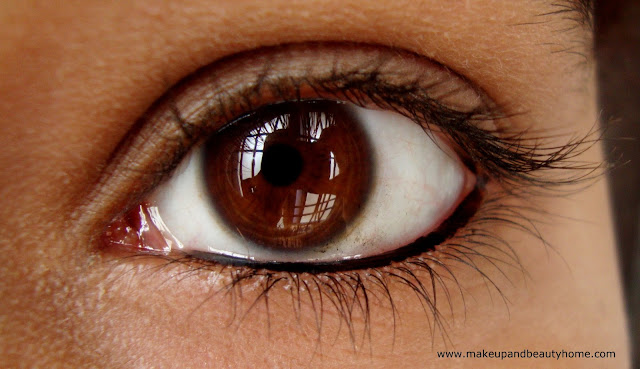
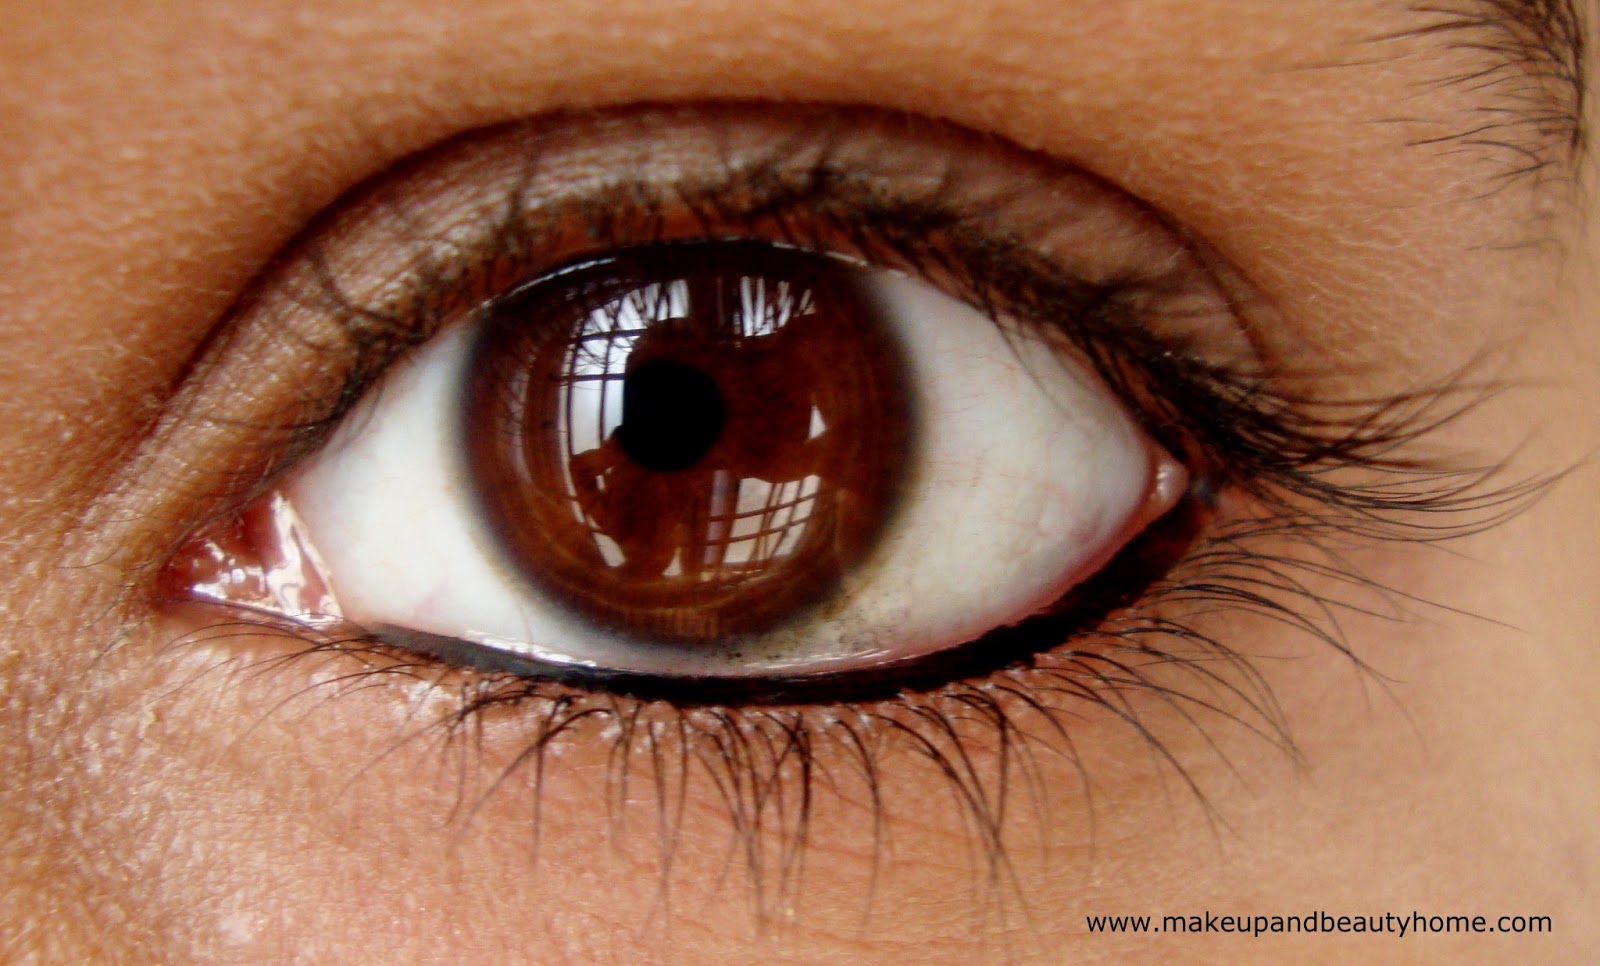
DIY Kajal – On my Eyes:
Ingredient Benefits:

1. Pure castor oil is the richest form of vitamin E. It will heal your eyes, makes your eye lashes thick and blacker. Also relieves stress.

2. Copper is of course known for its healing properties and it’s a purifier. The minute copper essence what you get because of the heated plate and the ash collected. Keeps your eyes free from external infections and other makeup infections. It also helps in lens and eye muscle strength and relaxing.

3. Bronze and silver are again known for their regenerating properties. They also help in healing allergies, relaxing irritated and swollen blood vessels because of over rubbing.

4. Camphor for providing coolness and stress relief. It helps in minor eruptions in eyes.

5. Cotton being the most natural fibre available anywhere in the world.

6. Ghee keeps your dark circles at bay by relaxing them if you are an electronic person who uses laptops, computers, and phones constantly. It cleans your eye of salt deposits from tears. Also removes your minute makeup residue trapped under the upper and lower eye lids.

This kajal is also used to treat eye cataract, one of the most known eye disorders in elderly people. Eye cataract can make people blind and if you see that way, this is a boon. Each and every ingredient is a wonder medicine to your eyes.

The amount shown in the silver box comes easily for 8 to 11 months if used only by one person and one time application. It doesn’t expire guys; make sure you don’t get it near water. 🙂


How to Use?:

Use it just like a normal kajal. Use a match stick end if you don’t want your fingers messed up. Cut the head of the stick and use. Medicinally it is preferred to be used as a night treatment. This is how I use it. It gives pure black colour to your eyes. Dust powder after application to help with smudging. It smudges but as a night treatment, I can’t care less if you see the medicinal value it has. It is easily removed with the help of baby oil, or any oil actually.

After washing my face in the morning with normal face wash, I see my lashes have a faint black tinge in between them. It looks as if I already have faint kajal and it is really pretty.

Hope you guys like it! Any doubts.. Please give comments girls!
Homemade Natural Blush – Do It Yourself in 2 Minutes

by Arshita

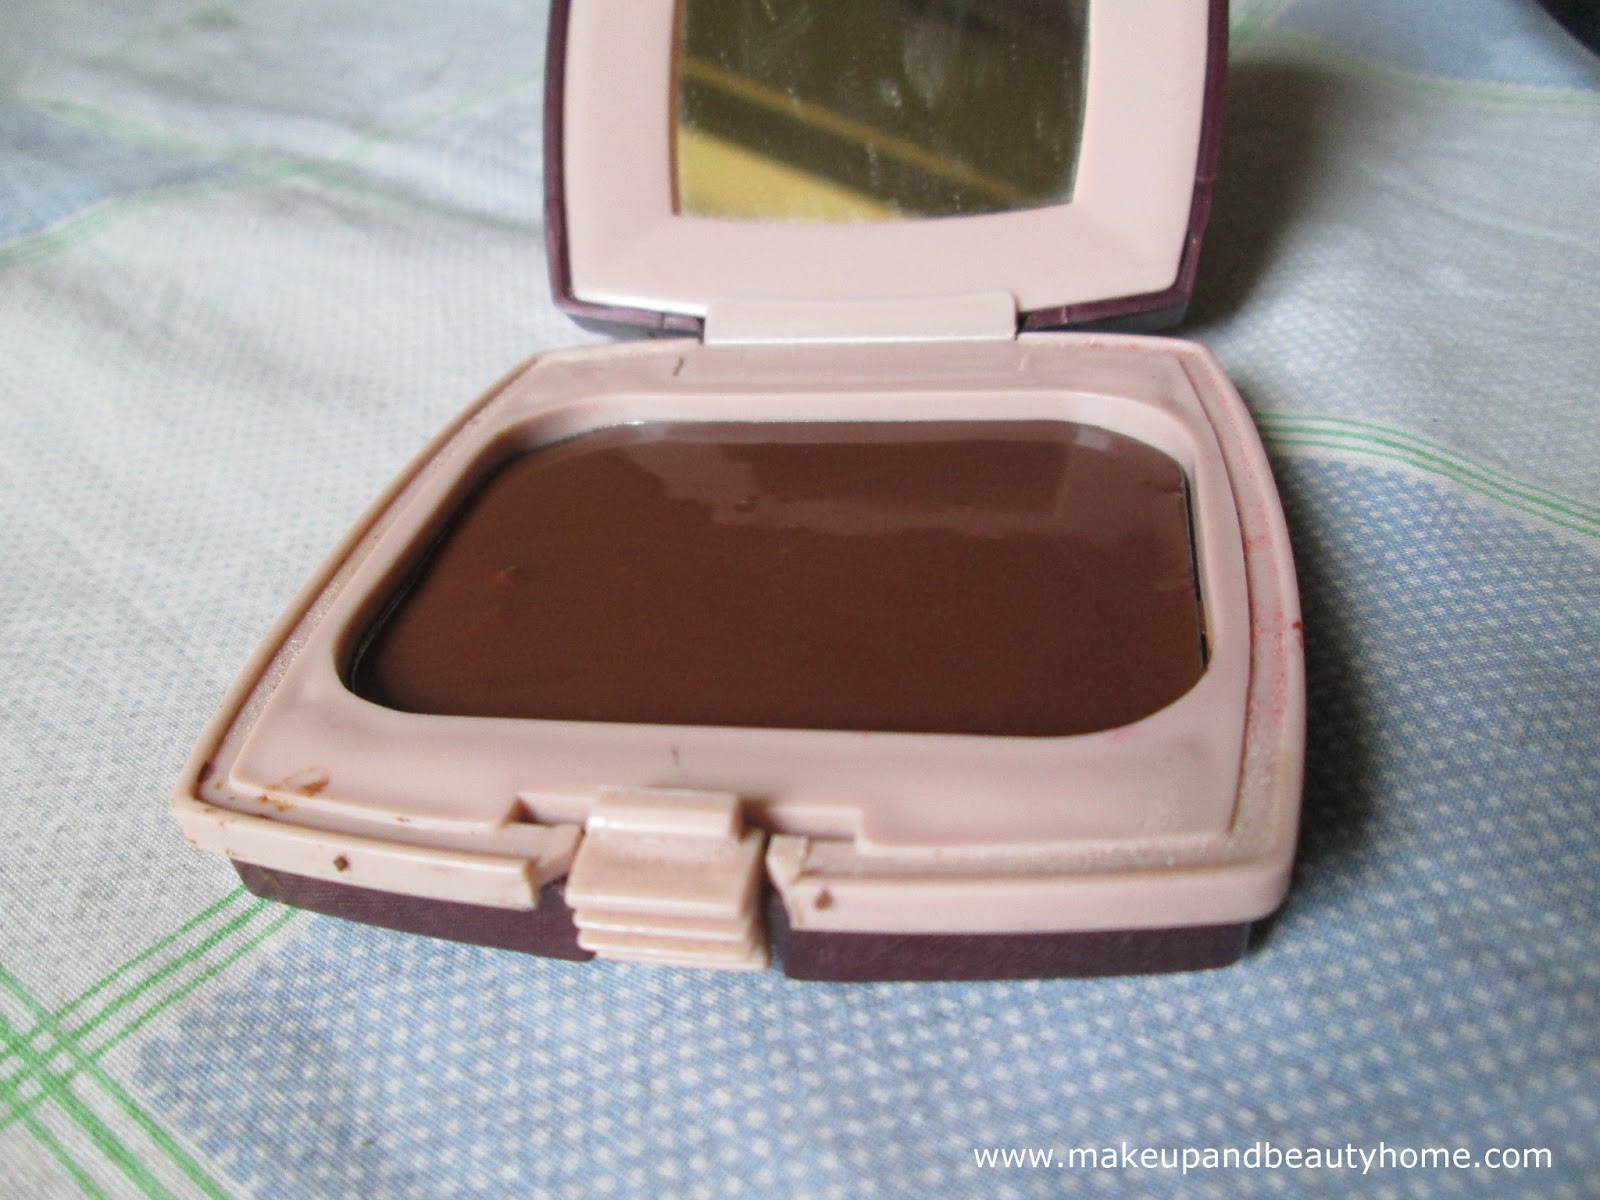
Hello friends! Do you love to wear blushes? I do, I wear a very little make up and embellish it with blush. In older times, ladies used only red and pink blushes for those perfect rosy cheeks. But now-a-days we use blushes of many colors from orange to gold to bronze. So, without wasting any more of your time let me show you my DIY Homemade Natural Blusher/Bronzer.

Things you will need:

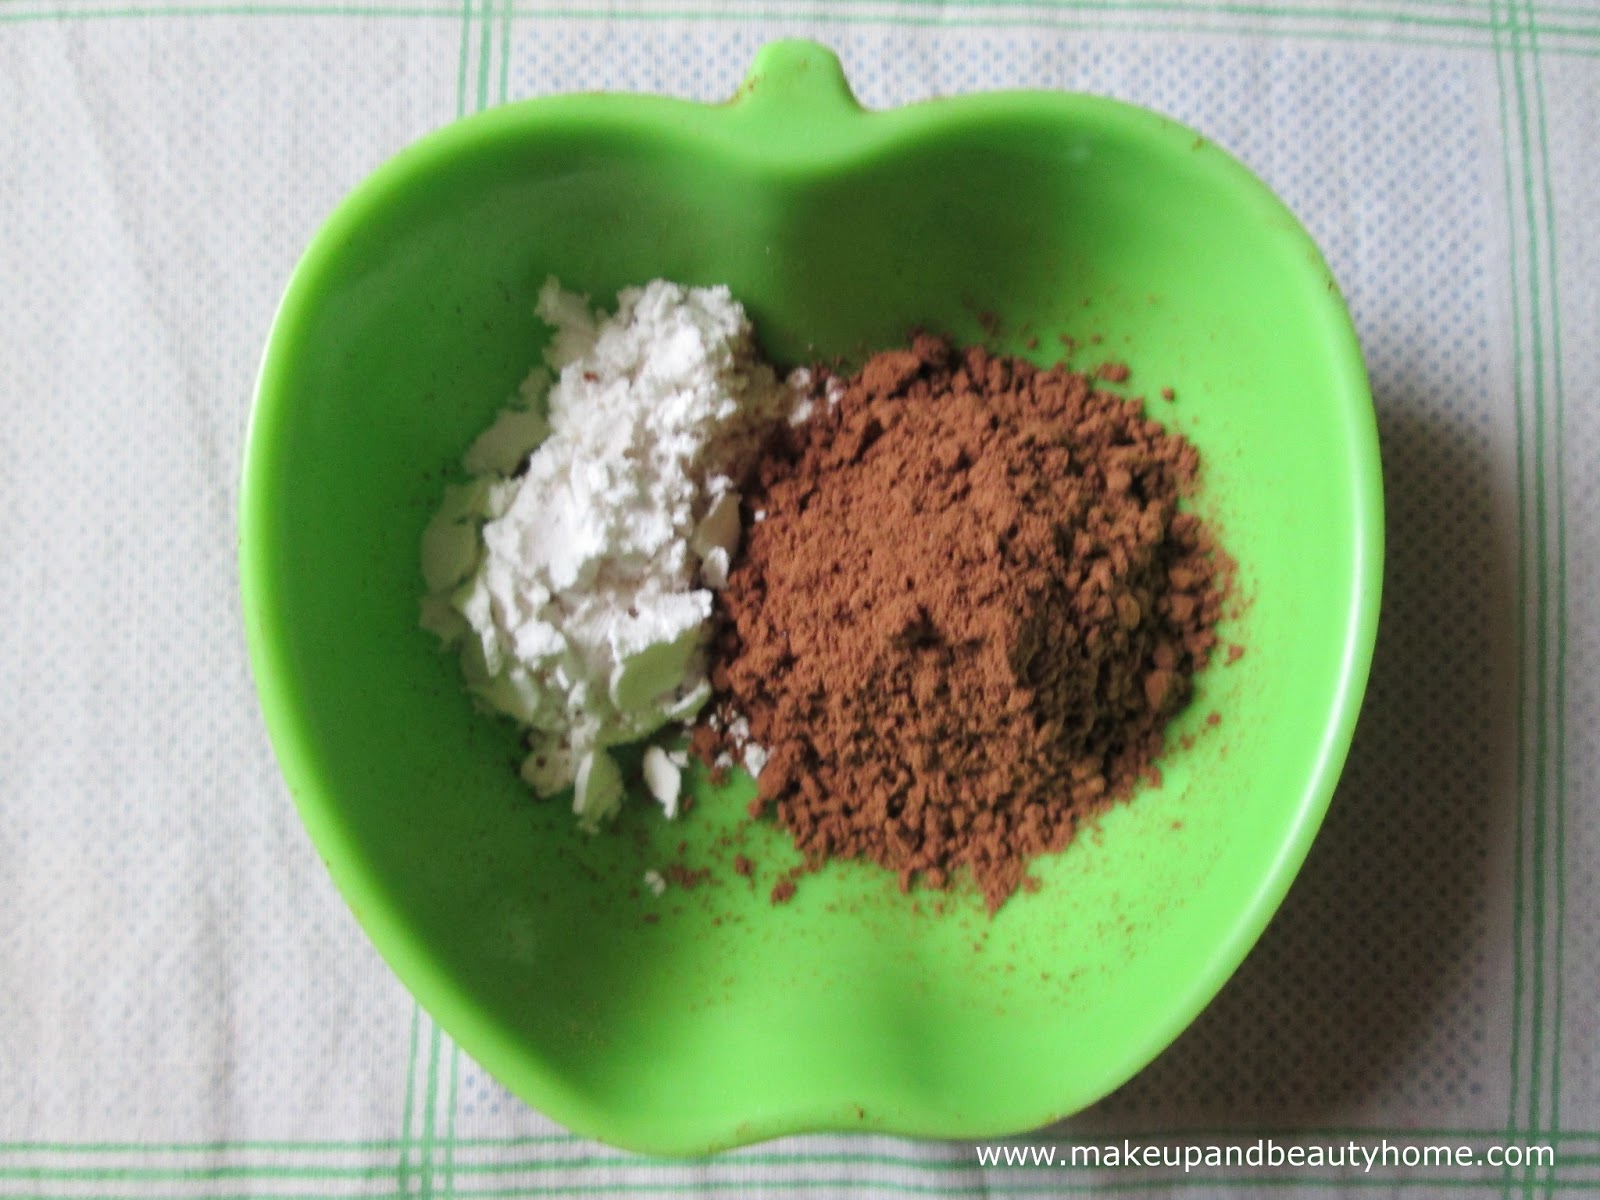
  • Two tablespoon cocoa powder.
  • Half tablespoon arrowroot powder.
  • Alcohol/ rubbing alcohol/ contact lens solution.
  • One clean bowl.
  • One clean container.
  • One clean spoon and one toothpick.
  • Tissue.

Method 1:

Step 1: In the clean bowl, mix two tablespoon of cocoa powder with half tablespoon of cornstarch. With the spoon press the powders very well to get a fine powder without any chunks. You can add more cocoa powder or coffee powder to darken the color.

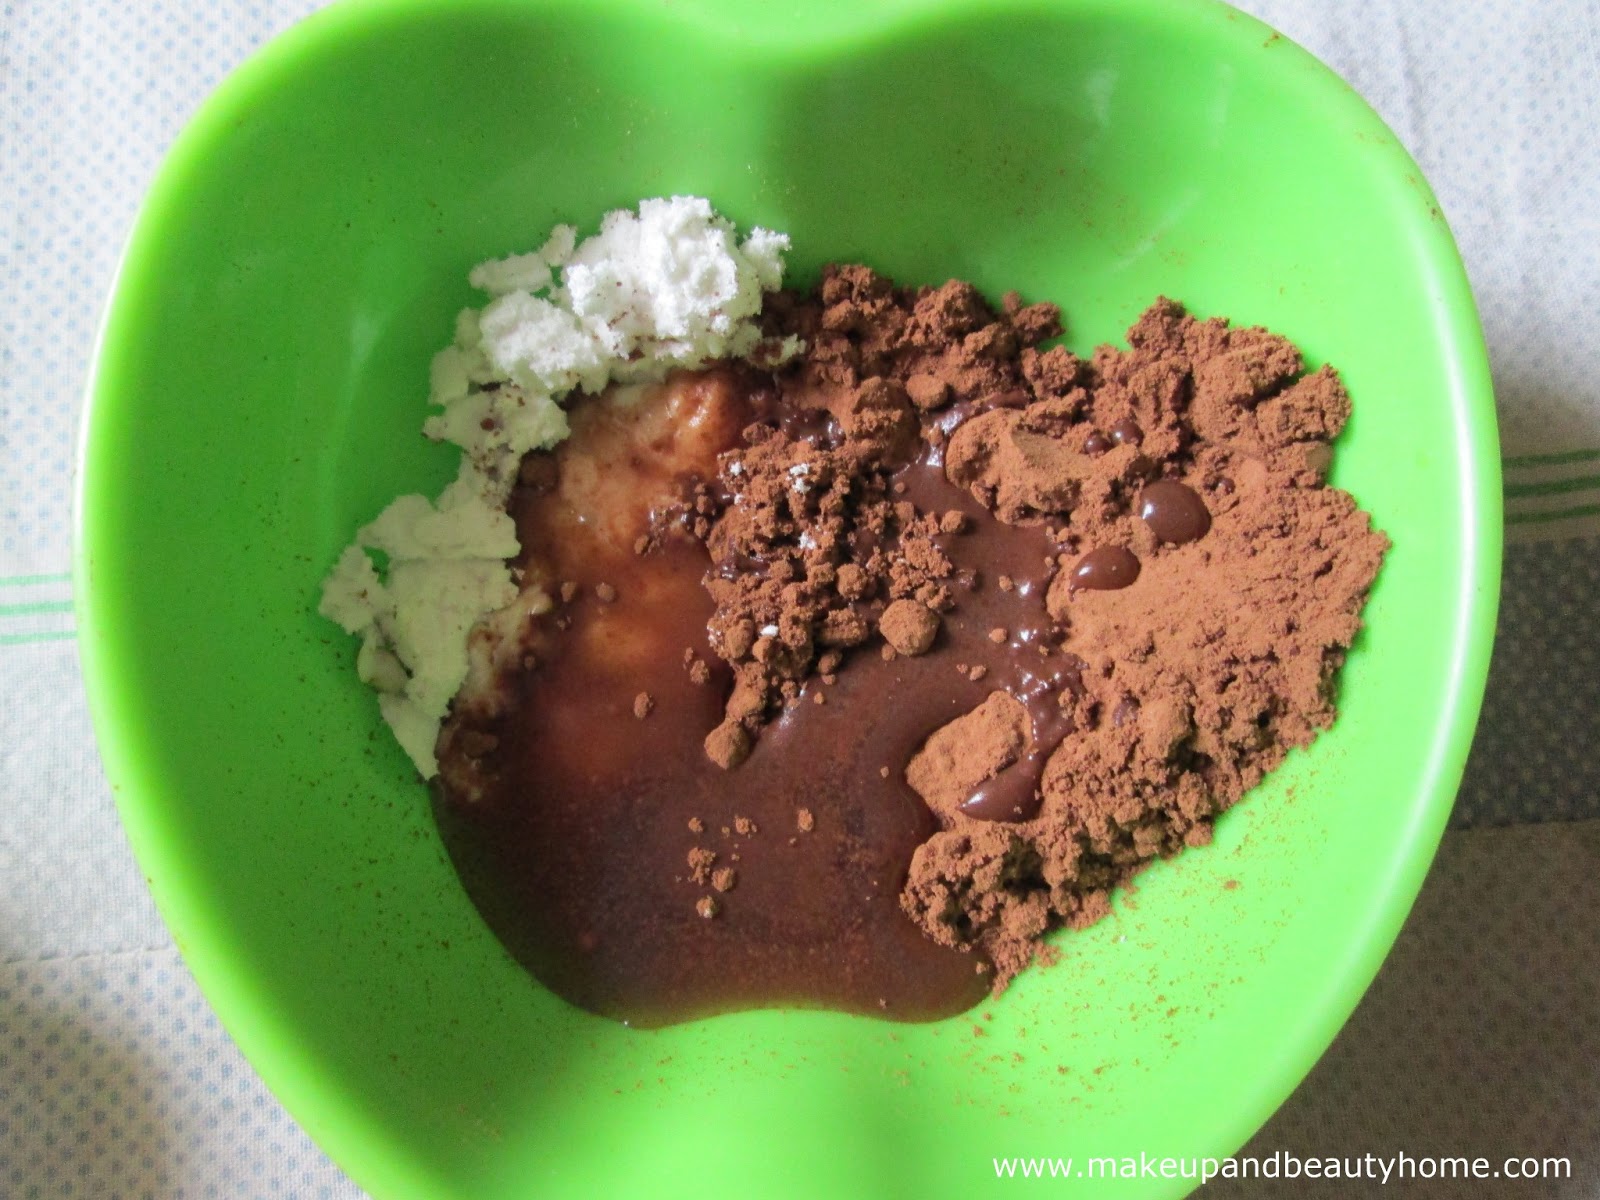
Step 2.Now, pour the alcohol with eye dropper or with a spoon. Try to pour very small amount like 2-3 drops at a time, so that the mixture stay powdery. Once the mixture is totally wet, mix it well with the toothpick.

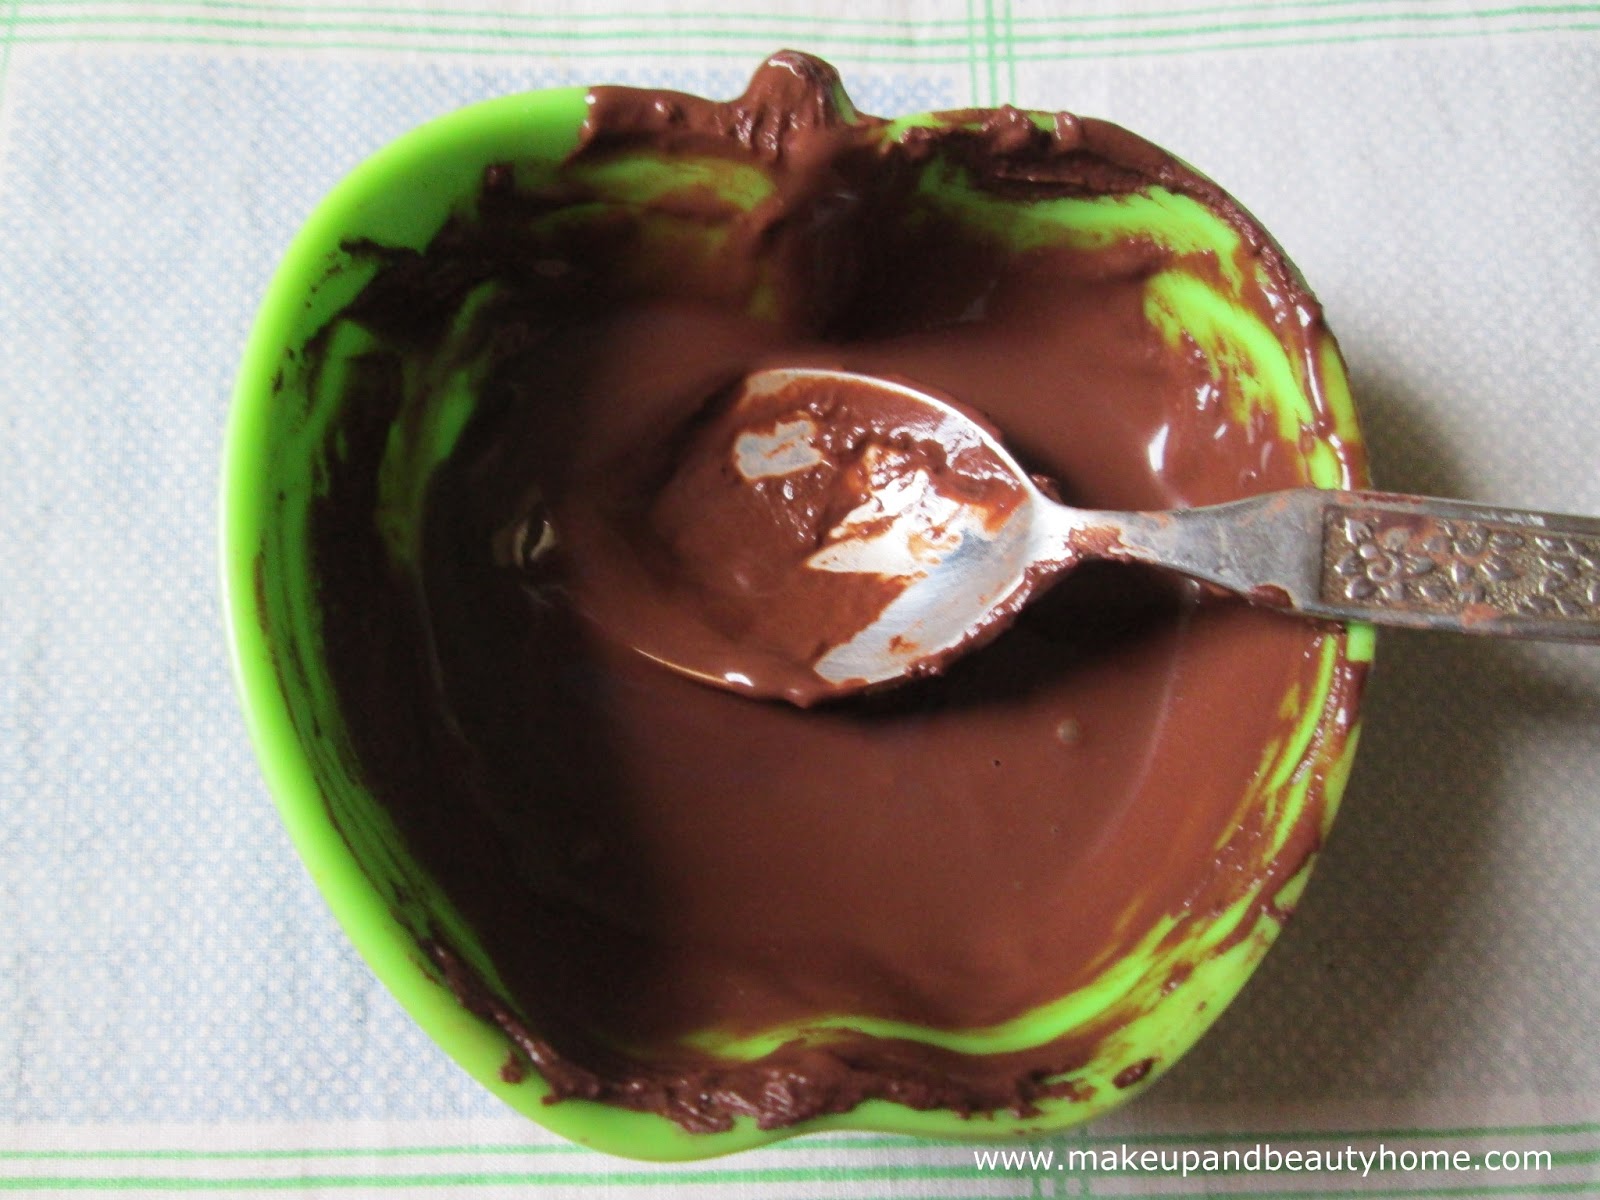
Step 3: When you are satisfied with the consistency of the powder, transfer the mixture into the clean container where you want to store your bronzer.

Step 4: After few moments, when the mixture is beginning to settle, press the mixture with a tissue. This will release any air bubble in the mixture.

Step 5: Clean the container and put it in the refrigerator for 2 minutes. And, your blusher/bronzer is ready to use.

Method 2:

Repeat step 1 of the previous method.

Step 2: After mixing it well, transfer the powder in to a clean container.
This is the easiest method and yet very useful. Use it as your bronzer or your eye shadow.

Important Things to Remember:

  • This bronzer can be stored and used for a long time. 
  • Make sure to use only the type of alcohol that evaporates. 
  • Try not to touch the mixture with your finger while mixing or shifting; or to avoid any unhygienic issue, use hand sanitizer before doing it. 
  • This blush is ideal for both day and night outings. You can wear it as sun-kissed look or to highlight your cheekbones. 
  • This blush can be used as eye shadow also.
  • You can also use Hibiscus powder for a pink blush.
  • It smells nice.
  • Cocoa powder will reduce the fine lines and wrinkle over a period of time.

Enhance your beauty with homemade chemical free blusher/bronzers while reducing your fine lines. Try this at home and enjoy your outings!

Do you make your own blush at home? If yes, share the recipe below!

My Homemade Gray Hair Treatment Hair Pack Recipe

by Barisha

Hello darlings!
How are you all? Hope you all are fine 🙂 So did you miss me?? No? hawww how rude! But honestly speaking I missed MABH like hell. Today I am here with another DIY post after my hair pack recipe for shiny hair.

Few months back our dear reader Paromita asked as a question regarding premature grey hair, that time I did not say anything as I wanted to write a post specially for her 🙂 Dear, this post is for you and for everyone who is suffering premature grey hair.

Honestly specking nothing can cover grey hair apart from hair colours and gray hair dyes but they are loaded with chemicals. So definitely, in long run they will affect our hair, even our skin. Yes my mother is suffering from hyper pigmentation just because she was using a hair colour from a high end brand. 🙁

This hair pack is especially for those who are interested in preventing grey hair; this pack will not cover grey hair as this is totally free from chemical but will definitely prevent new ones. It is one of the best homemade ways to prevent gray hair. So let’s start 🙂

To prepare this premature gray hair treatment pack we need only 5 ingredients which are easily available and affordable

Ingredients needed are:

  • Tea 50 gm (Normal black tea; avoid green tea)
  • Sun dried amla/goose berry 50 gm
  • Sun dried hibiscus flower 4-5 pcs 
  • Sun dried curry leafs 3 bunches
  • Henna powder in very less quantity 20 gm

Preparation method:

Step 1: Collect all the ingredients, and mix them together.

Step 2: Now blend all ingredients together in a grinder until it turns powdery.

Step 3: Now take the powder in a bowl (medium length hair needs almost 20 gm powder/application) add water and make a paste. Apply this all over the scalp and hair. Leave on for few minutes then wash off with mild shampoo.

Though it’s a pack for preventing grey hair but it has some other functions too. Want to know them??


The benefits are:

  • It add shine to hair. I don’t have any grey hair(touch wood) My mother use this to prevent hair fall and I use this to add shine.
  • Makes hair smooth, tangle free.
  • Smells awesome and the smell lasts for almost 2 days.
  • Prevents mild hair fall
  • Makes hair strong from inside

How does it work?:

Tea leafs are great for hair as they add natural shine to hair. We all know how good amla is for our hair; almost every famous hair oil has amla. Amla is the richest source of vitamin c which is a great antioxidant. Goose berry not only helps in preventing hair fall but in also enhancing hair growth. It has no side effects so we can use amla for gray hair even everyday without any hesitation. Hibiscus prevent pre mature graying and makes hair strong from inside, Curry leaves provide nutrients to the scalp and also help in preventing grey hair.

Final verdict: If you are looking for a great pack for younger looking shiny dark black hair then try this. I am sure you will like this. And yes don’t forget to share your experience with us, we love your comments, they mean a lot to us.

Do you like this Hair Pack recipe? Will you try it?