Author Archives: Venetha

Lakme Absolute White Intense Wet and Dry Compact Review

Hi my friends!

I will review another product from the Lakme Absolute range which is the Lakme Absolute White Intense Wet and Dry Compact. I had great expectations after using the mousse foundation from the same range. Let me tell you if this fulfilled my expectations.
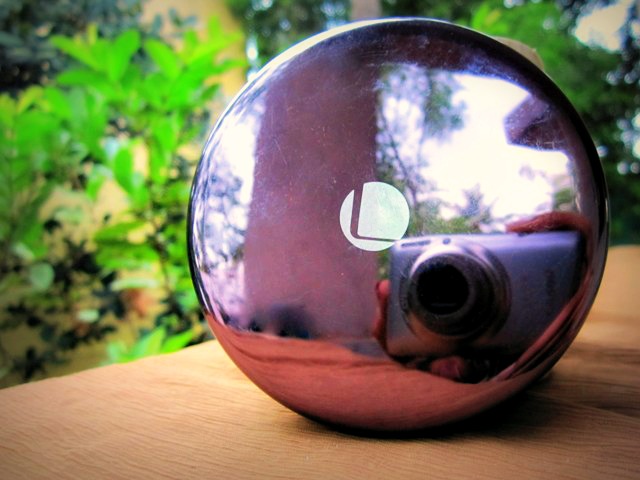
Lakme+Absolute+White Intense+Wet+and+Dry+Compact+Review

Product Description:

The dual Lakmé Absolute White Intense Wet and Dry Compact contains a unique formula of Hyaluronic acid hydrates which restores the natural glow and Vitamin B3 acts as the fairness agent. Use it dry as a Compact and wet as a foundation to look naturally fair and flawless.

  • 3-in-1 Skin Care
  • Hyaluronic Acid
  • Vitamin B3
  •  SPF 17
  • Long Lasting


Price and Quantity:

Rs. 595 for 9 grams
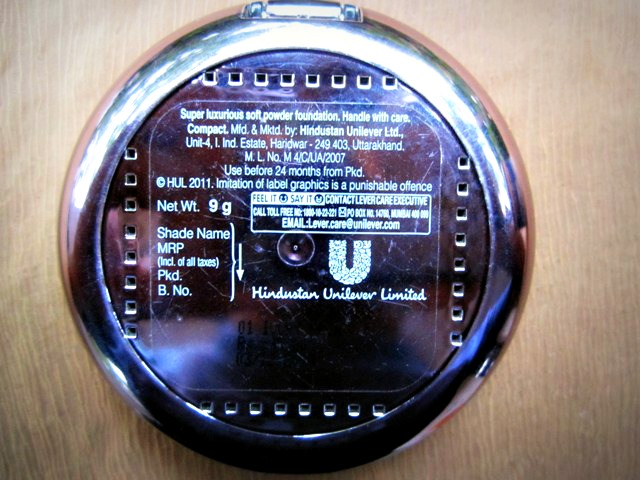
Lakme-Absolute-Compact-Review

My Take on this Compact:

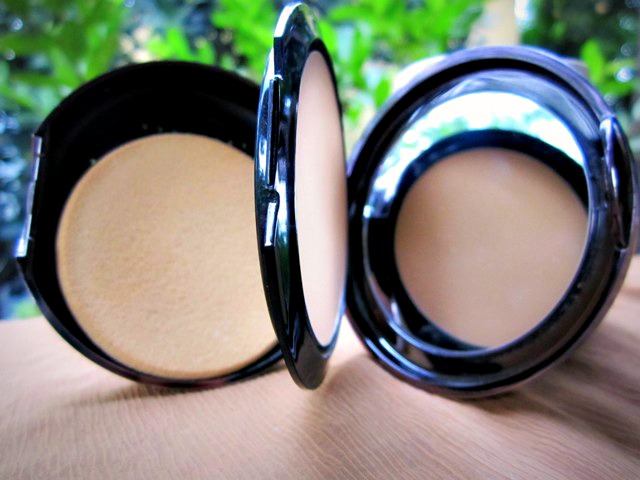
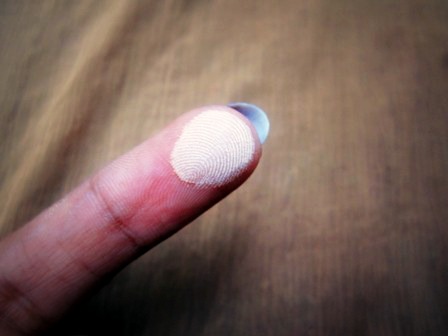
The shade that I use is ’03 Golden medium’ which is the medium shade out of the three options available. I had mistakenly bought ’01 Ivory Fair’ first just because the SA suggested but it was a grave mistake.
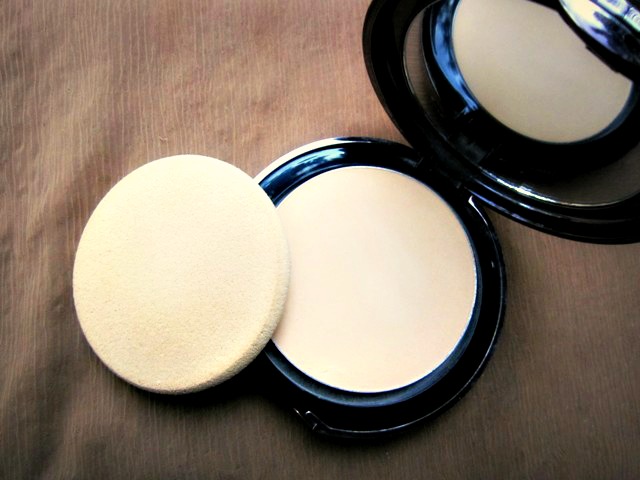
Lakme-Compact-Review

Lakme-Wet-and-Dry-Compact

The outer cover is a gunmetal colored plastic case that is sleek and compact. Packaging is a highlight in this range. It comes with a mirror which is useful if you want to touch up on the go. Also a sponge applicator is provided and that is present in a separate compartment at the lower part. There are tiny holes for aeration at the bottom. Nevertheless, one needs to clean the sponge after every use.

The absolute range from Lakme is great in terms of their texture. The powder is very fine milled and feels totally smooth when applied. If you remember I would have mentioned this in the Mattreal Skin Natural Mousse review too. This is a powder foundation that can be used in the dry form over moisturized skin. It gives more coverage than your usual powders. It brightens up the skin and gives a sheer matte finish.
Lakme-Absolute-Compact-Swatch

The skin stays oil free for about 3 hours and needs touch ups after that. In summers this staying power may be lesser also. My T zone is what gets oily first, so touch ups there will do well for me. After an hour it will set into a natural dewy form and will make your face glow. This is something that I love about this compact.

If you are going to use it over your foundation to set it, then better use a light hand and minimal product. It may get over the top since the coverage of this compact powder is more. The sponge is soft but I find it rather useless. For dry powder application, brushes are the best since they give an even natural look.

When I used the sponge for wet application, I immediately turned into a vampire; my skin looked patchy, cakey and ghastly. I could simply not blend it at all. Blemishes and acne scars will be highlighted and this defies the purpose of makeup. Since then I am using it only as a dry compact powder.


What I like about this Compact Powder?:

  • Classy packaging
  • Smooth texture
  • Medium coverage
  • Travel friendly
  • Has SPF 17
  • Gives a radiant glow after sometime


What I don’t like about this Compact Powder?:

  • Highlights skin imperfections
  • Useless for wet application
  • No ingredient list
  • Over priced
  • Tall claims of 16+ hours


MABH Rating: 3/5


Do I Recommend?: It will work well as a dry compact powder only but the price is high for that. Buy at your own risk.


Would I Repurchase?:

No.
AHAGlow Skin Rejuvenating Face Wash Gel Review

Hi my friends,

I missed writing on MABH all along. But now I am here with the review of an amazing product which will be a saving grace for people with pimple prone skin. My dermatologist prescribed me this when I consulted her for my acne issues. It worked like magic on me!

Let me give you a little insight about AHAs. They are naturally occurring or synthetic acids that are widely used for cosmetic purposes to improve the skin texture and appearance.They hydrate the skin and improve collagen production.

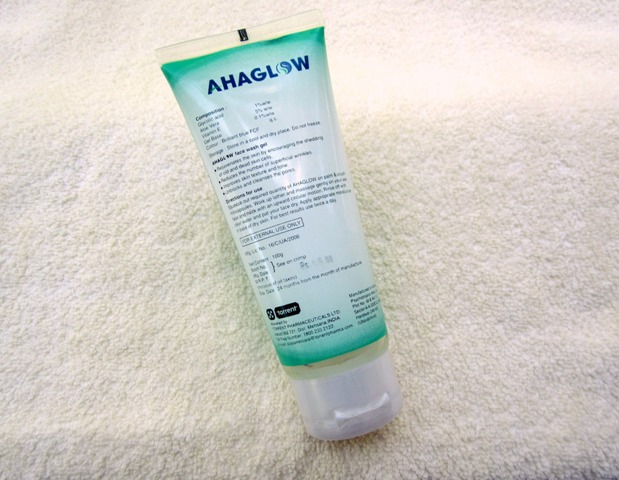
Aha-Glow-Face-Wash

Product Description:

AHA glow face wash gel

  • Rejuvenates the skin by encouraging the shedding of old and dead skin cells
  • Reduces the number of superficial wrinkles
  • Improves skin texture and tone
  • Unblocks and cleanses the pores


Composition:

Glycolic acid 1%, Aloe vera 5%, Vitamin E 0.1%, Gel base.


Price and Quanity:

Rs. 195 for 100g

AHAGlow+Skin+Rejuvenating+Face+Wash+Gel

My Take on AHA Glow Face Wash Gel:

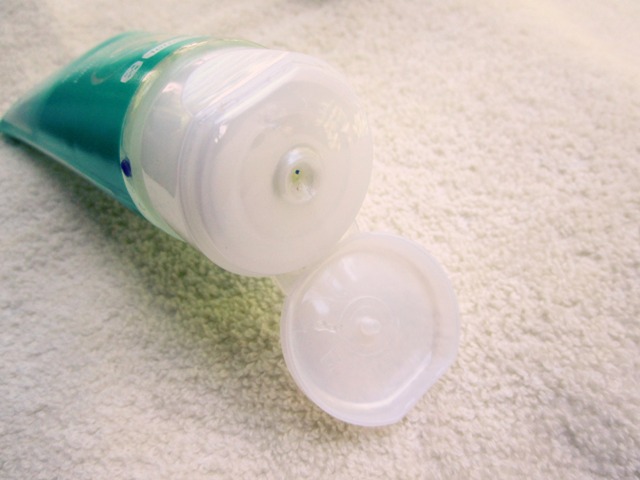
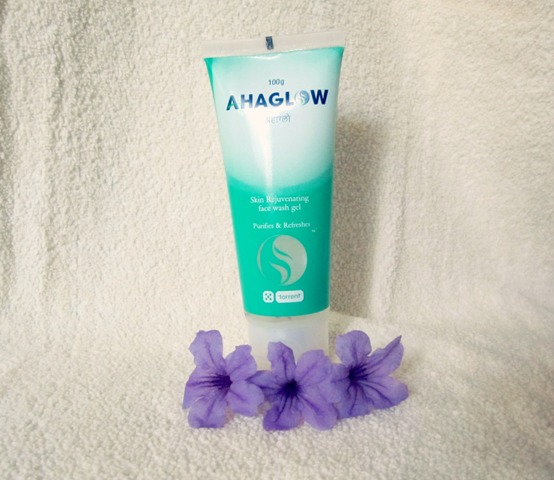
The product comes in a bluish green plastic tube with small see through portions; makes it easy to know when you need to purchase another one. The white plastic cap shuts tight and prevents any leakage. The packing is not very exciting though.

Acne-Prone-Skin-Face-Wash

The face wash is a wobbly transparent gel that has mini multi colored capsules in it. You are supposed to crush them gently and then apply on face. It is fun doing this and I feel happy that I am doing something extra for my skin. The capsules won’t come out as soon as you start using it the first time. You will get only the gel for the first few washes so don’t waste the product in search of these colored fun pops 😛

Face-Wash-Swatch

The fragrance of this face wash is good and slightly on the medicated side. It lathers pretty well and upon washing the skin does not feel stretchy or dry which is great as opposed to a lot of other oil control products which simply make your skin like parched land. The skin is squeaky clean. It will also remove mild makeup off your face. It controls oil secretion only for an hour or so.

The product controls acne effectively within a few days of usage. Even severe breakouts can be controlled with this. Aloe vera extracts reduced the redness. This product is supposed to enhance skin shedding and cell renewal. This way it will not allow the pimple or acne to develop. This gives mild chemical exfoliation that is good enough for everyday use. If you don’t like scrubs you can definitely try this. My skin looks polished and smoother now after a few weeks of use. What more would one want?!


What I like about this Face Wash?:

  • Cleans out all impurities
  • Does not dry out the skin
  • Controls acne
  • Good exfoliation
  • Fun millicapsules to work with
  • Leakage proof packing
  • Skin polishing
  • Best for combination to oily skin


What I don’t like about this Face Wash?:

  • Not a rich foaming formula
  • Availability might be an issue
  • Does not control oil


MABH Rating: 4.5/5


Do I recommend?:

Yes, this will control your acne in a jiffy and will make your skin glowing upon continuous usage


Would I Repurchase?:

Yes, occasionally.

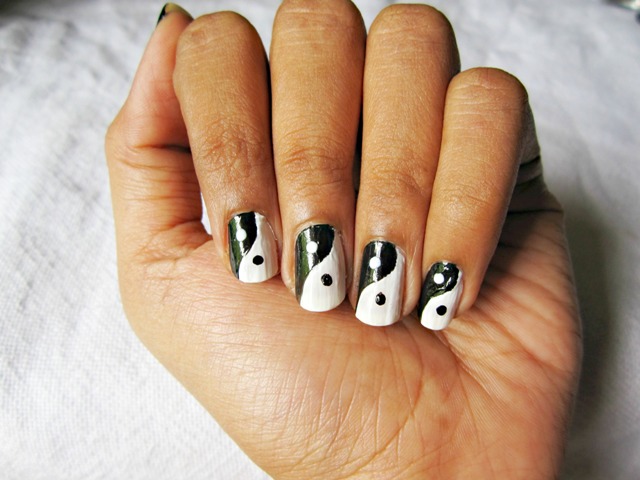
Yin Yang Nail Art – Photo Tutorial

by Venetha

Hi my friends!
Nail art is getting its share of lime light of late and I too like trying out some nail art to take a break from the regular nail polish usage 🙂 Who doesn’t want their nails to be adorned and pretty? It doesn’t always have to be using complicated tools or intricate patterns. Also I don’t refrain myself from using some quirky and odd pattern in my nail art. Doing the same kind of flowery patterns can get boring after a while.

Today, it is one such design. This nail art is inspired by what Katy Perry had on her nails in the Elle magazine cover photo a year ago. Yin and Yang symbolizes the perfect balance of two opposites in the world. No, I am not such a balanced person. However, there is no harm in having a yin yang pattern on my nails at least right.

Things Needed:

  • Black nail color
  • White nail color
  • Dotting tool/bobby pin
  • That’s really it!


Step by Step Nail Art:

Step 1: Start with clean nails always. Even if you have no old nail color on, it is always good to swipe your nail clean with a nail polish remover in order to get rid of any oils. This way your nail art will stay put for a longer time. Also using a base coat is advisable; this protects your nail and also ensures longevity of the nail art.

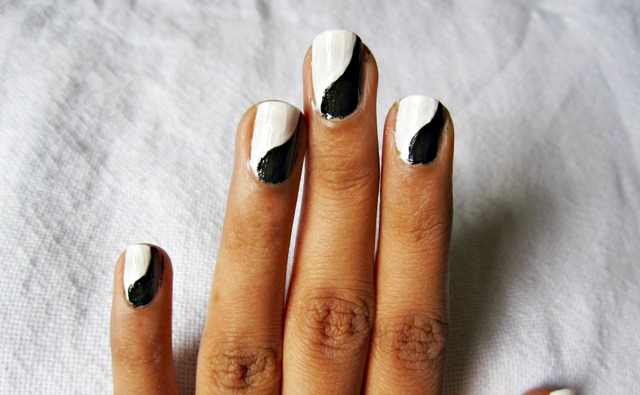
Step 2: Take your bobby pin and dip it in white or black nail polish. Draw an S-shaped design on the center of your nail. It is just a demarcation for the two colors.

Step 3: Paint one portion with white color. Try not to go past the reference line. It is not a big issue if you cross the line. You can adjust it with the other color.

Step 4: Next use the black color to fill the remaining area. This time make sure that the joint between black and white portions is as smooth as possible.

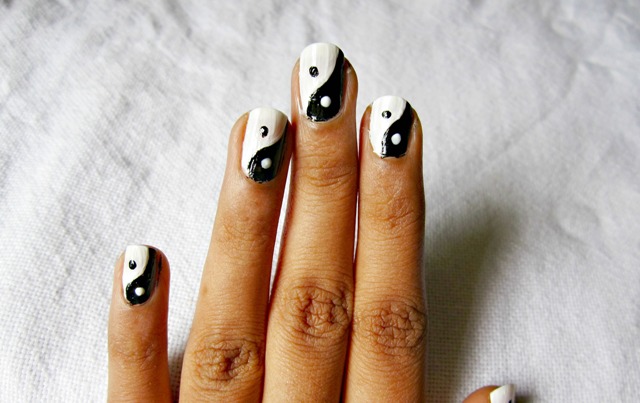
Step 5: Use your dotting tool to place a white dot on the black shaded area and a black dot on the white base. Preferably keep a bigger dot because this is what makes up the yin yang.

Five very simple steps, wasn’t that pretty easy? It won’t take a lot of time. Plus there is the monochrome trend catching up so flaunting these on your nails will keep you in sync with the fashion world!