Author Archives: Lancy

About Lancy

Hi, I am Lanceek Cv. You can call me Lancy. 😊I found MABH as a teenager in 2011 to write about about beauty, haircare, and anything else I found curious about as a little girl. Now in 2026, the blog has grown with me. I'd love to share everything I find beauty in - my DIY projects, home decor, product reviews, food I cook, my random thoughts and hobbies. (hosting & antiquing lately).Write an email or drop a comment. I'd love for you to not be a stranger anymore. 💗

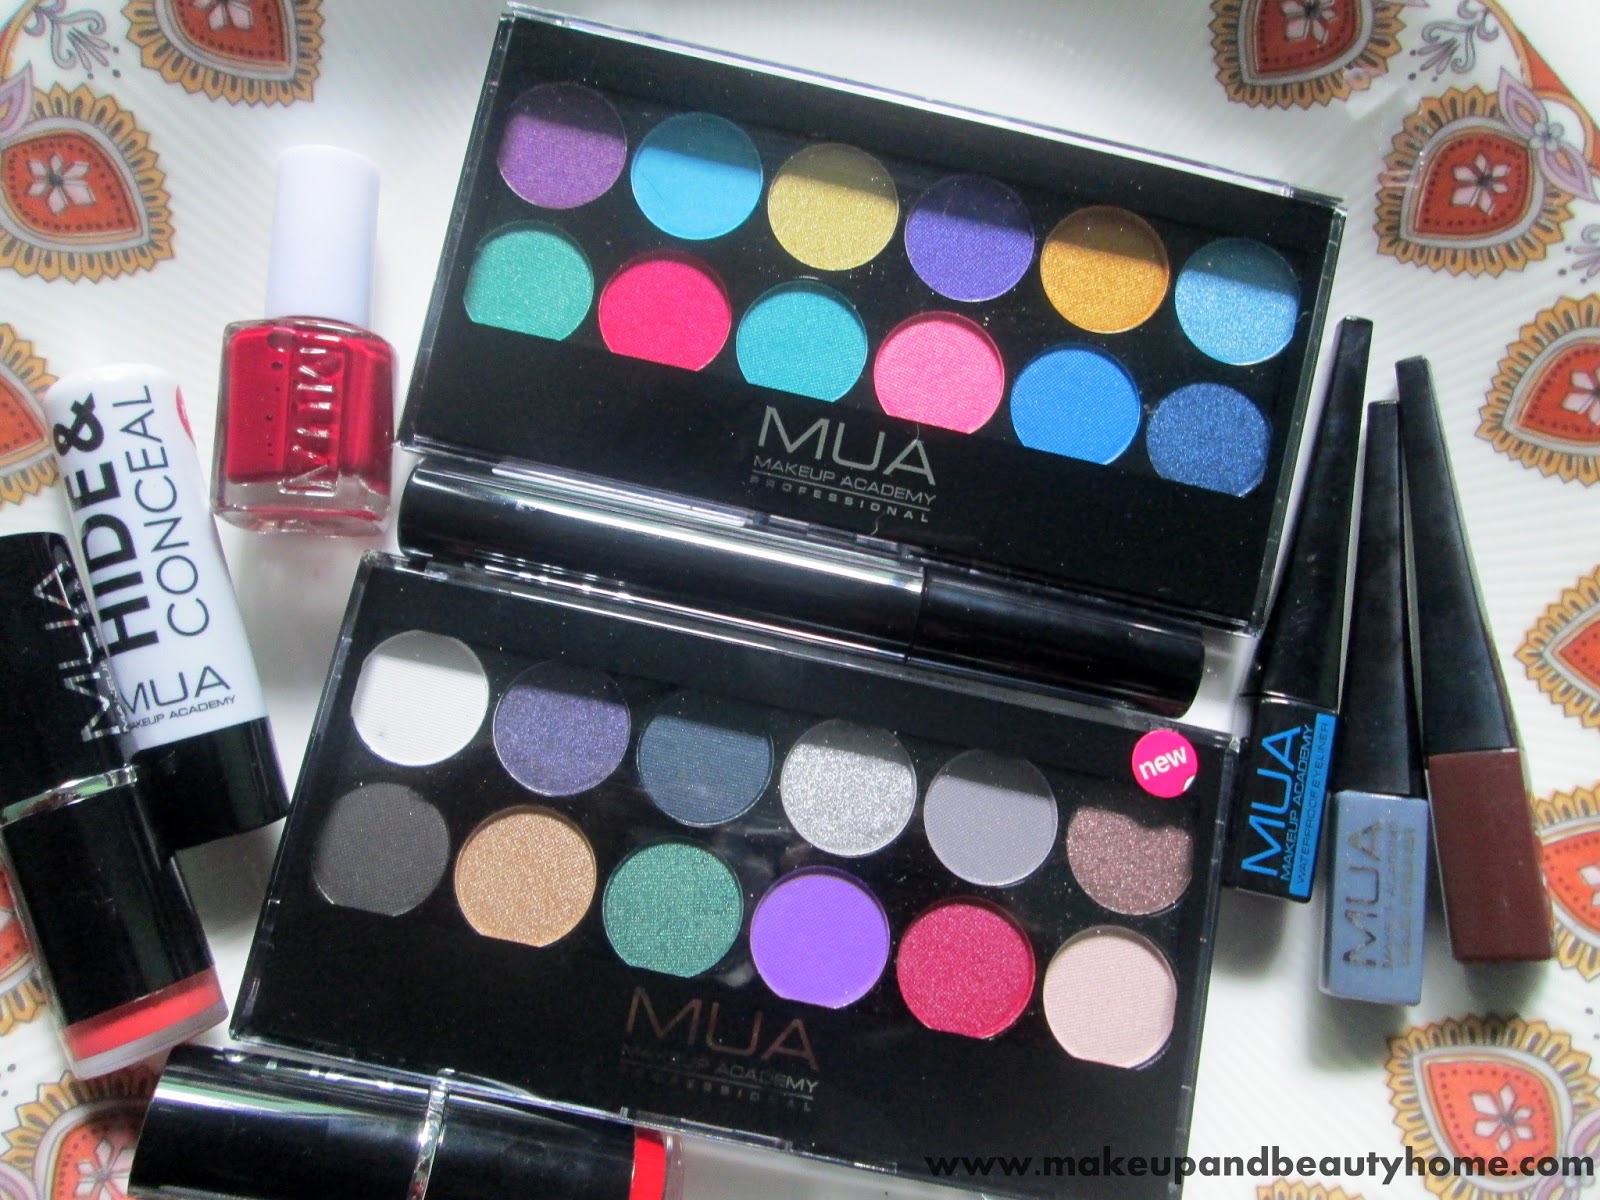
My MUA Haul, Shopping Experience and Photos

Hello Everyone!
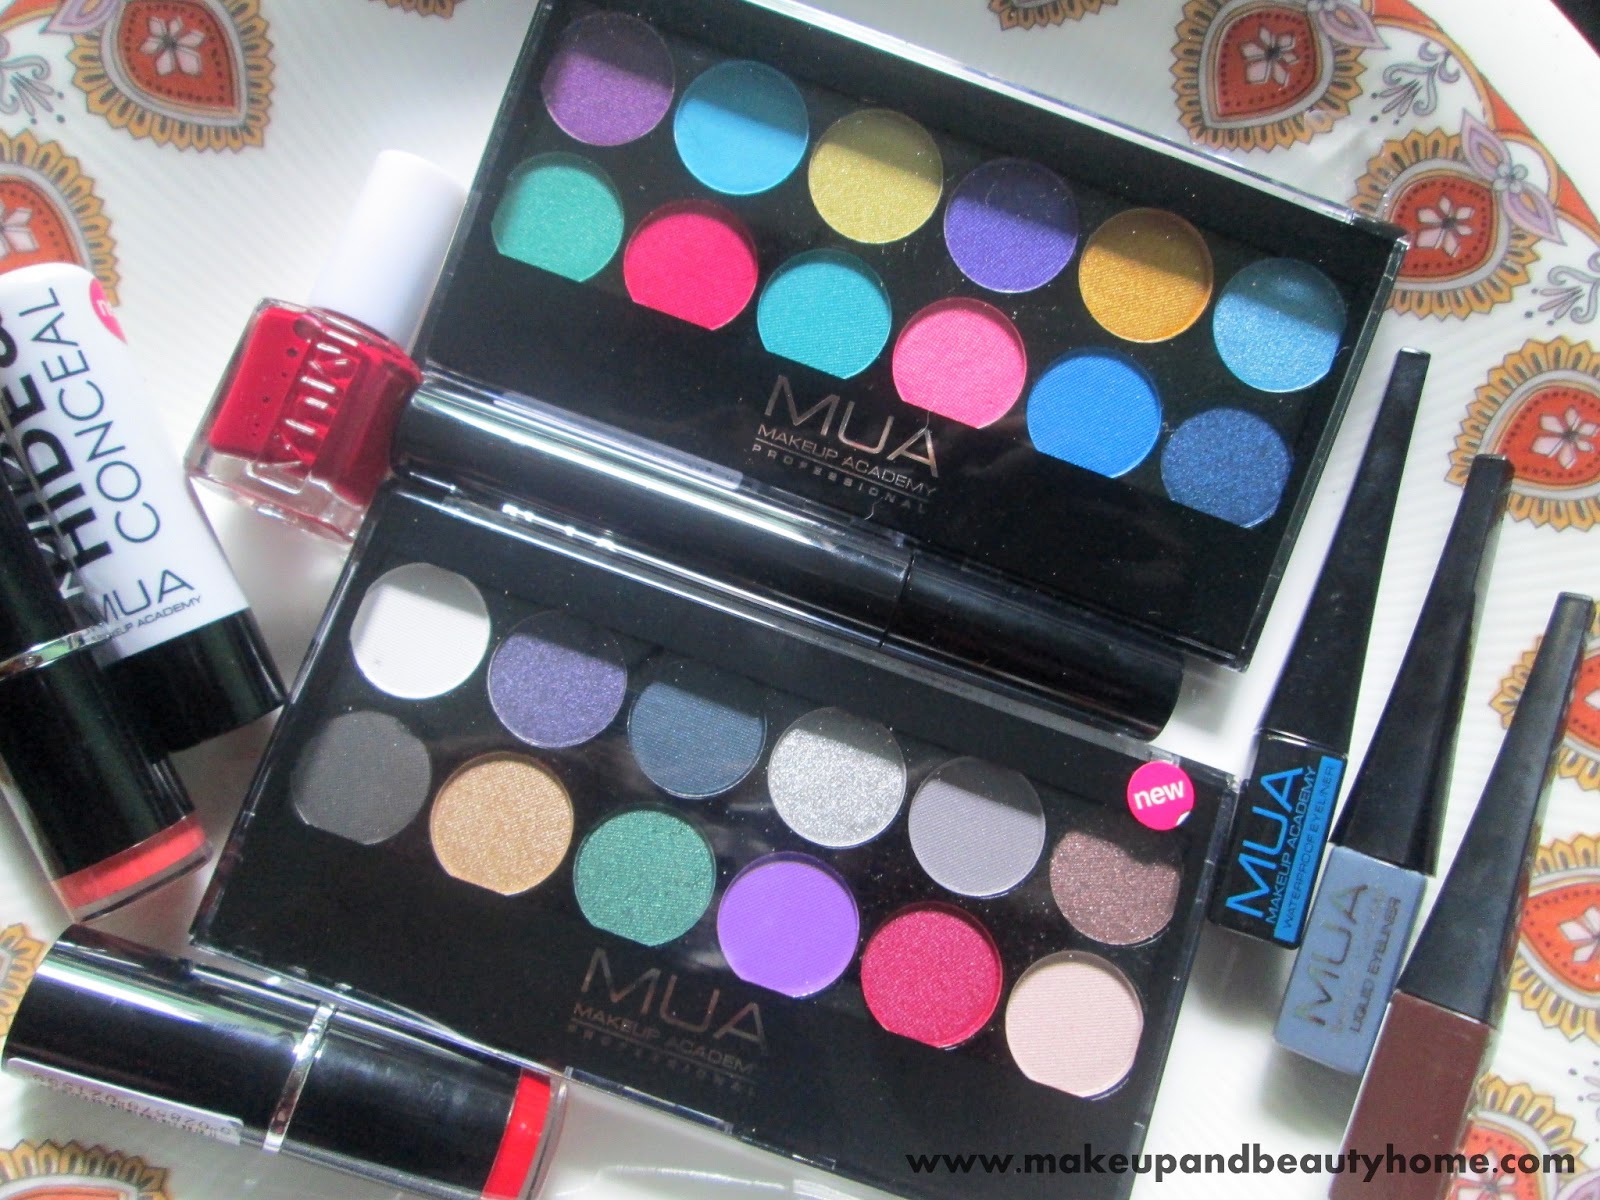
How are you doing? July is finally here and its time to bid goodbye to summer. Time to welcome monsoon and its really a great news for me! How about for you? So coming to the topic.. Before a month, I hauled few items from MUA. That was my first shopping experience with them and today I am going to share my shopping experience, haul and some photos with you. Enjoy!

Products Purchased:

  • MUA Black Mascara
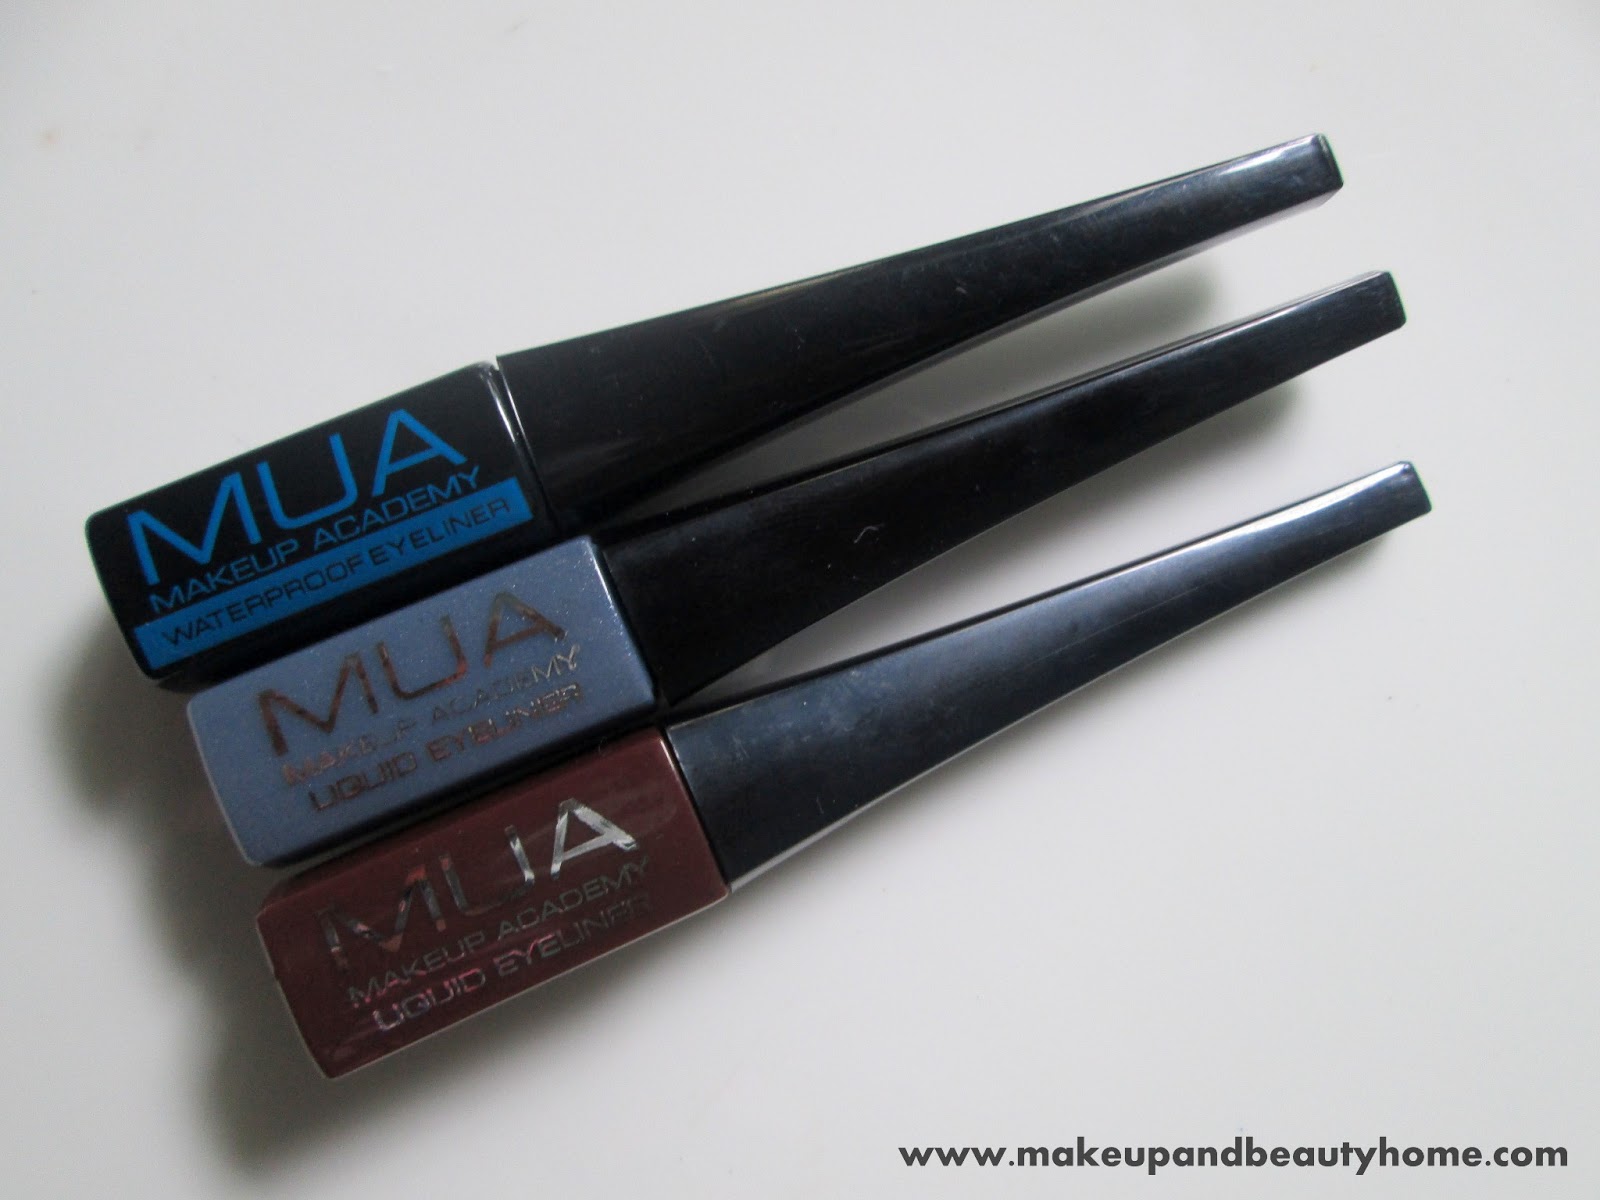
  • MUA Waterproof Eyeliner Black
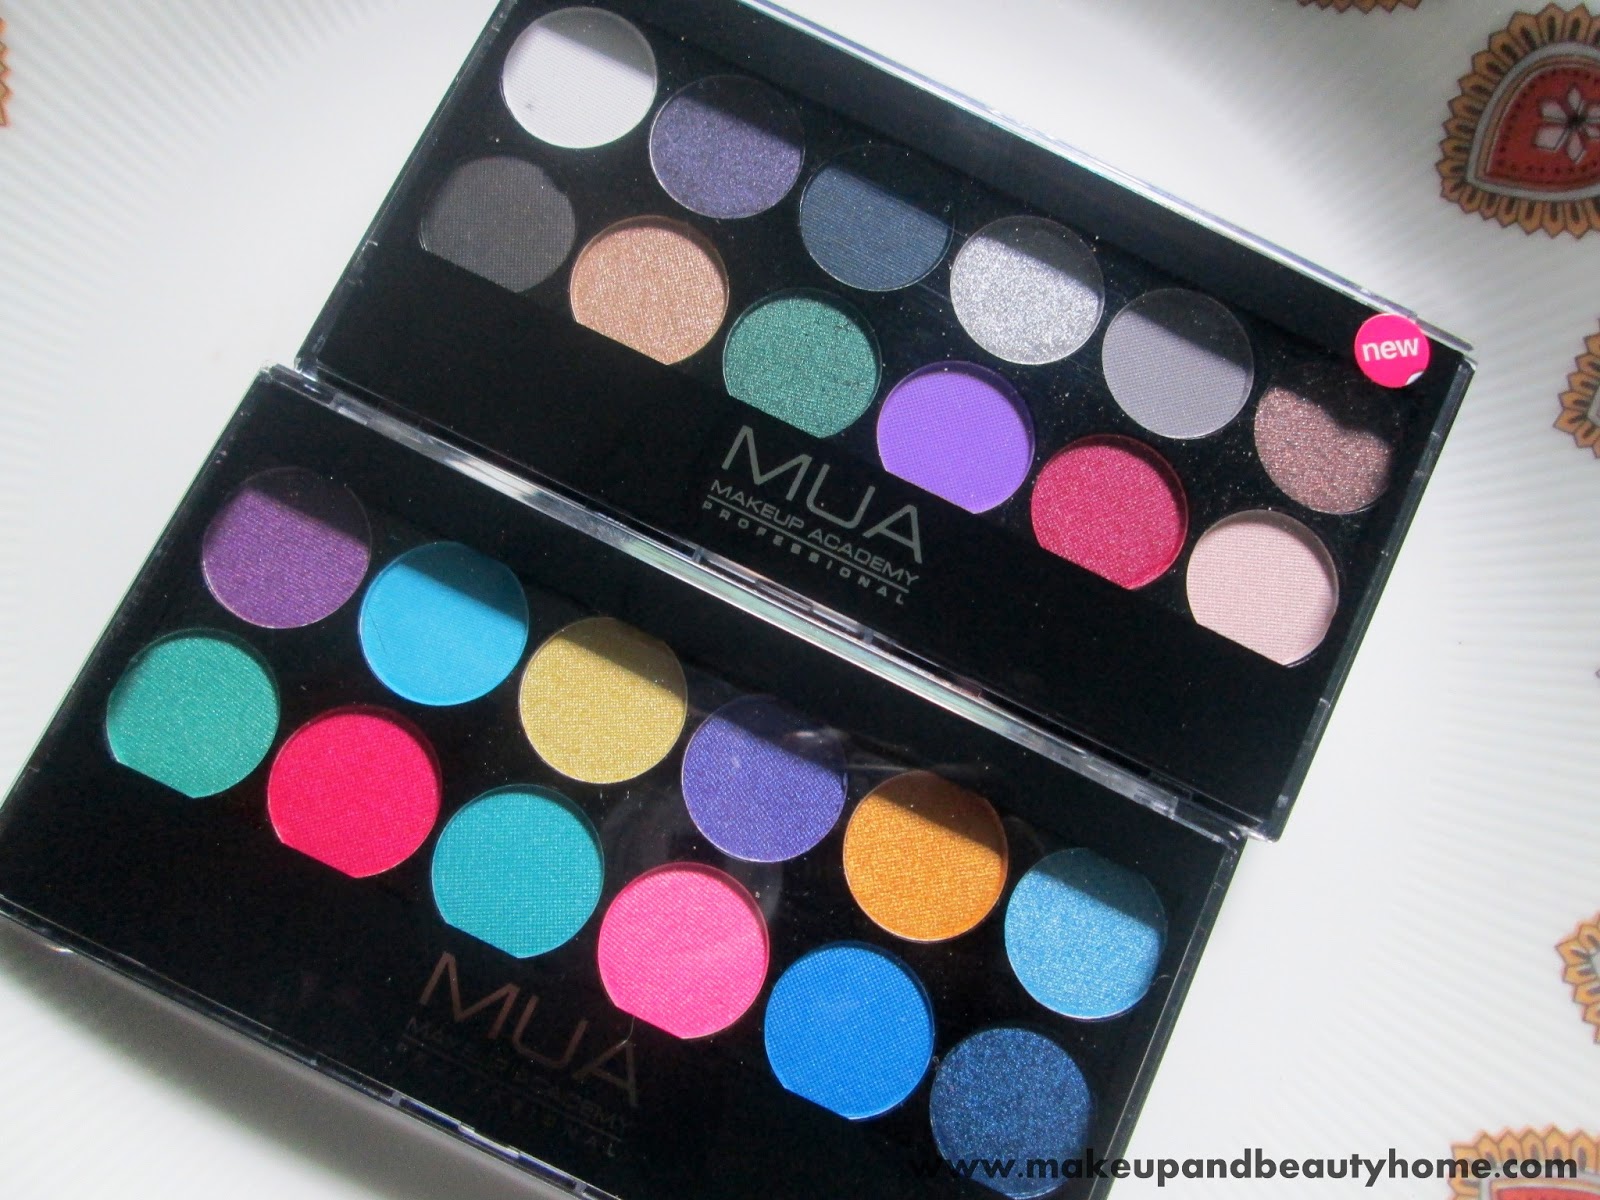
  • MUA 12 Shade Poptastic Eyeshadow Palette
  • MUA Intense Colour Eyeliner Pencil Forest Green
  • MUA Intense Colour Eyeliner Pencil Snow White
  • MUA 12 Shade Glamour Nights Eyeshadow Palette
  • MUA Liquid Eyeliner Dark Brown
  • MUA Liquid Eyeliner Shade 4
  • MUA Nail Polish Fever Red
  • MUA Hide and Conceal Cover Up Stick Almond
  • MUA Eyebrow Pencil Brunette
  • MUA Lipstick Shade 13
  • MUA Lipstick Shade 16 Nectar
  • MUA Intense Colour Eyeliner Pencil Bright Orange
  • MUA Lip Liner Red Drama

My Haul ~ Photos:

My Shopping Experience:

After reading ravings MUA reviews on the blogosphere, I finally decided to try their makeup products. My order got delivered within 2 weeks and I am so glad about it. They say it may take up to 4 weeks for the MUA order to get delivered in India. However, 4 Pencils were missing in my order! I was so disappointed about it and mailed them for a refund. It may be the fault of courier people I guess.

Though I am loving the products I got for the price, I am not fully satisfied with the shopping experience. I think MUA should concentrate a bit more on packaging the order. All the products I received are in good condition, new and well wrapped in a plastic sheet.

I am not planning to shop from them any soon again, but I will surely haul again when they run free shipping offer or something like that. The quality of the products is a steal for the price!

Have you ever shopped from MUA? How was your experience?

P.S: Do let me know in the comment section which product you want me to review first! 🙂

How I Cured My Acne Scars in 2 Weeks with My Homemade Facial Kit?

Hello Everone!
How many of you here suffer from acne? Raise your hands! Well facing acne is not only a temporary problem. Acne bumps are painful to touch and handle, moreover they leave ugly dark spots behind. These spots may be dark brown or red in colour depending on the skin tone of a person. Women around the world undergo several parlor laser treatments to fade away these acne spots but they never realize that some amount of baking soda and an orange fruit can cure the scars naturally.

Of course yes, it is not a quick or magical process but this treatment processes speed up the natural spot fading. Let us check the step by step home facial method today which we can follow once in a week at home to fade acne scars in a natural and faster way. I tried it on myself for 2 weeks and it gave me amazing results – check the image below.

Method:

Step 1 – Cleanse: Cleanse your face with a mild cleanser before starting this home facial treatment for acne scars. A gentle oil clearing cleanser would do much better than cream based cleansers. After cleansing your facial skin, softly wipe it off with a soft cotton pad.

Step 2 – Steam: Steaming opens up the skin pores and removes the dirt and inner impurities. Fill up a wide bowl with water and few drops essential oils (optional). Bring it to boil and switch off the stove. Exposure your facial skin to the steam and cover your head with a thick towel to prevent the steam spreading to air. Take this facial steam for 2-3 minutes.

Step 3 – Exfoliate with Baking Soda: Mix baking soda with required rose water to make a thick paste. Apply this exfoliator over your steamed facial skin and scrub with gentle circular motions. This encourages the removal of dead cells and other waste particles from the skin. After scrubbing for 2-3 minutes, splash fresh water and wash away the baking soda without leaving any residue.

Step 4 – Orange Bleach: The citrus extracts of the orange juice naturally bleaches the skin and lightens the acne scars. After the steaming and exfoliating processes got done, your skin would be more fresh and apt for the absorption of citrus extracts. Dilute the orange juice in 1/2 parts of water and dip a cotton pad into this mixture. Gently apply this cotton pad over your facial skin and leave on for 10-15 minutes before washing it off.

After washing off, don’t forget to pat dry and moisturize skin. That’s it. You’re now done with your orange & baking soda acne scar clearing treatment home facial.

Important Things to Remember:

1. Steps 1 and 4, that are cleansing and bleaching should be done everyday to notice fast results.

2. The steaming process should only be done once in a week. And the exfoliating process (with baking soda) should be done twice a week.

3. Whatever your skin type may be, you MUST moisturize your skin after you are done with this facial.

4. Do this facial only at evening or night. If you are going to perform this in day time, make sure you wear a sunscreen with a SPF after doing it.

5. In this two weeks of time, you should not expose your skin to the sunlight. If you do so, your skin will become more darker than before. (Due to the sensitivity caused by orange bleach)

6. You should wash your face 2-3 times a day with a mild cleanser.

7. Drink at least 3 liters of water a day while performing this treatment.

8. If your skin is allergic to citrus fruits or baking soda, do not try this facial.

9. This treatment should only be followed to cure acne scars and improve complexion. If you have live acne bumps, do not try it at all.

10. This facial may not work on everyone as it worked for me. So I cannot guarantee you the removal of acne scars. If it causes any irritation, wash your face with cold water and apply aloe gel. However, mild irrigation is normal during the process.

Try try this facial at home and let me know the results! 🙂

How to Wear Mini Skirts The Right Way? ~ 4 Awesome Ideas

Hello Everyone!

Do you love wearing mini skirts? Wearing skirts perks up the fashionita inside you, adds some style and make you look more trendy to the world. But are you sure that you are wearing the right skirt for your body type? Are you making any mistakes while wearing your favorite skirt? Come let us check some tips on wearing mini skirts the right way.

Take Care of Your Legs:
This is the first thing you should do. You are going to wear a micro mini skirt and flaunt your legs. Right? So when you expose your sleek beautiful legs to the world, they must look good. A cute mini skirt with bad legs will spoil the entire look. Hence, shave or wax your legs to remove the hair. Keep your legs smooth. Before wearing mini skirts, exfoliate your thighs and legs well, may be with a body scrub and then moisturize the legs to make the skin look healthy and smooth. Dry legs may look unattractive too! If its summer, spray some bronzer or tanning spray over your moisturized legs and you are all set to rock.
No Tight Tops:
Don’t go too much ‘tight’ on the tops while wearing mini skirts. See how Kim is looking on the below pic! Ahem… When you are already flaunting your beautiful legs, you really don’t want to wear a short or tight top. It might not look that elegant! Instead go for tunics and or baggy tops that really suit you without being over tight. You can also a swear half shouldered tops to pair up with your mini skirt.
Don’t Forget Your Leggings:
No wrong if you skip your leggings with your mini skirt in summers. But you can wear a sheer-nude leggings under your skirt to make your look more complete in winter. If you are not comfortable with leggings, go with knee high stockings. If you are shy to wear mini skirts, try this ‘leggings’ style! You won’t regret.
The Right Skirt For Your Body Type:
Last but not the least tip – wearing the right skirt for your body type matters a lot too! If you have a short body, tapered skirts will suit you the best. If you are slightly on the bulky side, pencil skirts will fit you, if worn the proper way. Hourglass ladies will have different options to wear skirts. They can wear a 1950’s model plain short skirt or a pencil skirt and carry anything. If you are pear shaped and wearing a  mini shirt, then never ever wear a cross bag. They draw attention to your hips and make the look not-so-balanced.

Do you wear mini skirts? If yes, how often do you wear them?

Image source: 1, 2, 3, 4, 5