Author Archives: Harini

How to Steam Your Face at Home?

by Harini

Hello beautiful girls!
We cleanse, scrub and use face pack in home facials. But what about the forgotten middle part which is equally essential as others? I have never given importance to home steaming until one day I thought why parlours facials are never complete without steaming. Face Steaming enhances the results of facial. After doing a little research on it, I started to follow this. Steaming can do magic to skin if done properly and carefully. Facial steamers are also available in the market but today we shall discuss the traditional pot steaming.

Why Steaming?:

The benefits of steaming includes:

1. Increases blood circulation which in turn improves oxygen supply and makes your skin healthier.

2. Softens black heads and makes exfoliation easier.

2. Helps skin perspiration as steaming decongest skin pores.

4. Reveals radiant and younger looking skin


What is Required?:

  • Medium sized pot
  • 6 cups of pure water
  • Bath towel
  • Cleanser

How to Steam?:

1. Pour water in a pot and bring it to boil.

2. Prepare your face using cleanser to remove dirt and makeup residues. Tie back your hair neatly or use a headband to secure your hair.

3. Once the water starts bubbling, off the burner and move the pot to a convenient place to steam.

4. Place your face over the pot and wrap a towel to lock the steam.

5. Close your eyes and breath slowly. Steaming can be done for 4-5 minutes.

6. Wash your face with lukewarm water and pat dry with a clean towel.

7. Follow with your favourite face pack to close the pores or if you are running out of time you can rub ice cubes over the face and neck.

You can add essential oils like lavender, lemon, rose, tea tree or your favourite ones to the steam water. Dried or fresh herbs are also good options. Incase you don’t have any of these you can consider few sprigs of neem leaves, pudhina or tulsi leaves which are also equally beneficial.


Any precautions?:

1. Steaming might be bad to skin if done frequently.Steaming once in a 2 weeks is advisable.

2. The right temperature of water to steam is 110 degrees Fahrenheit (43 degrees Celsius).

3. If you feel too hot during the procedure, open the towel a bit for vapours to escape.

4. If you are adding essential oils, carefully add 2-3 drops only.

4. Experts advise to hold your face 12 inches above the water.

5. Once your face is completely wet with perspiration then stop steaming.

6. Frequent steaming might dehydrate your skin.

7. Never steam if you have any skin irritations or severe acne.

Does your home facial include steaming? If yes, how often?

Homemade Coffee Body Scrub – How to Make?

by Harini

Hi there!
Its DIY time again! Ever since I prepared Homemade Body Scrub, I am so interested to make my own beauty products. Firstly you get to know what you apply on your skin (no parabens no preservatives). Secondly, they are so cheap and it also gives you a satisfaction that ‘I made this’ and I love it!!! Recently I tried this coffee scrub and was super happy with the results. It just took few minutes to prepare it, as all the ingredients are easily available in any kitchen. So let’s see how to prepare and use this body scrub.

Ingredients required:

  • Coffee: 1 measure
  • Granulated White Sugar: 1 measure
  • Coconut Oil: 1 measure
  • Honey: few drops

Benefits of Ingredients:

Coffee: Known to renew dull skin and reduces the appearance of Cellulite. The caffeine present in coffee is a natural antioxidant.

Sugar: Acts as a good exfoliator to remove dead cells and keeps the skin hydrated. Regular usage on skin helps to eliminate blemishes.

Coconut Oil: Excellent skin nourisher and moisturiser. Natural way to smooth away wrinkles and acne. Proven to possess anti-oxidant and anti-microbial properties.

Honey: Adds moisture to skin and effective in treating acne. Due to its antioxidant properties, honey delays ageing.


Also Read:

Preparation Method:

Get all your ingredients ready. Take a dry bowl and mix both the dry (Coffee and sugar) ingredients. Add coconut oil little by little stirring constantly. Honey is purely optional. Your homemade coffee body scrub is ready to use.

You can store this in fridge for 1 week or so. I prefer preparing them fresh every time as its so easy peasy to make it. In case you are planning to store it, transfer the contents to an airtight container and keep it refrigerated. You can also replace coconut oil with almond or jojoba oil. The original recipe says to use ground coffee (more effective than instant). Since I couldn’t get ground coffee, I opted for regular instant one. You can add few drops of essential oil if you want your scrub scented.

Usage Instructions:

Take little quantity in your finger tips and apply on damp skin. Massage it for 3-5 minutes in circular motion. Focus in knee and elbow region. Wash as usual and pat dry. Follow it up with a good moisturiser. I used this in my home pedicure and I loved the scrubbing effect by coffee. It left my skin soft and smooth. I don’t recommend this for your face as this scrub might be too rough for facial skin. Never use this scrub on dry skin.

I hope all you liked this post and would try it soon!

Homemade Aavaram Poo Body Scrub for Clear Skin

by Harini

Hey Lovelies!
Hope all of you are doing great. I am back with another DIY. This time I am sharing my HG Body scrub with all of you. I was always fascinated with branded scrubs. When I came to know about homemade scrubs, I thought I should prepare my own version. So, that’s how I tried this scrub and now I’m loving it. Lets move on to the preparation method.

About the Ingredients:

Aavaram poo (Avaram senna): Keeps the skin glowing and improves complexion when used regularly.

Lemon Peel: A very good scrub base that lightens age spots and great to treat acne as it contains anti-oxidants.

Green gram: Improves skin texture and reduces acne/scar. Regular usage brightens complexion.

Rose petal: Soothes irritated skin and acts as a natural moisturiser. Widely used in aromatherapy for its calming and relaxing properties.

Chick Pea: Natural way to get rid of blemishes. It is a great exfoliator and cleanser.

Aavaram poo can be purchased in naatu marundhu shops or even available online. Other ingredients are easily available.


Ingredients Required:

  • Avarampoo : 100gm
  • Lemon Peel : 100gm
  • Green gram :  100gm
  • Rose petal : 100gm
  • Chickpea : 100 gm

Preparation and Usage:

  • Get all your ingredients ready.
  • Sun dry them for 4 days till they turn crisp.
  • Coursely grind in a mixer jar when they are nice and hot.
  • Grinding becomes difficult if they are not sun dried. Since I preferred to have mild scrub, I powdered them very well. So always check the granularity of the scrub then and there while grinding.
  • Store the contents in a air tight container. It stays good for even 4-5 months. Always use dry spoon to increase the shelf life.

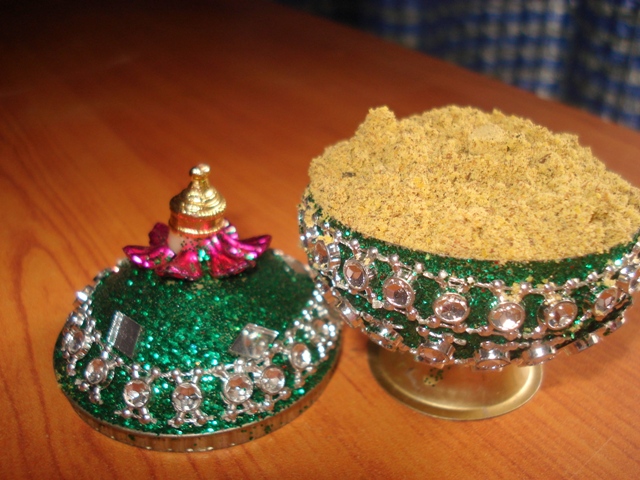
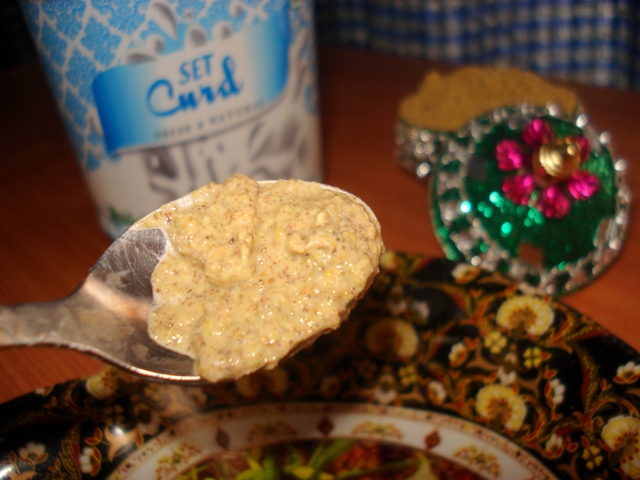
I love using this with curd. Make a thick paste with curd and you can also add few drops of honey for moisturising effect. I have skipped this part as I don’t like the slippery feeling that honey gives. Gently massage for few minutes all over the body. Rinse well and pat dry with a towel. When I am using this, I don’t need anything else like soap or body wash. This is fair enough to cleanse the skin and this gives me a break from chemical loaded stuff. Due to its exfoliating properties, I suggest to use this only once in a week.


Benefits of this Body Scrub:

I regularly use this scrub and found it very beneficial to my skin. I have normal-dry skin. If you don’t find one or two ingredients, its fine. You can skip them and use others to prepare this scrub. I also find the smell of this scrub very refreshing. When we can make such effective scrubs at home why pay so much for the chemicals loaded fancy scrubs available at market??.

Do give this a try and I’m waiting for your valuable comments!!!