Author Archives: Dharu

Pink Smokey Eyes 2 in 1 Tutorial ~ Steps and Photos

by Dharu

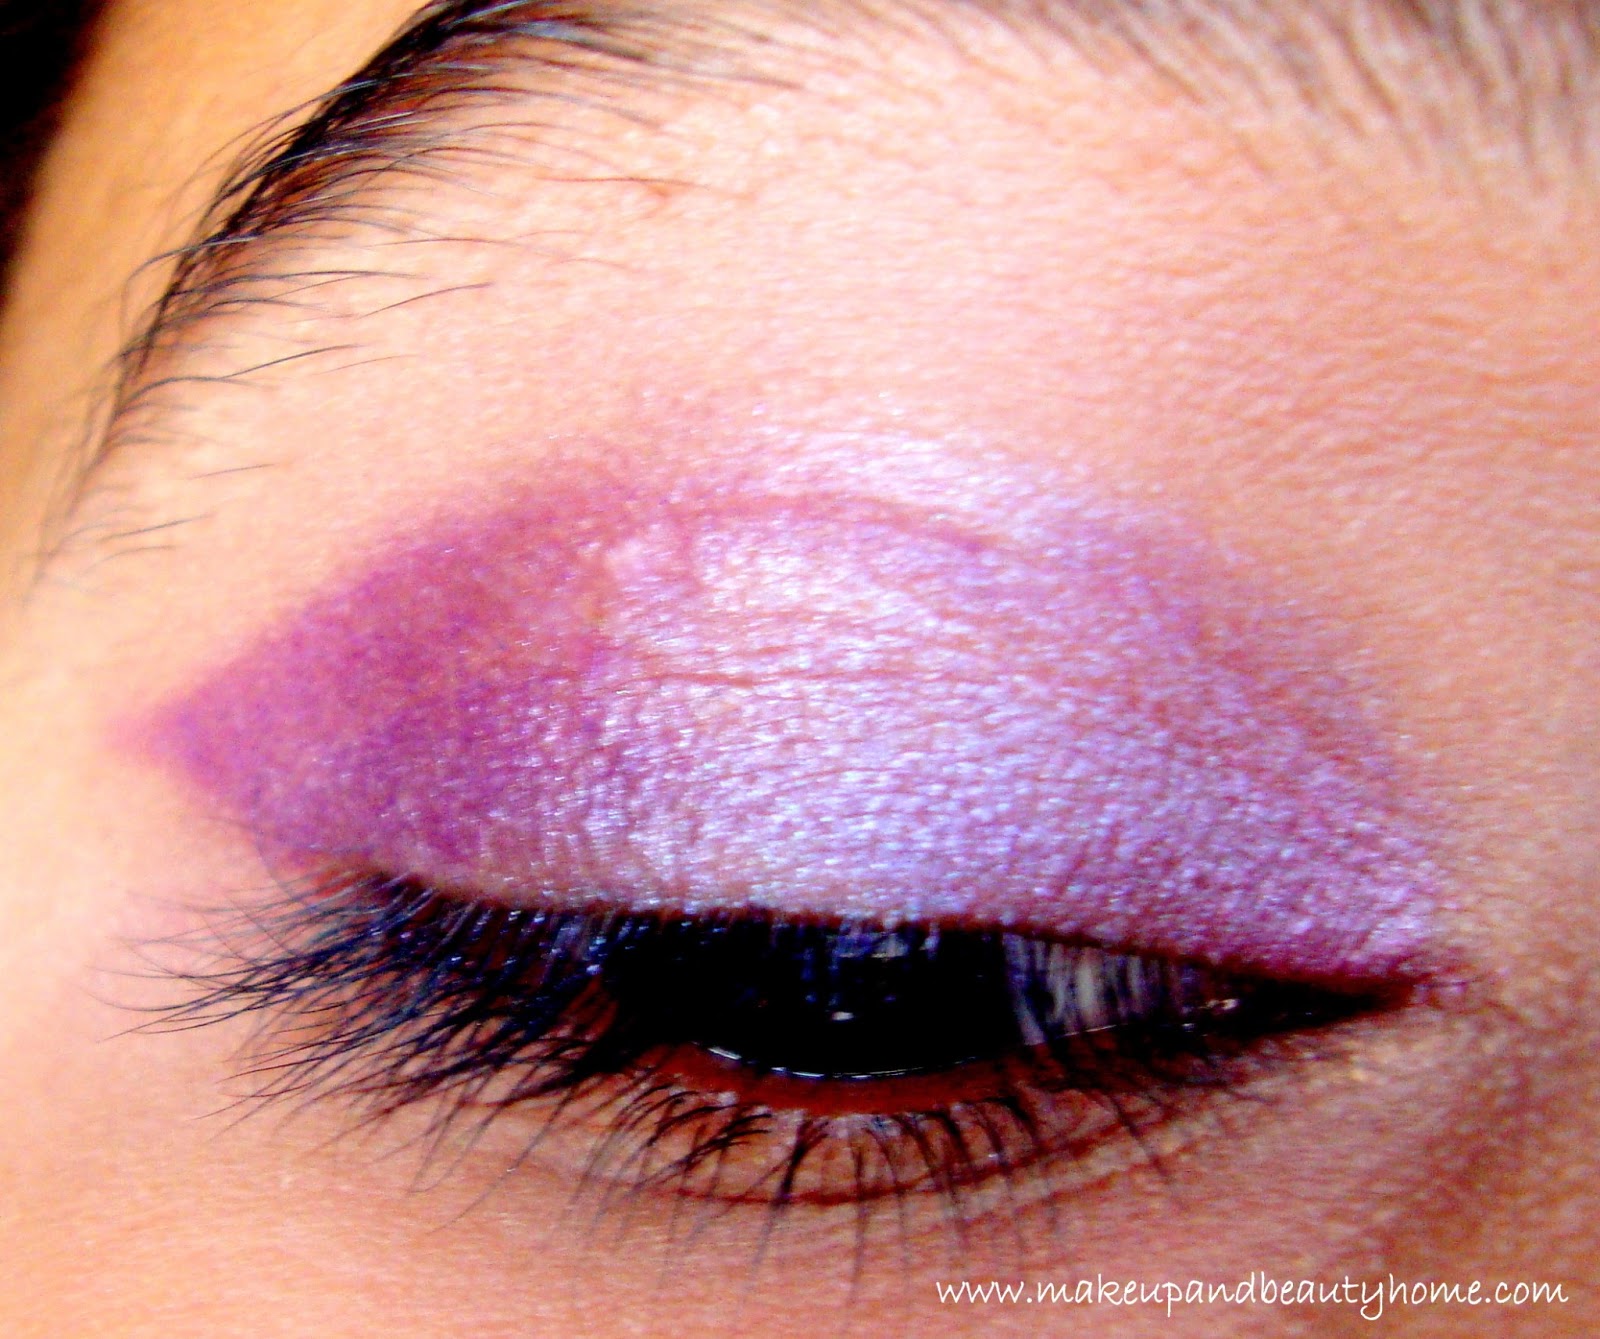
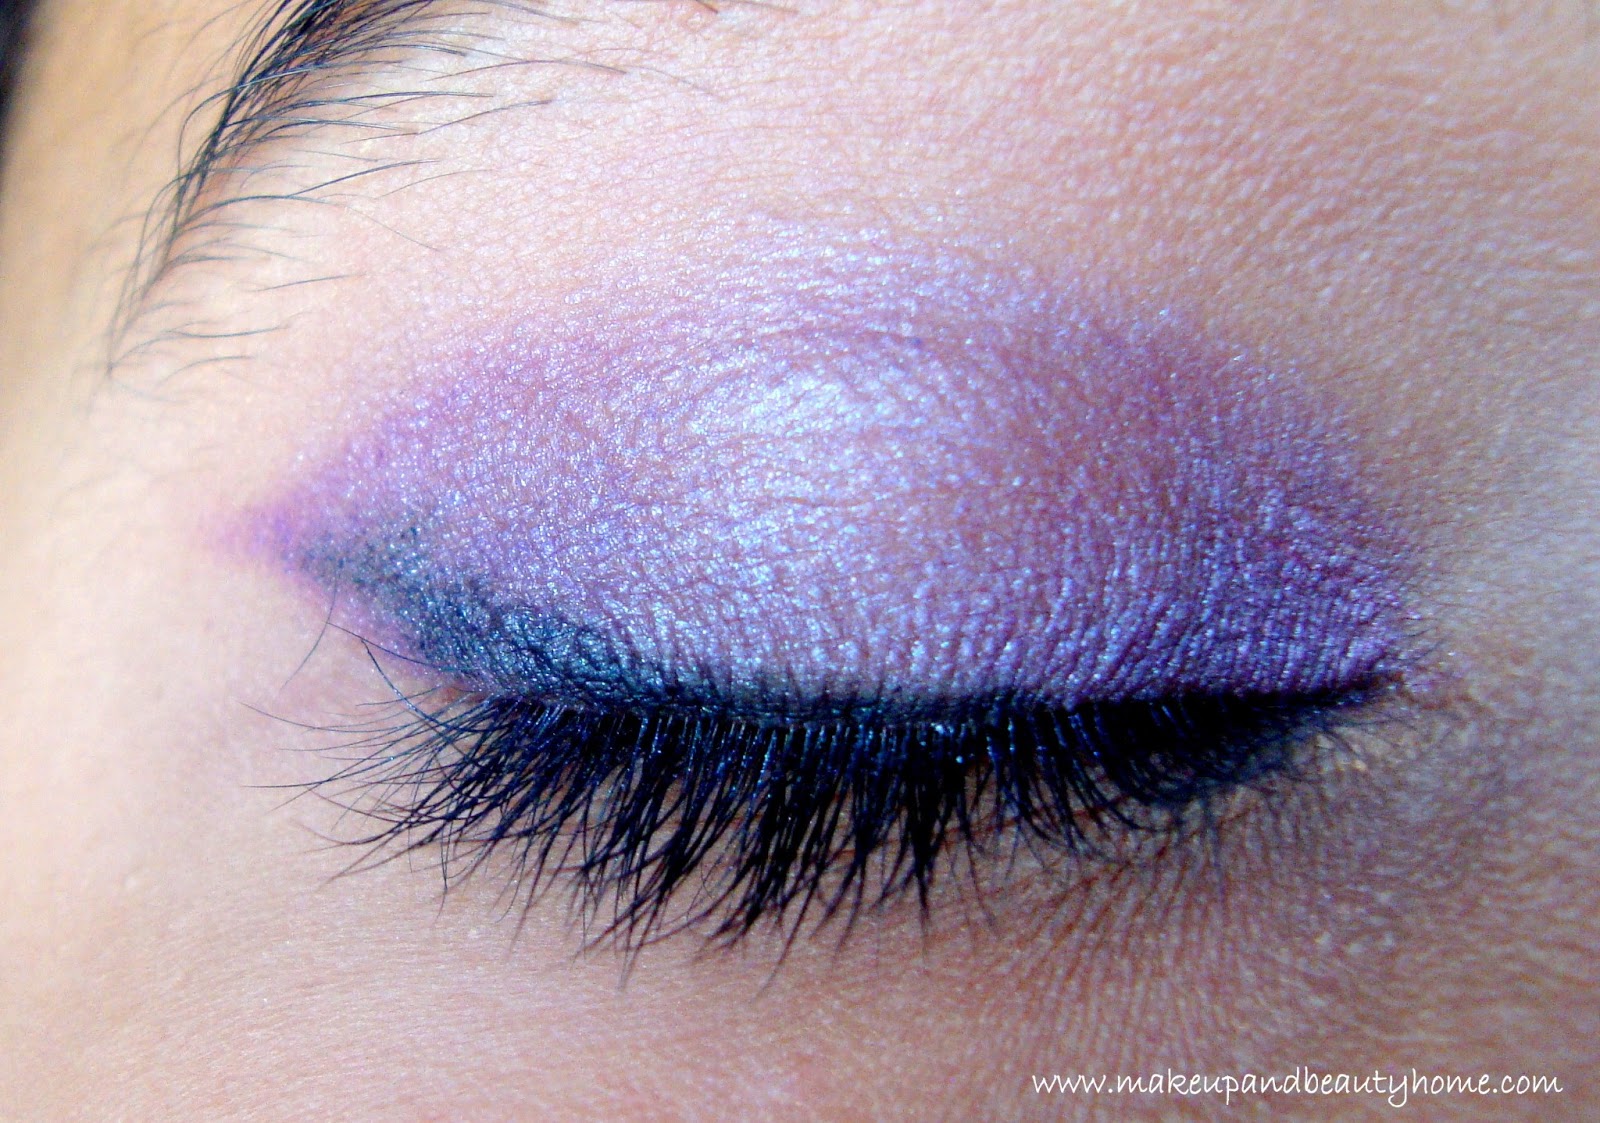
As promised for lancy, here is the tutorial. When I sent the pictures, she wanted more intense look but as she loved both the looks and didn’t want to miss either, here is the 2 in 1 pink smokey eye tutorial. I have come up with two looks here. One is a soft smokey eye and another is an intense smokey eye.

Soft one will suit everyone people. I made the pink in it softer with other colours as hot pink which is quite bright will wash out darker tones highlighting your dark circles if any or blemishes even. But you may choose either.

The steps are the same for both. I will mention the changes in the steps it self

Products Used:

Method:

Step 1: Prime and prep your eyes. Fill your brows for a good winged look. This is for the second look. First is soft so your normal brows will do.

Step 2: Apply an eye shadow close to your skin tone all over your eye for better hold and to avoid harsh lines and gaps in application.

Step 3: Apply eye shadow 1 in the inner corner of the eye lid till one fourth.

Step 4: Apply eye shadow 2 in the next half of the inner part of the lid. The color is peachy pink to give softer pink look. Skip this step in second look.

Step 5: This is common for both looks. Apply eye shadow 3 in the outer half part of the lid. Repeat if necessary to get the complete pigmentation. Blend into the inner corner with the previous eye shadows.

Step 6: Using an angular brush create a small v on the outer corner of the lid. Take more shadow and blend into shadow no 3.

Step 7: Take shadow No 5 and apply and blend into the crease. You can see the faint line in to crease. Add more depth. This is for both looks.


Next Two Steps ~ Only for First Look:

Step 8: This is only for the first look. Take a black eye pencil and draw a line on the upper lash line and extend a bit towards to give a small wing. Smudge upwards into the lid. Use the same pencil to line the outer half of your lower lash line. Take the eye shadow no 4 and with an angular brush, line your other half of lower lash line. Blend both together.

Step 9: Apply your favourite kajal and add loads of mascara.

Next Three Steps ~ Only for Look Two:

After Step 7: Take a black pencil and create a wing in the outer part of the lid. Add more and blend it into the lid. The blend is not perfectly done. I wanted it to look unblended and to give more depth in the outer region.

Step 8: Line your lower lash line completely with the same pencil. Using a pencil nearer to eye shadow no 4 line fill your water line.

Step 9: Line your top lash line with your favourite intense black liner. Create a small cat eye in the outer part and the line should meet the lower black line given prior. Add mascara.

For both looks: High light your brow bone using a highlighter or translucent powder

Here is a tip I use to blend: After applying black shadow, take a blending brush, pick the eye shadow 4 and use this to blend into the lid for avoiding harsh line and keeping the pink dominating. Brown eye shadow in the crease as well was blended using the same trick. Pick up a lighter brown eye shadow to blend to keep the pigmentation and for perfect blend.

The first look is looking warm because of the sun light but the pink is as hot pink as the second look. Both looks are extremely pink in shade. Hope you guys like them

Have you ever tried Smokey Eyes Eye Makeup?

Kristen Stewart Inspired Smokey Eye Makeup Tutorial

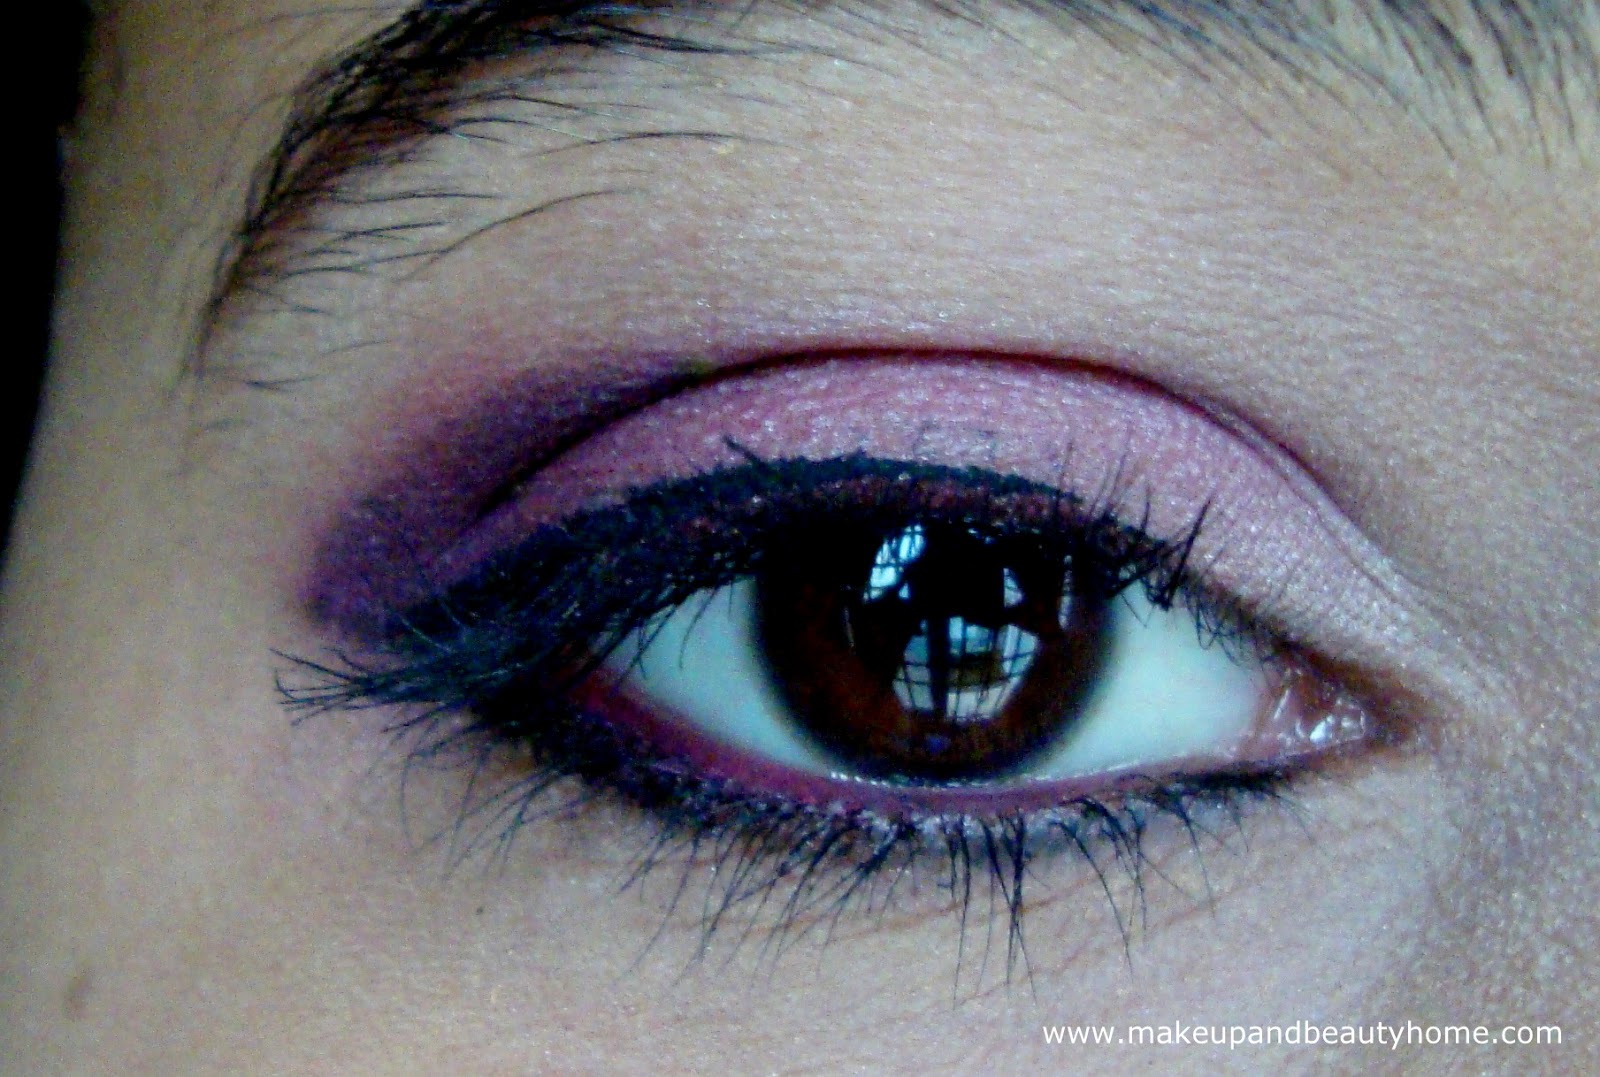
This is my first makeup tutorial ever guys so please bear with me. I love Kristen Stewart’s look in breaking dawn part 1 world premiere in which she teamed up this look with a blue black dress, a messy bun and a killer heal; her eyes were highlighted.

I was inspired and I have the same eyes like her (the shape and size approximately) and I love purple and I had a blue gown with which I wanted to try this look to go for a party or something.

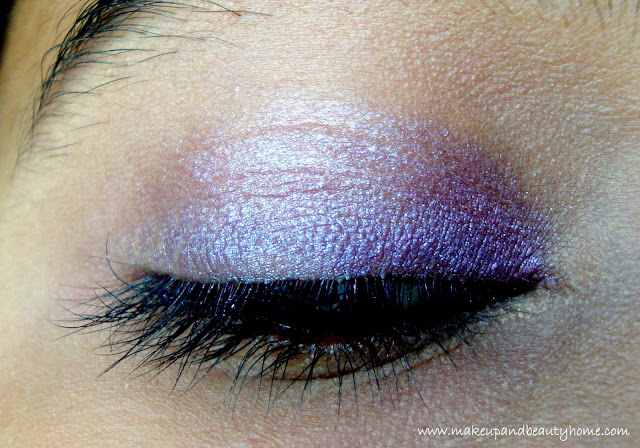
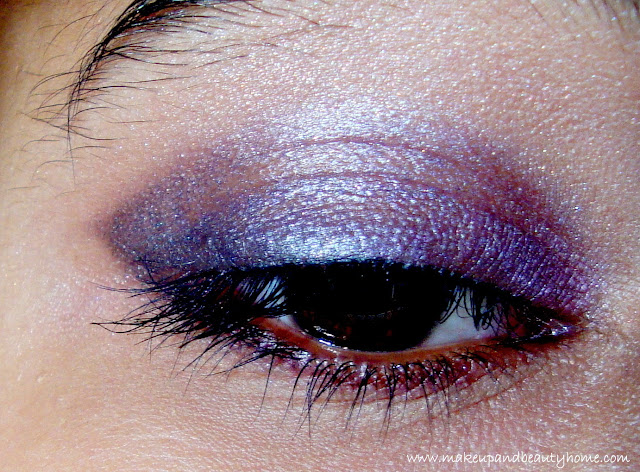
She looks very pale here and I made the color a bit more intense in mine. She has mauve-ish lavender on the inner half and purple and brown on the outer half, lined with a black eye shadow on both lash lines which is blended into the eye shadow. It greatly compliments her green eyes. Since mine are brown I changed the colors only a bit.

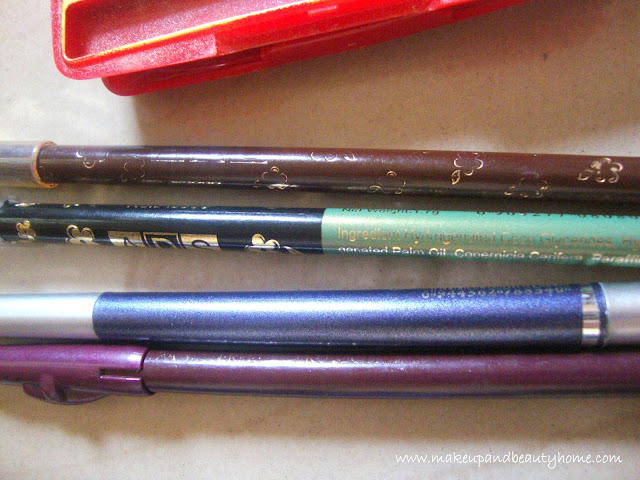
This tutorial is done by using only eye pencils (surprise!!!). I will be referring to eye pencil in my description but you can use eye shadows to get this look as well. I love working with eye pencils so you will find I didn’t use much brushes either since eye pencils can be used for precise application so only blending was needed. Also eye pencils are very difficult to blend so you may go ahead with eye shadows.


Products used:

  • Eye pencils from a local brand (ADS) in brown, purple, black, lavender and metallic blue.
  • Lakme perfecting foundation and Revlon compact powder for priming
  • Elle 18 black out liquid liner
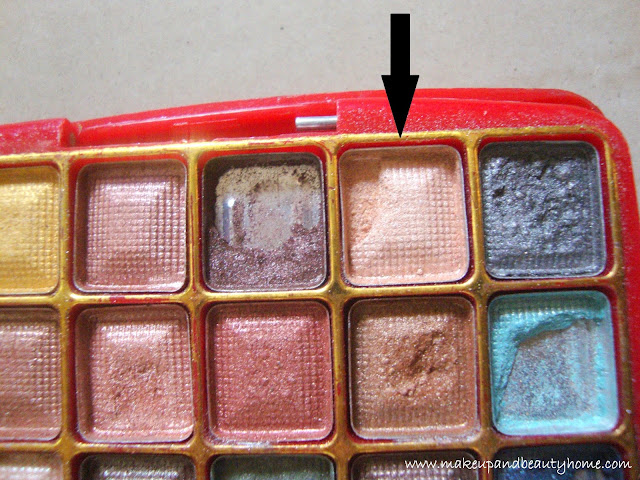
  • A neutral eye shadow from an eye palette locally brought (arrow indicates the shadow used)
  • Blending brush and a fluffy brush form Camlin for blending and highlighter application. (power as well was applied using the fluffy brush)

Tutorial ~ Steps:

Step 1: Prime and prep your eyes and fill in you brows as eyes will be the centre of attention in this look.  Conceal ark circles. Apply loose powder all over the eye lid to remove oiliness if any and to hold the eye shadow better and longer

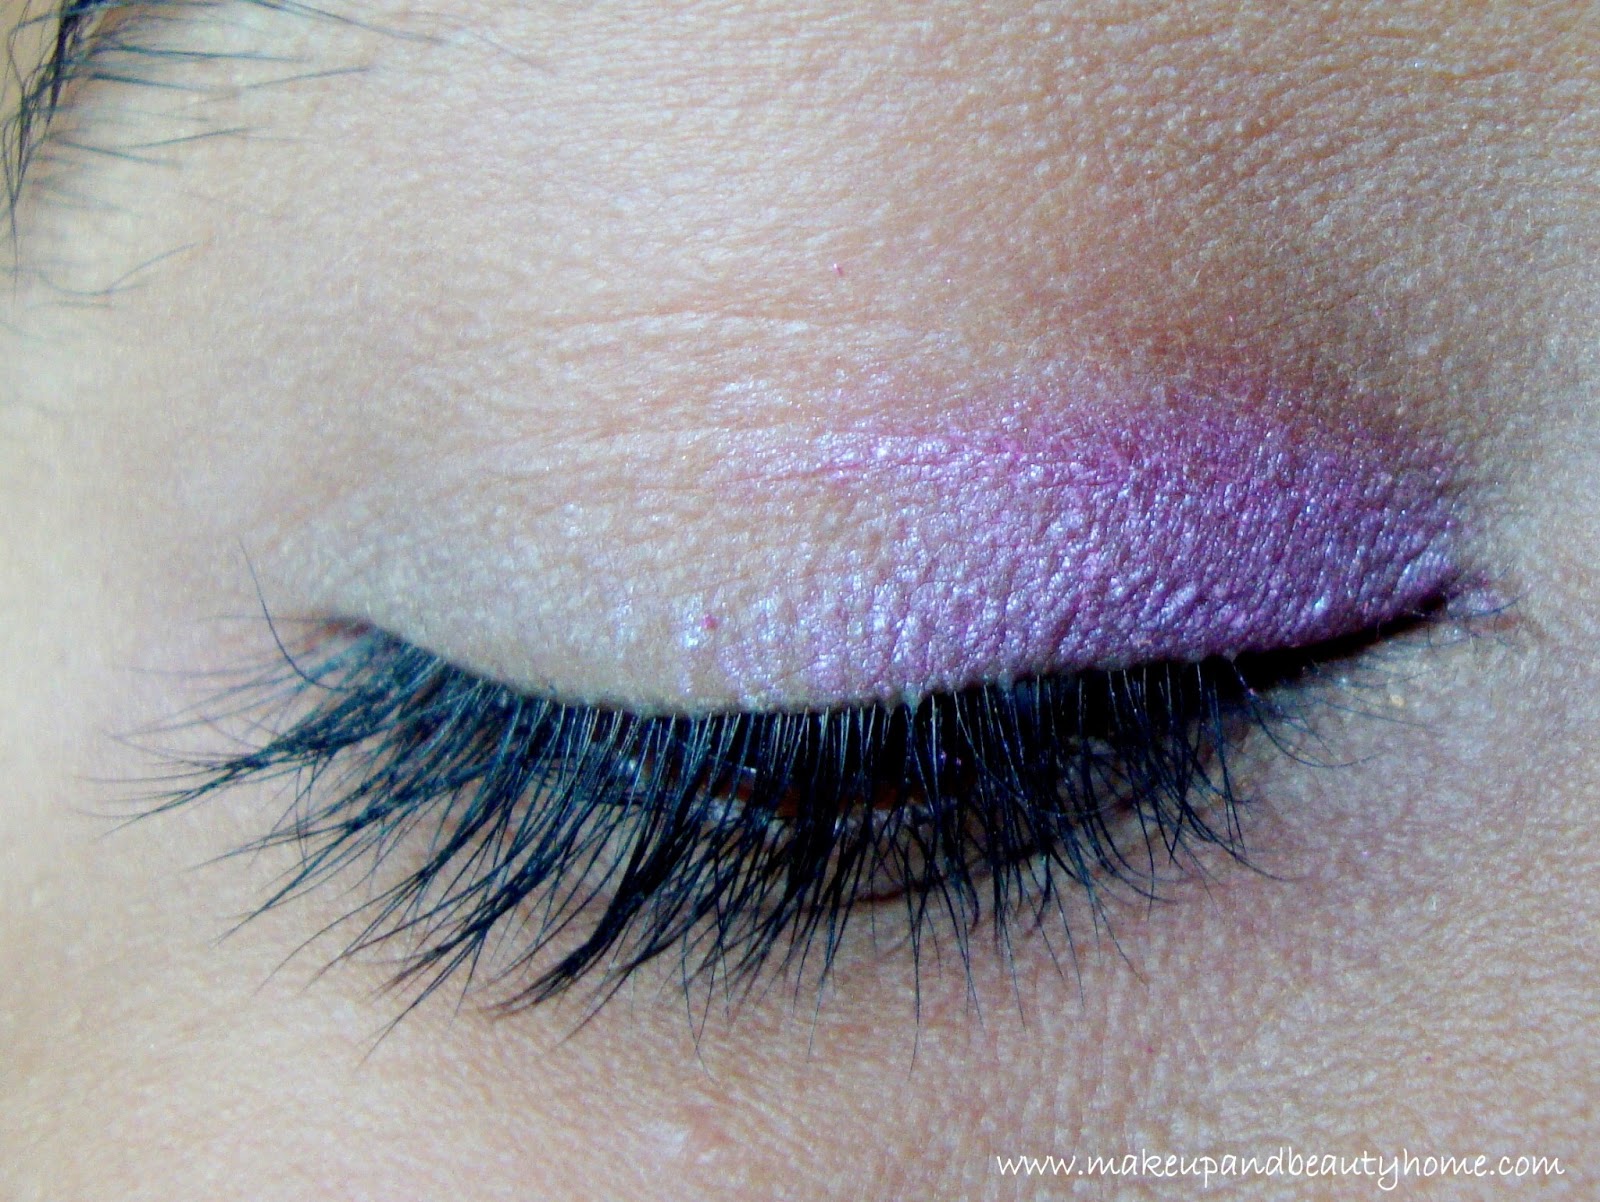
Step 2: As shown fill the inner one fourth of the eye lid with lavender toned pencil.

Step 3: Fill the next 2/4th part with a bluish grey eye pencil. (I wanted to get a bit of metallic look and to get a slight blue tone with this look) and blend well. (Keep adding the pencil to get the desired coverage. Here this picture is just the beginning. I added two three times both colors till I got the desired tone)

Step 4: Now draw a line with a purple eye pencil from the outer corner towards brow bone like a wing and draw it into the crease. Fill the remaining lid with this pencil and blend everything together. Using a brown pencil, blend it into the purple to give the brownish tone. This will compliment brown eyes really well and adds depth in the crease.

Step 5: Take a black liner pencil and draw a little thick line from half of the upper lash line and extend till where the wing of the purple eye shadow ends (not into the crease, only the outer part). Make sure it doesn’t cross your eye brow end. Smudge and blend upwards on to the eye lid. Here as well I used a bit of brown to give proper blend (You can use more black eye pencil if you need a dramatic eye look. Dark grey also can be used to make it softer)

Step 6: Now again with the black pencil draw on the outer half of lower lash line and extend towards the previously smudged black line. Fill the inner half of the lower lash line with the purple eye pencil. Smudge both and blend together.

Step 7: Using a gel or liquid black eye liner draw the thinnest possible line on the upper lash line. Here Kristen used false lashes. You can use them or simply use this trick to make your lashes fuller. Add loads of voluminising mascara. My mascara got over so I just wet my lashes with Vaseline a bit.

Step 8: Add a highlighter eye shadow very near to your skin tone on the brow bone.

Add a nude lipstick preferably in light pinks with brown undertones, corals or corallish red like the one she is wearing and matte texture and you are done (Since eye makeup is heavy, lips should be done neutral)

Water line here is empty. But if you like to, fill it with your favorite kajal to give more effect. Please bear with the pics guys! I tried my best. I am not good at clicking tutorial pics.

Eyetex Dazller Lip Gloss Shade 005 Review, Swatches and LOTD

I have always preferred lip gloss over a lipstick for obvious benefits. The moisturisation, the tint and the glossy finish all in one.Now I have 5 times more lipsticks than glosses in my vanity. That’s a different story. All thanks to beauty blogs here. My first ever lipstick was Elle 18 Pomegranate Pie and it’s one of my HG shades. Coming to this its dazzler lip gloss in the shade 005 so let’s see what is has got.


Price and Quantity:

Rs. 75 for 4 gm


My Take:

Packaging: The lip gloss comes in a transparent plastic with golden screw cap with a feathery wand. The wand is really good for application. It fits easily in your palm and very travel friendly.

Colour: It is light copper in color with bronze undertones. This gloss works well with Elle 18 Cranberry and Baked peach. It has tiny bronze and copper particles. The gloss in not much tinted as you can see in the lip swatch. And it bleeds if not applied properly, or in hot weather and without anything underneath. It needs at least a lip liner and I use lakme glide on lip color in bronze glitter.

Texture: It’s quite glossy though you may feel stick after sometime. It’s really moisturizing and it holds whatever lip stick you use for longer time.  It starts fading and then you can see your lips shining without the glitter and glitter gets removed really easy with this one.

Staying power: It stays for 2 and half hours and the moisturisation for nearly 4 hours if not eaten or swallowed with anything

Fragrance: The gloss has pleasant fragrance which is not at all over powering and I really prefer this over Elle 18 smoothies. They are just over bearing sometimes.

PROS:

  • Good moisturisation
  • Easy on pocket
  • Helps in holding your lipstick better
  • Glossy finish
  • Mild fragrance and easily available.
  • It’s a shade that is festival as well as which suits for casual wear as well.
  • It will compliment every type of skin tone.

CONS:

  • Fades rather quickly leaving only the shine without its glitter which is not good for pigmented lips (This is when not used along with a lip colour underneath)
  • Bleeds in hot weather and a lip liner is a must.
  • A bit sticky after sometime and your lips feel as if they are glued together. I only experienced this once though when used it alone.


Rating: 3/5


Do I Recommend?:

Yes. It’s really good for the price I get. Actually it is lots better than Elle 18 ones in moisturisation part and smell. But nothing beats Vaseline when it comes to lip care.


Would I Repurchase?:

Yes if I finish this one I will. I almost use it every day. This gloss gives a nice shine to my lips and its a good colour on heavy eyes day. 🙂